
CAR & BIKE
2026.08.22
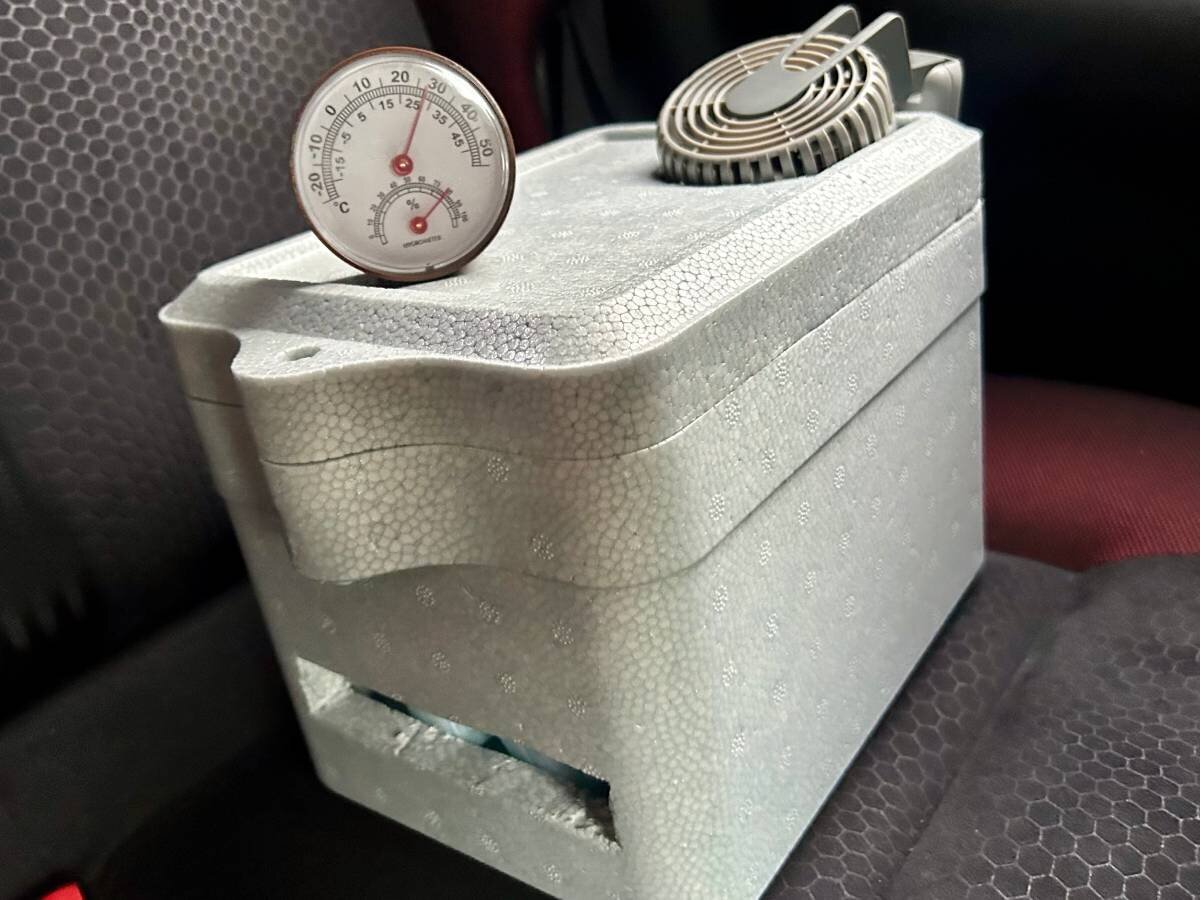
【Heat Measures】 DIY Cooler with Daiso & Handheld Fan! The car interior became surprisingly cool
The “heat” inside the car, which cannot be avoided for summer car camping or drives. To address this, I challenged myself to create a portable air conditioner (simple cooler) using items from Daiso and my handheld fan. It can also serve as a reference for summer vacation projects or independent studies.
Challenging to make a homemade portable air conditioner with Daiso items.
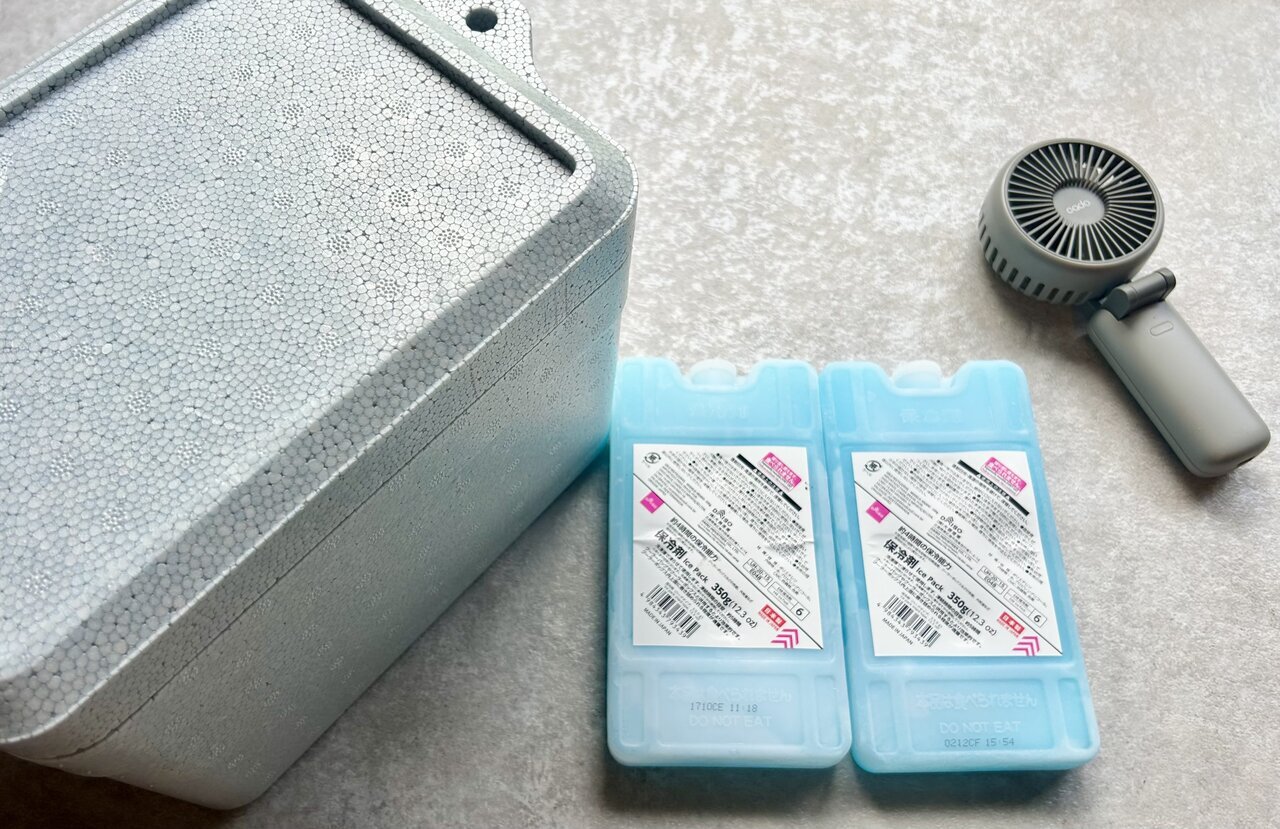
Daiso offers a variety of cooler boxes and ice packs in different sizes, making it easy to choose one that suits your needs. This time, I chose a polystyrene one for easier processing and cutting.
Things Needed for DIY Cooler
<Materials Bought at Daiso>
・Foam Cooler Box (220 yen)
・Cooling Packs (110 yen)
<Items Found at Home>
・Handheld Fan
<Tools Used>
・Marker
・Cutter
・Cellophane Tape
<Materials Bought at Daiso>
・Foam Cooler Box (220 yen)
・Cooling Packs (110 yen)
<Items Found at Home>
・Handheld Fan
<Tools Used>
・Marker
・Cutter
・Cellophane Tape
If you don't have a handheld fan, you can use a USB fan powered by a mobile battery or a small fan for PCs as a substitute.
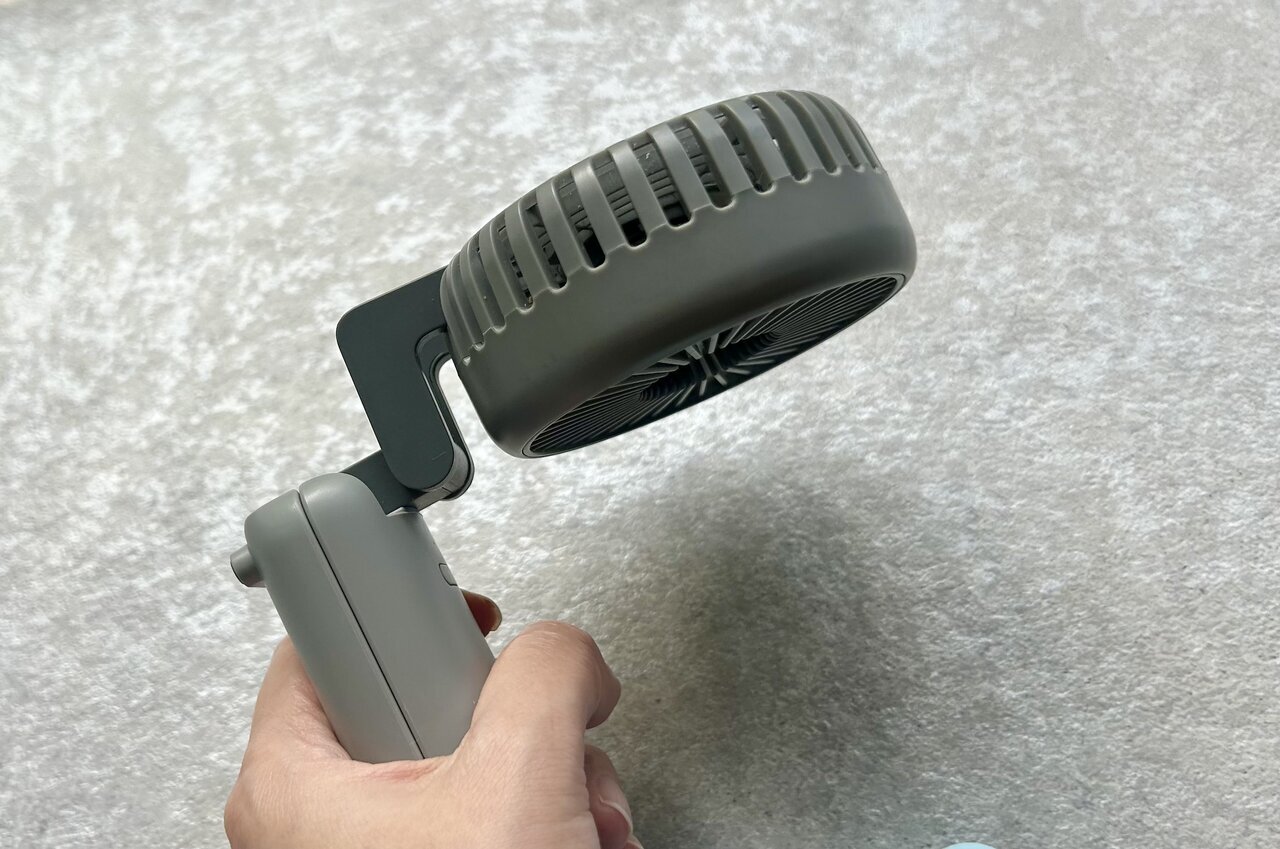
The handheld fan used here is the "STREAM Mini Portable Fan" from cado, which I love. It has sufficient airflow, feels great to use, and the neck of the fan is designed to bend forward. However, how will the fit affect its installation on the cooler!?
1. Open the intake for the fan on the foam cooler box
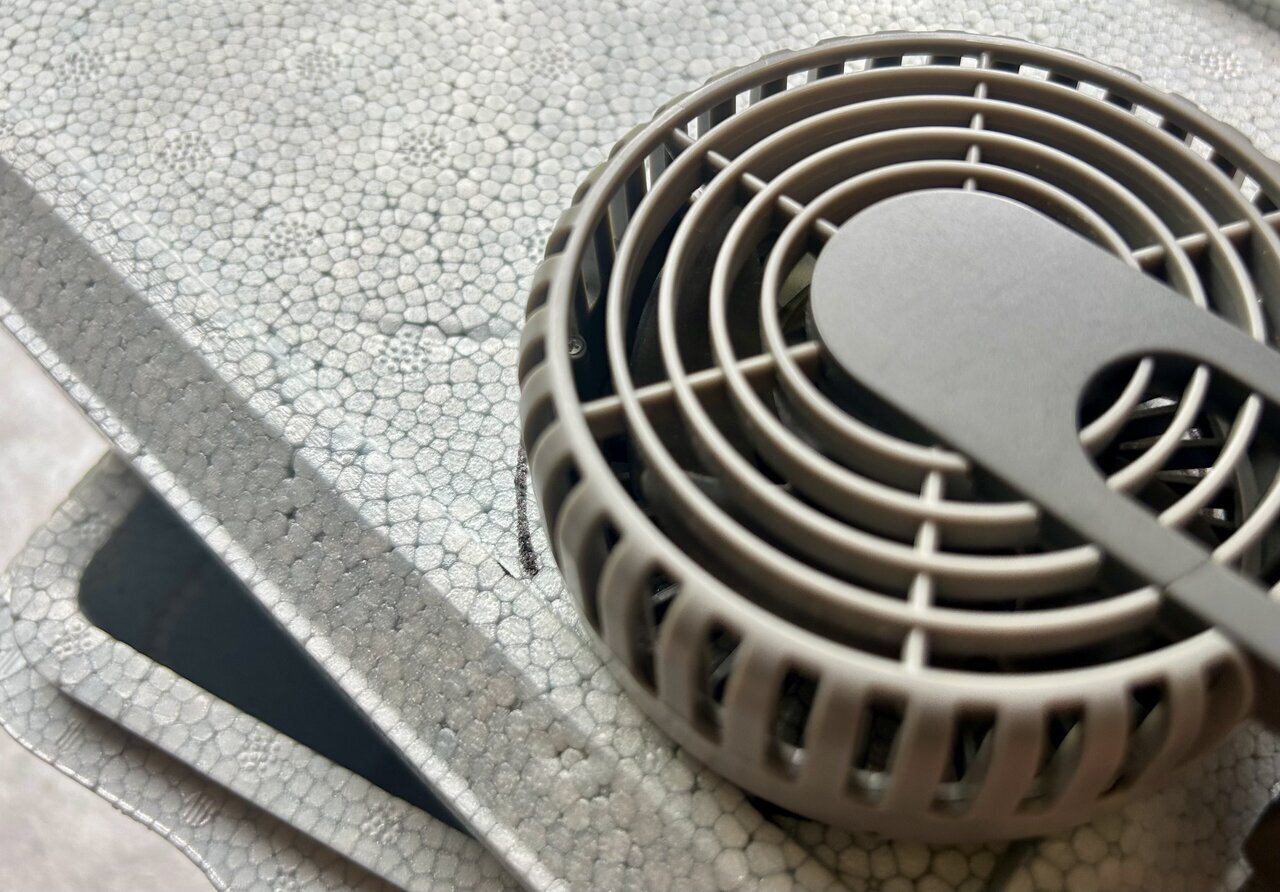
Place the head of the handheld fan against the lid and draw a line with a marker. I positioned it in the corner of the foam cooler box to make it easy to use with the shape of this handheld fan, but it is actually recommended to install it near the center of the lid for effective airflow intake.
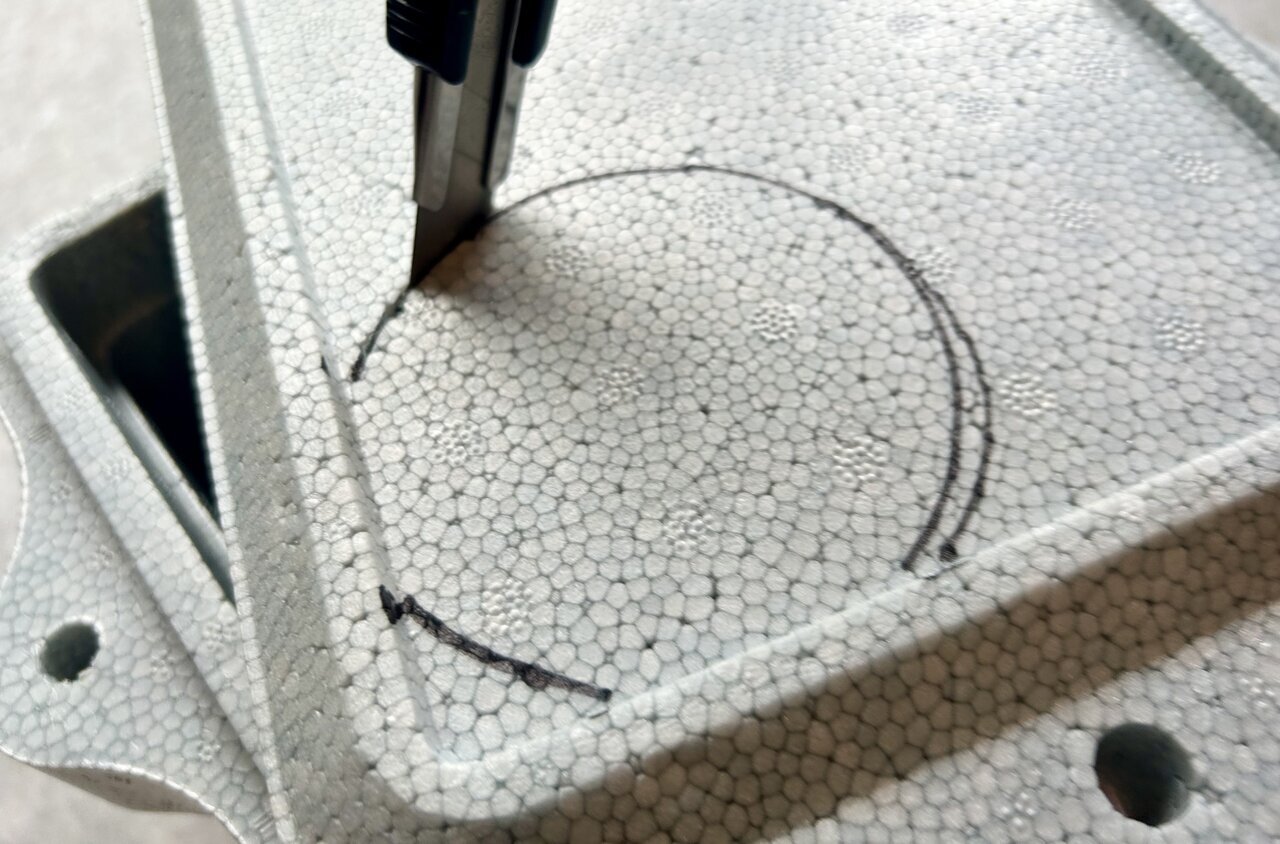
Following the line drawn with the marker, cut a hole using a cutter. Since the cross-section of the styrofoam tends to crumble easily, moving the blade frequently while cutting will result in a clean finish. If the cross-section becomes uneven, lightly smoothing it out with sandpaper or similar will be helpful.
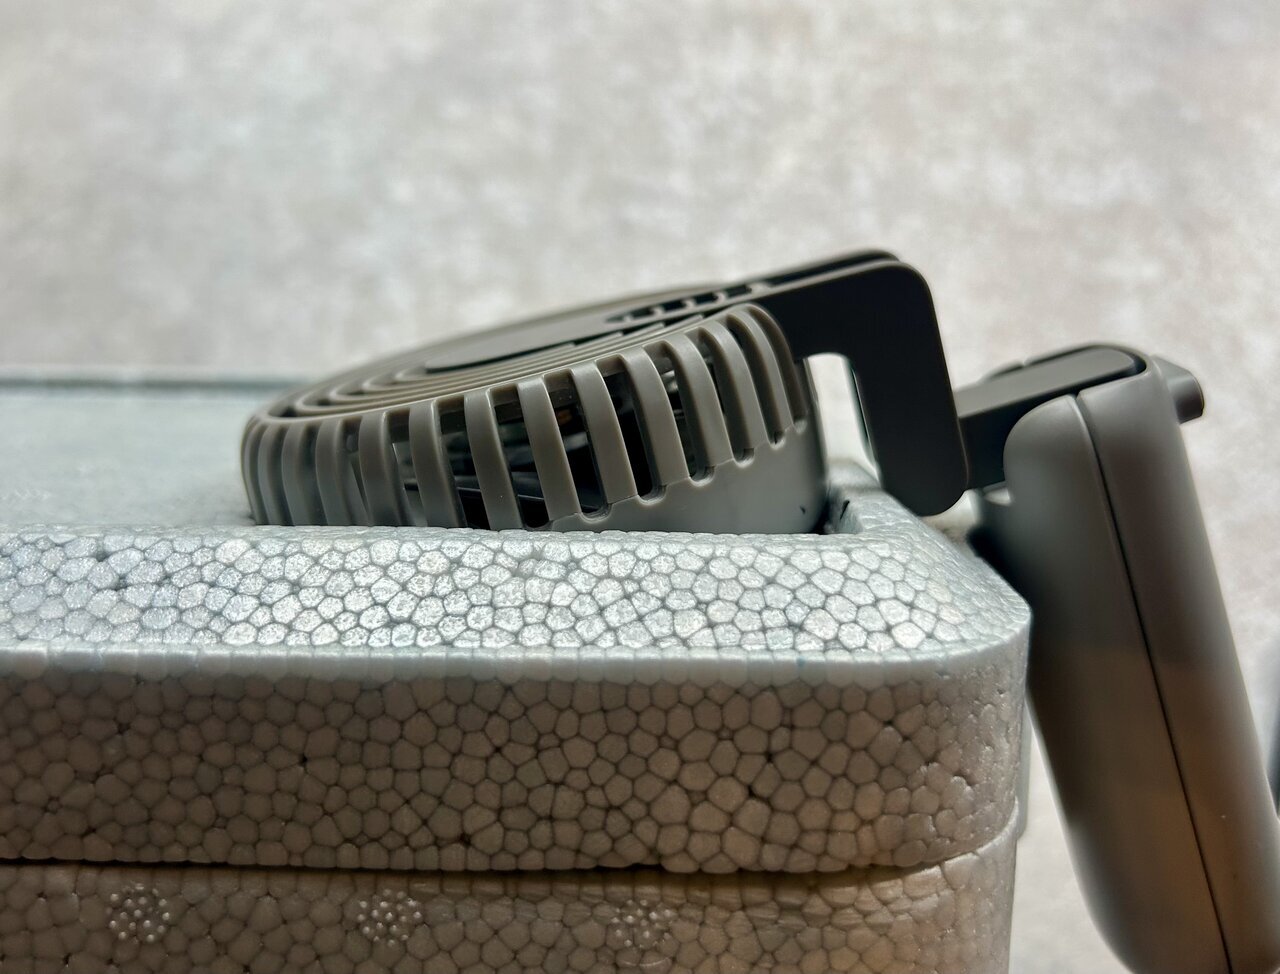
When I inserted the handheld fan into the hole I made, it fit perfectly without any gaps! The joint part of the neck is a bit in the way, but surprisingly it remained stable without wobbling. The power button on the handle can also be operated smoothly with a slight adjustment.
2. Open the outlet for the cool air.
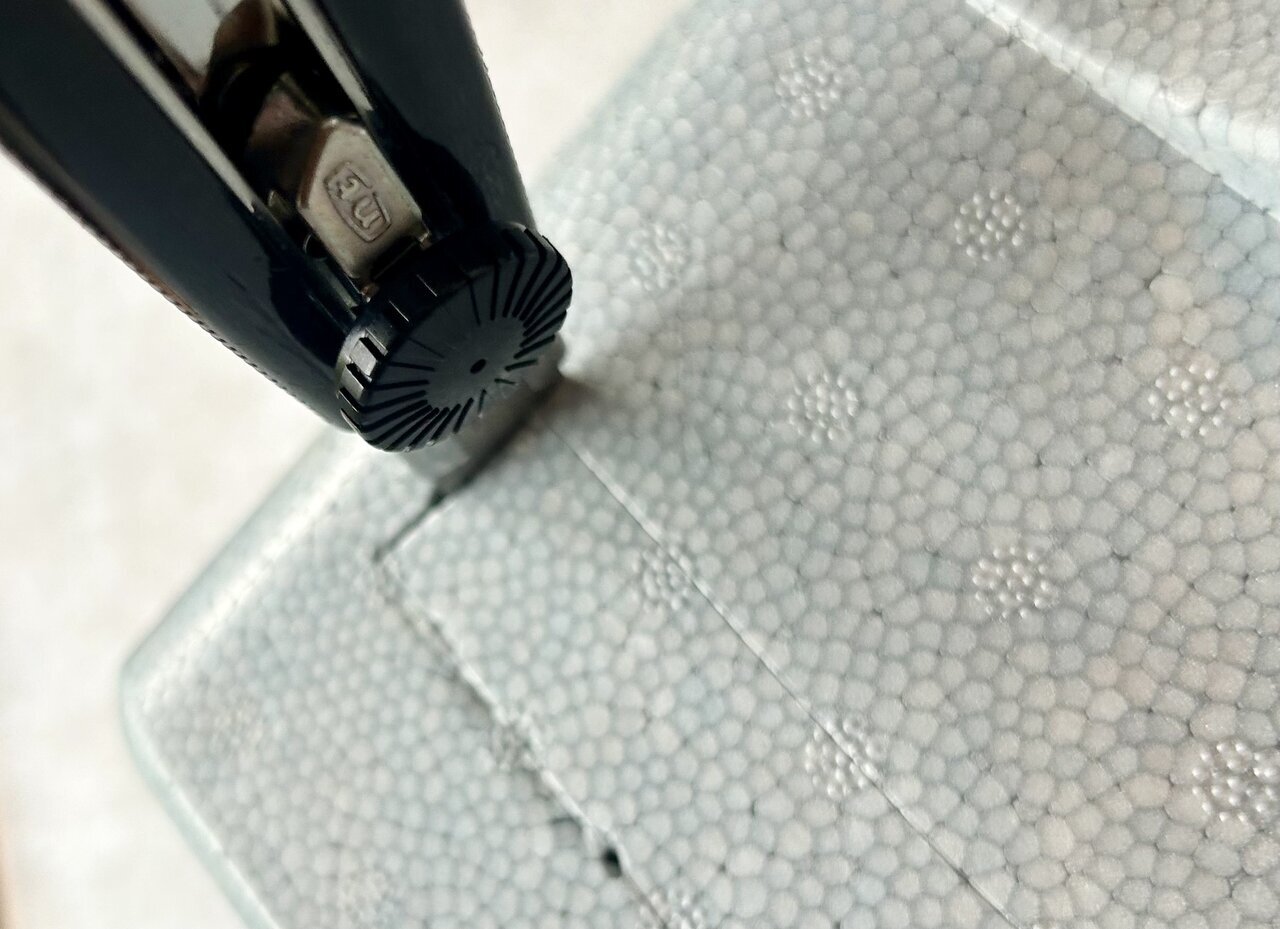
Next, open the outlet that expels the cooled air. Be careful not to open it too wide, as the cold air will escape all at once. The cooled air settles at the bottom, so it's important to open the lower part.
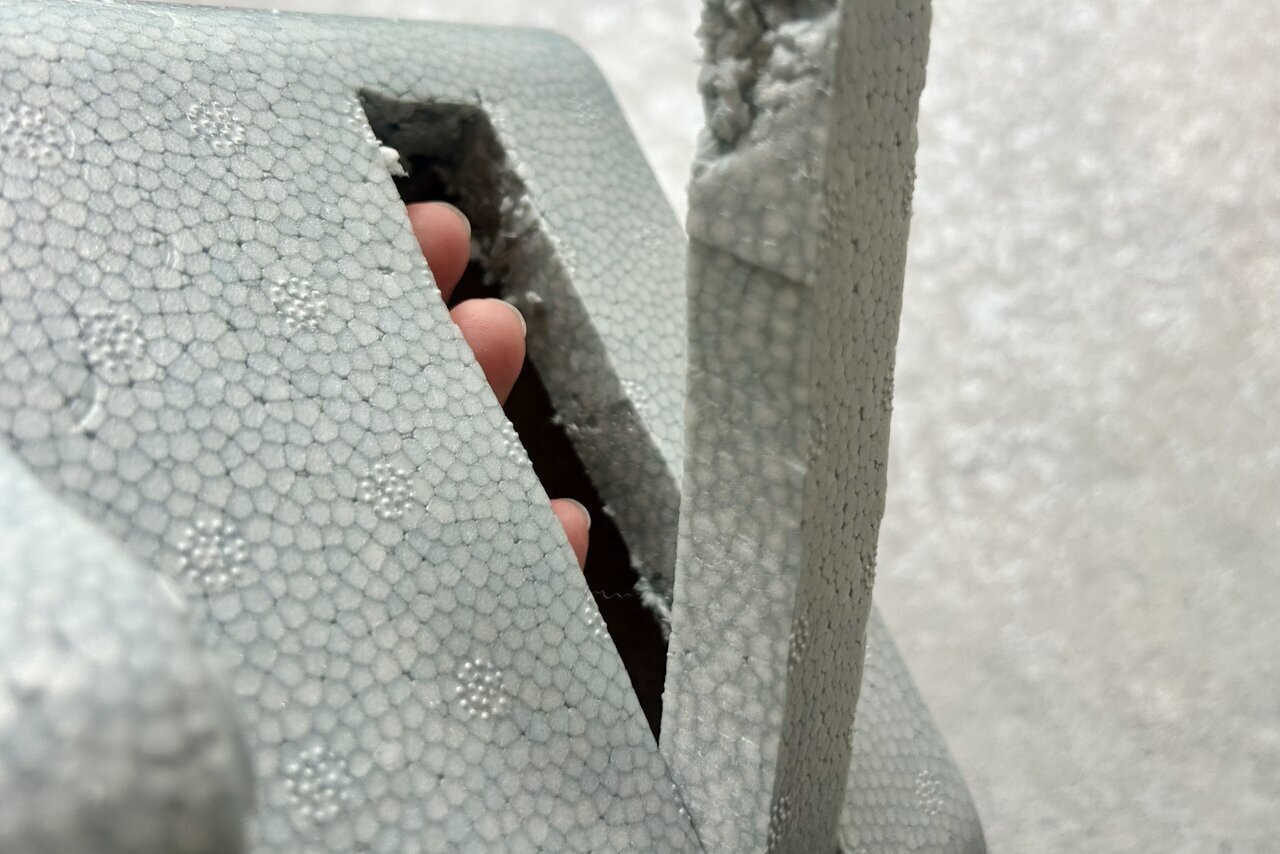
3. Create a stand for the ice packs inside the BOX
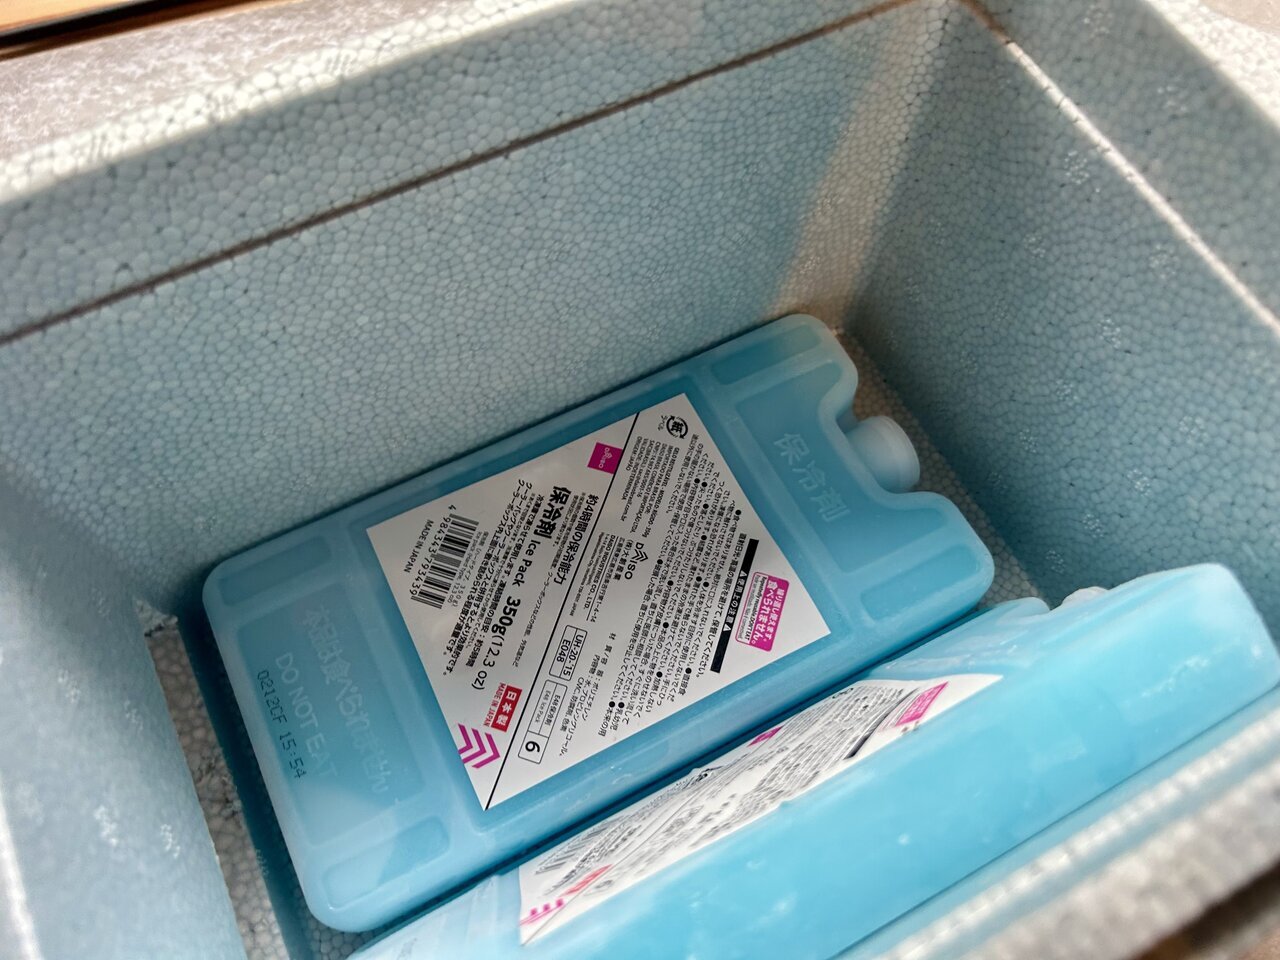
Let’s put in the ice packs that we cooled in the freezer and run the experiment! However, the ice packs toppled over inside. If this continues, the airflow might drop.
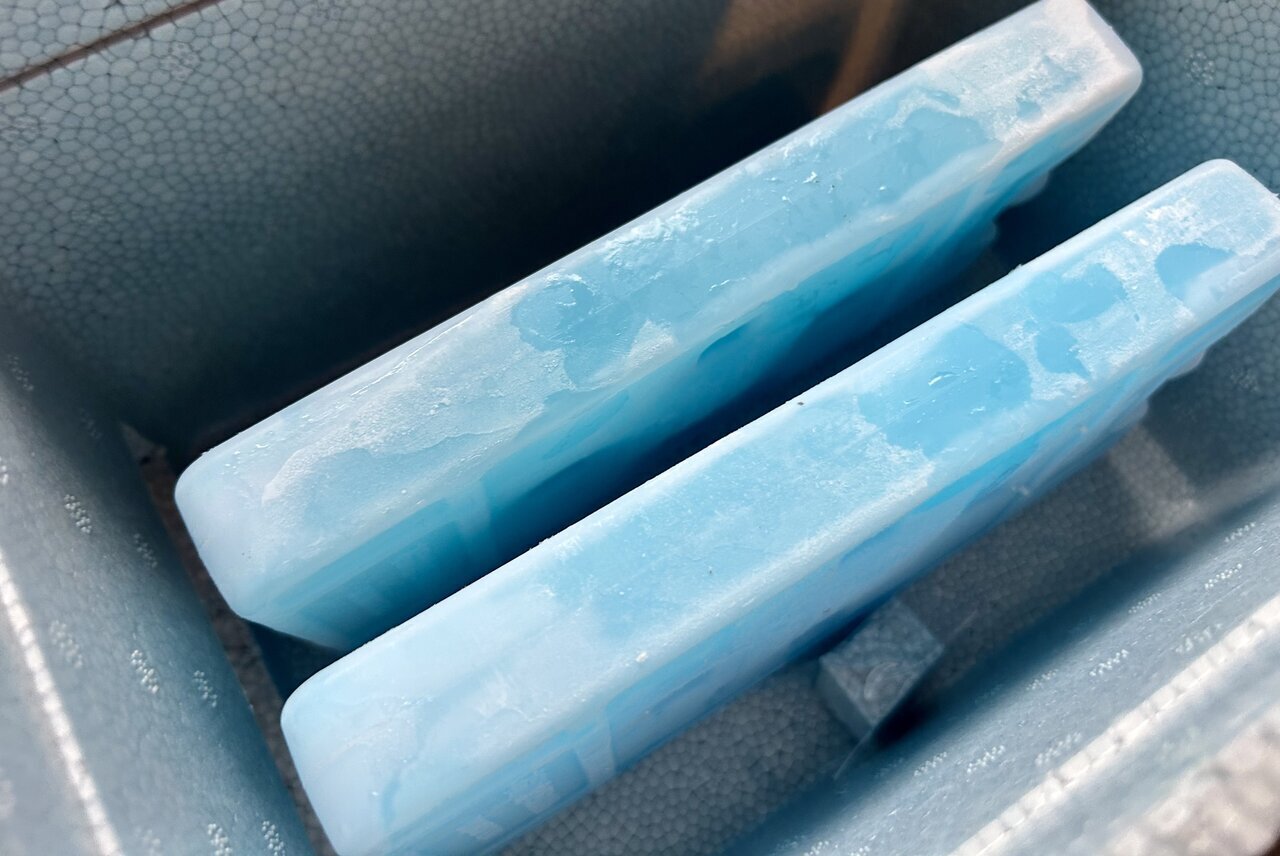
I considered buying a stand, but it seems that the scrap foam board left over from the earlier cut could be used. I cut it into smaller pieces and glued them to the bottom, customizing a stand that can hold the ice packs upright. By doing this, a pathway for the air is created, allowing for colder air to be expelled.
What was the result when I tried it in the car? Surprisingly effective!
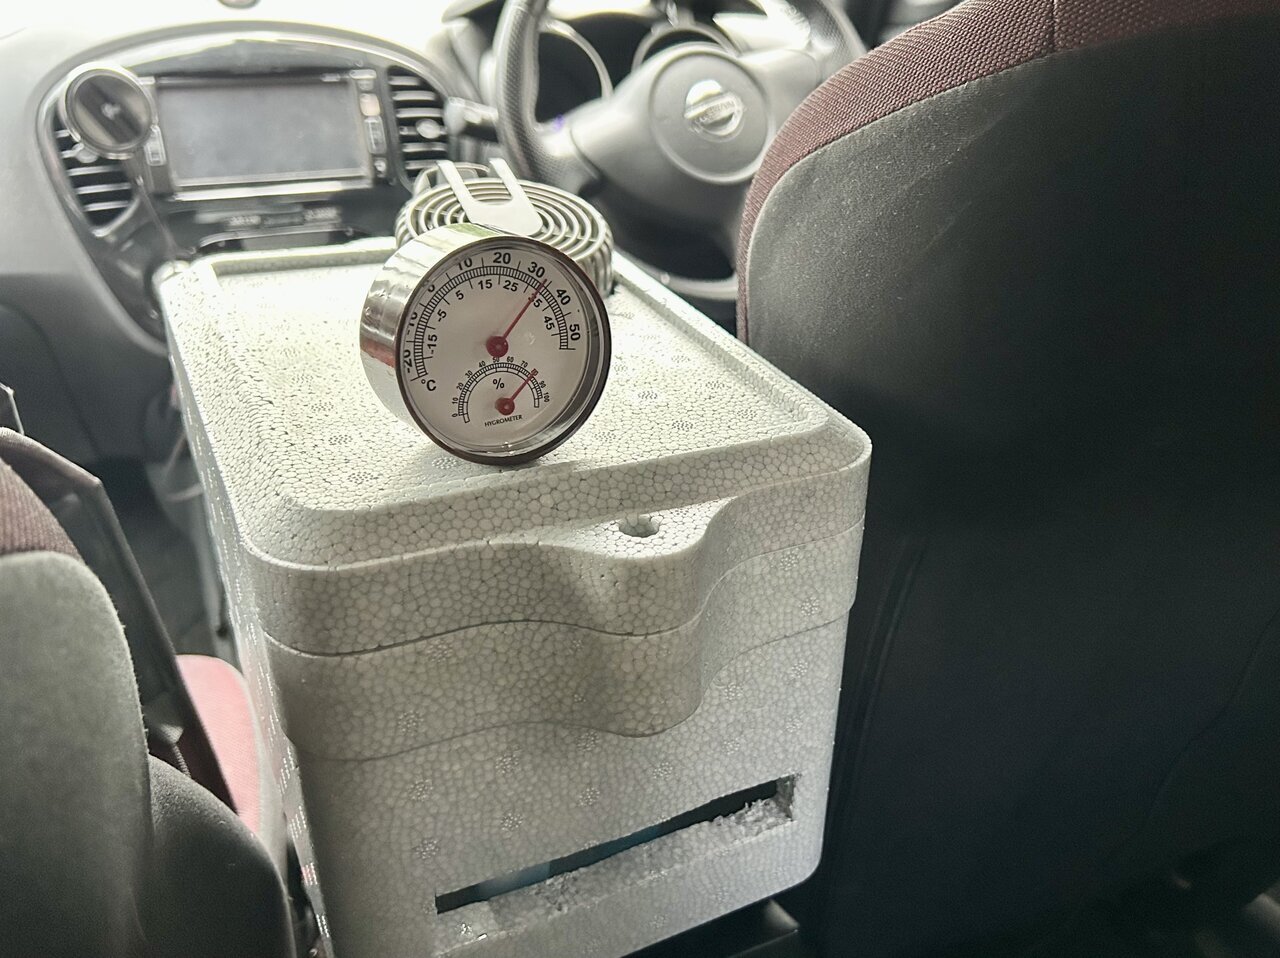
I immediately set it up in the hot car interior illuminated by the summer sun. At this time, the inside temperature was 34°C. The moment I opened the door, a wave of hot air rushed in, creating a sauna-like state. Just how much can this homemade cooler cool down?
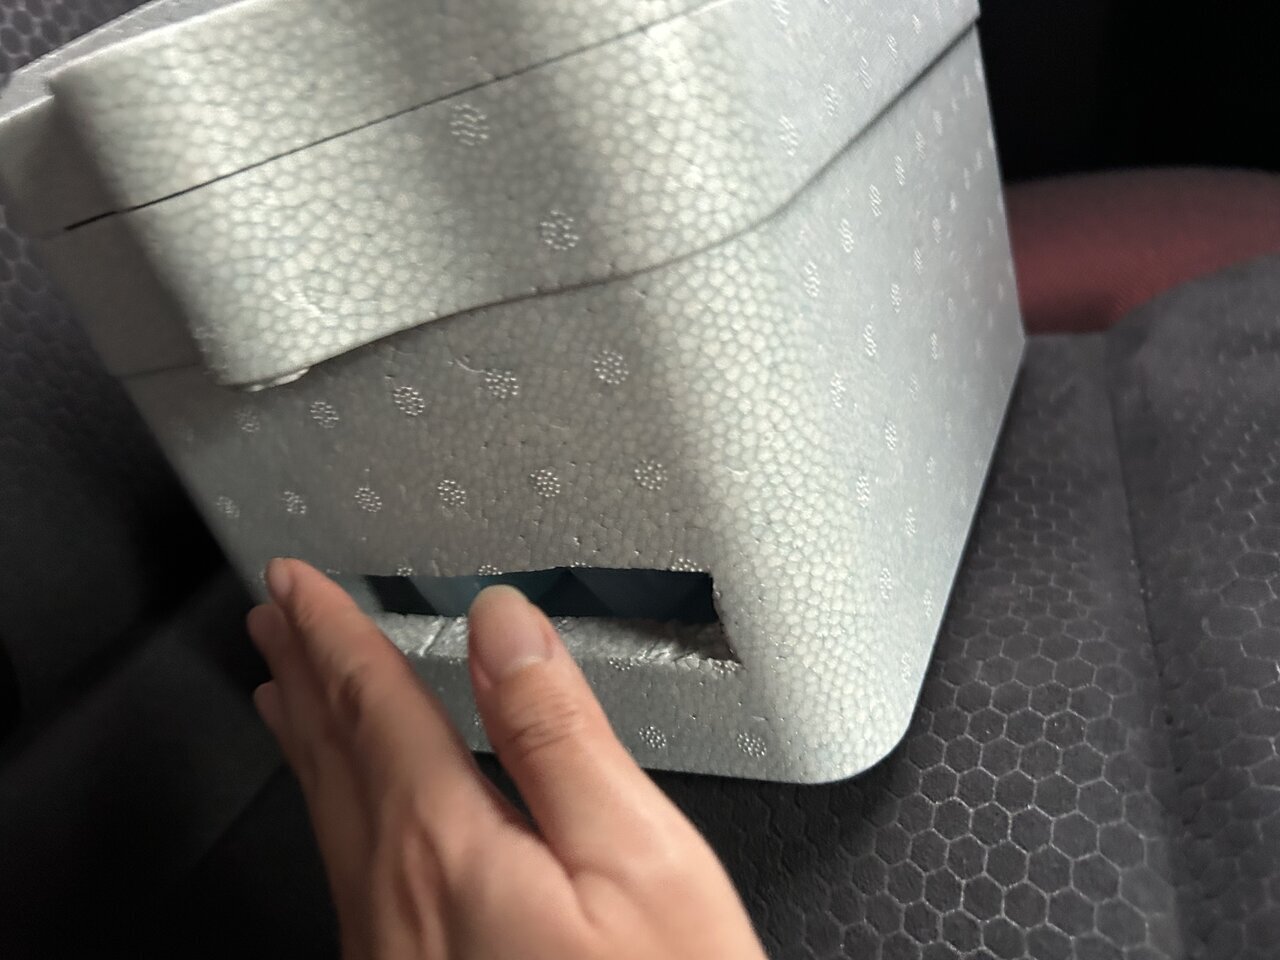
When I turned on the fan, a cool breeze came out, almost like the car's air conditioner! With this, it's sufficiently cool without needing to turn on the car's power or air conditioning. While it doesn’t have the power to dramatically lower the interior temperature, a quite comfortable breeze blows when directly facing it. I thought the cool air would quickly turn warm as the ice packs melted, but surprisingly, cold air continued to flow. By the way, the temperature inside the cooler box was kept around 15°C.
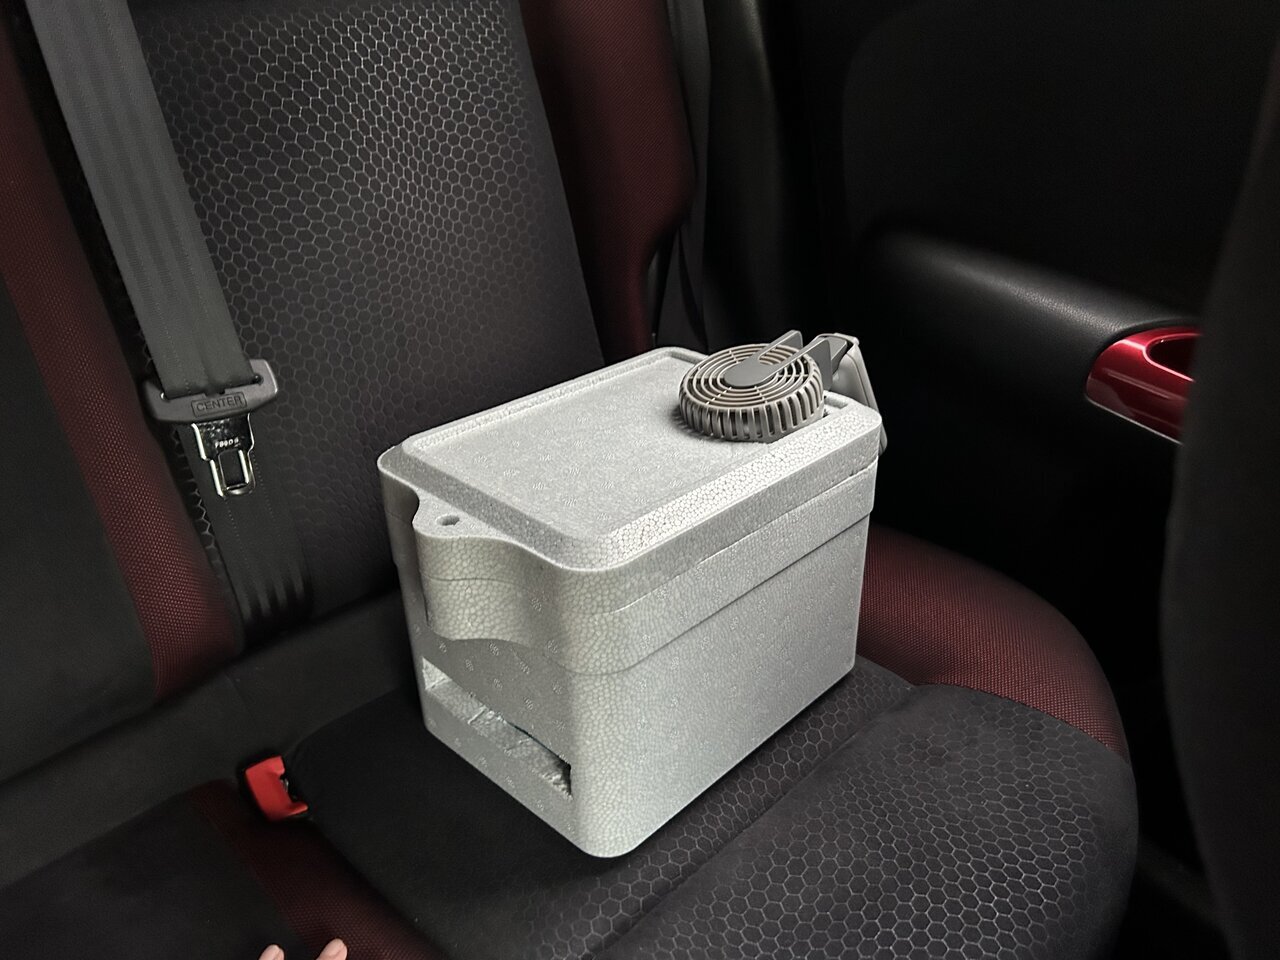
Since it uses a handheld fan, it's convenient that I can use it in any spot, such as the back seat. If I put in more ice packs or have spare ice packs, depending on how long the fan runs, it seems like it can provide cool air for everything from long drives to camping trips. Especially, since the author's car doesn't have air conditioning in the back seat, it looks like it will be useful when going out with pets.
The time it took to make this DIY portable cooler was just under 30 minutes. It required no special tools and was easy to make, and above all, it felt exciting like a summer vacation project. As a simple heat countermeasure using 100 yen shop items, why not give it a try?
The time it took to make this DIY portable cooler was just under 30 minutes. It required no special tools and was easy to make, and above all, it felt exciting like a summer vacation project. As a simple heat countermeasure using 100 yen shop items, why not give it a try?
- *Styrofoam cooler box
- *handy fan
- Daiso
- ayana
- cooler
- portable air conditioner
- self-made
- summer vacation
- SHARE








![[Interview] Bongo Brownie ✕ VAN LIVING What is the concept of living space that can be enjoyed with simple DIY?](https://cdn.clipkit.co/tenants/1046/articles/images/000/029/348/large/1669c7fe-4dba-4cc5-b0a3-7defa56bc0c0.jpg?1774904732)
 FASHION
 OUTDOOR
 WATCH
WATCH CAR & BIKE
 SNAP
SNAP DINING
 LIFE
LIFE GADGET
 GOLF
GOLF