
OUTDOOR
2026.09.19
【Measures for Car Camping in the Rain】I tried building a "Back Door Tarp" on my Jimny using a portable tarp and Electra pipes
During an unremarkable car camping experience in the rain, I came up with the idea of a back door tarp and decided to actually make one. To bring my idea to life, I chose Electra pipes, which were also useful when creating a bed kit. Can I transform the blueprint in my head into a functional item!?
The idea of a backdoor tarp during a car camping trip in the rain
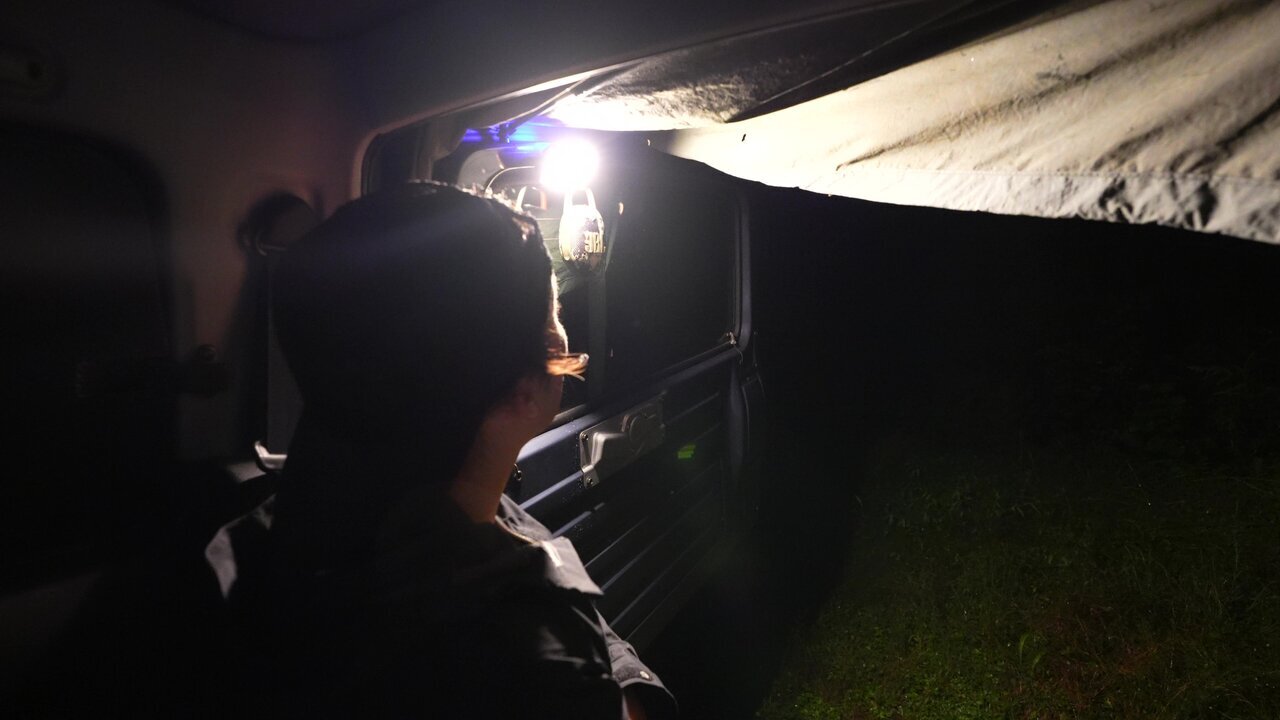
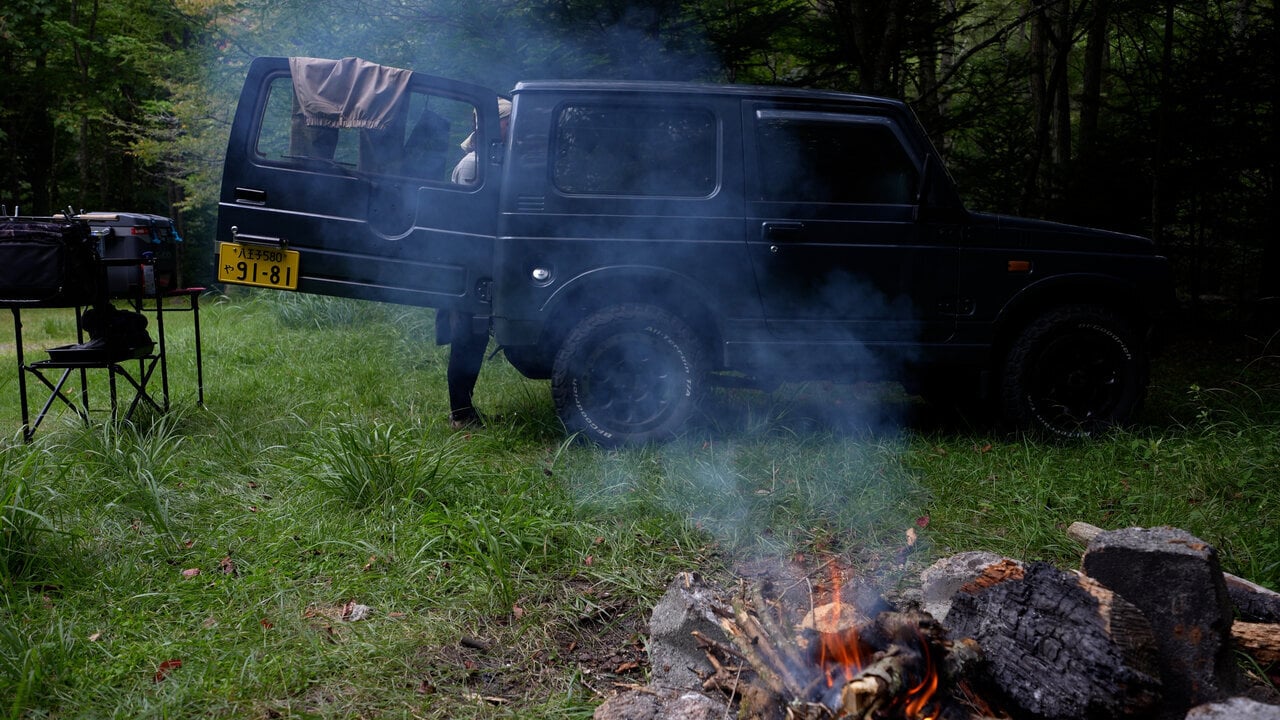
One night of car camping. The humidity was high that day, and despite there being no rain forecast, a drizzle started falling. Since we don't usually set up a tarp while car camping, leaving the backdoor open would expose it to the rain. So, I thought of hanging a waterproof mat on the horizontally opening backdoor to create something like a canopy. From that exciting feeling, it developed into creating a full-fledged backdoor tarp system.
Combining an original bed kit with the tarp system
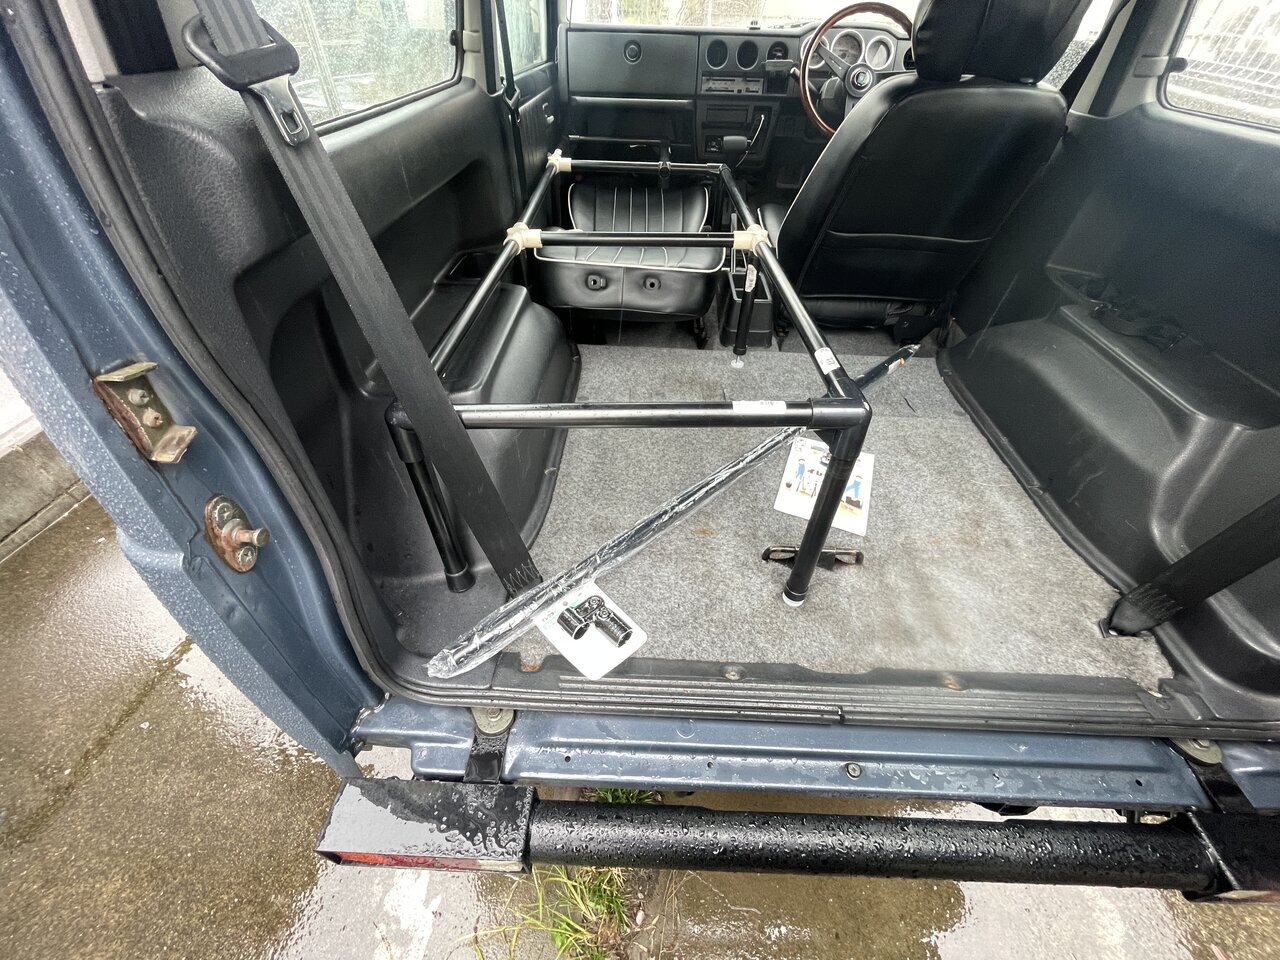
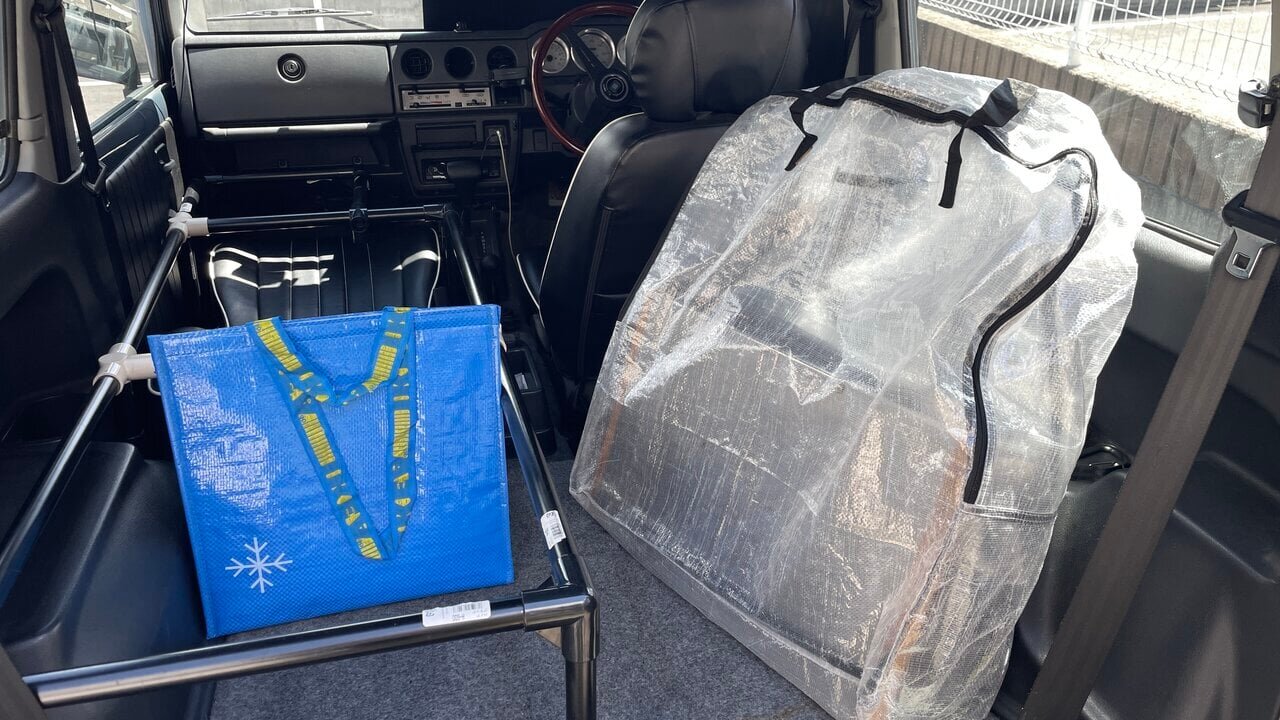
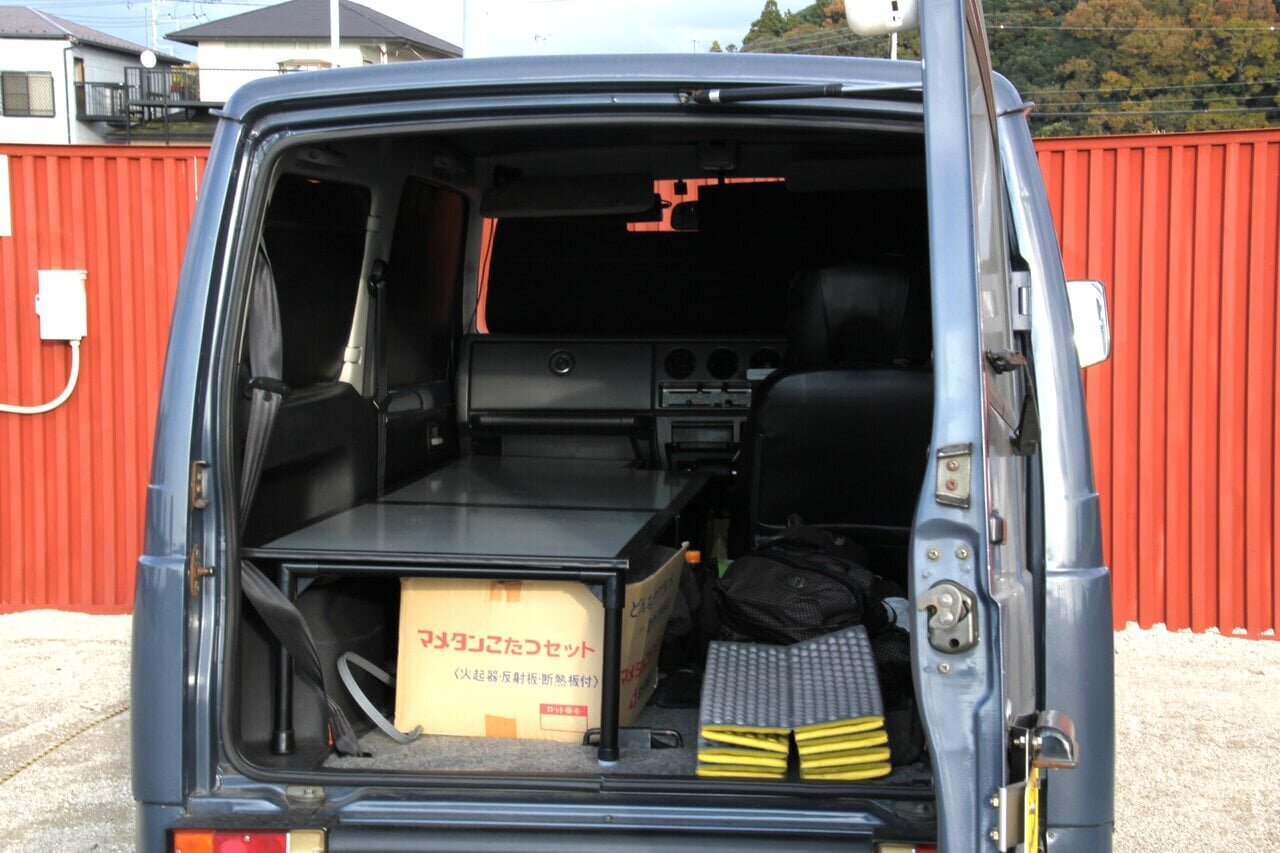
Since I want it to be original, I decided to combine it with the bed kit I've made and cherish. The plan is to use the legs of the bed as supports and extend the poles supporting the tarp diagonally, utilizing the backdoor to create a canopy. I'm worried about whether a single joint can support a 120 cm pole, but I’ll try it out for now.
Bringing ideas to life with various joint parts.
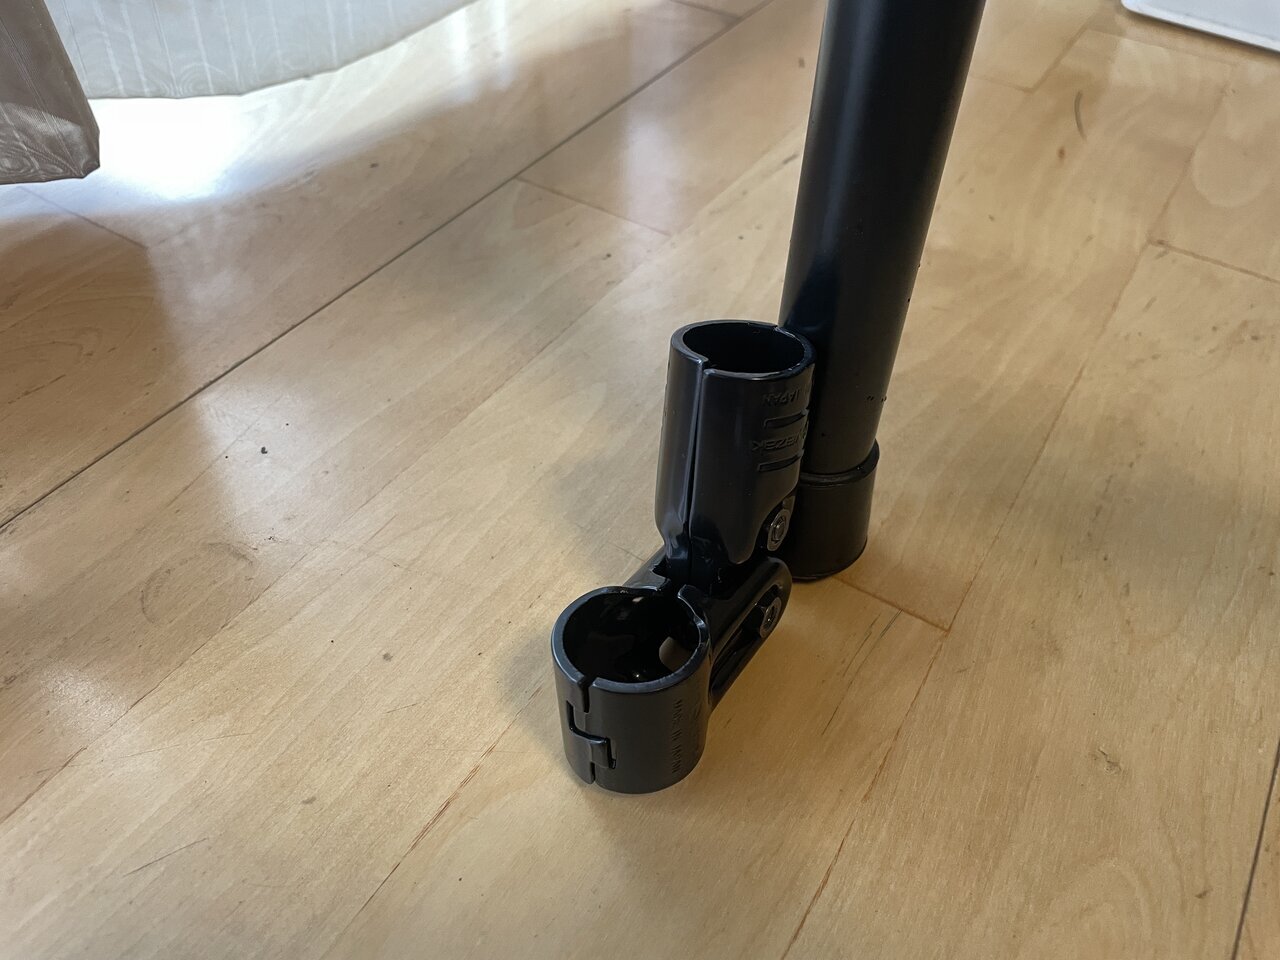
What made this idea a reality is the variety of joint parts for the electra pipes. The type used is adjustable, and the metal joint (as shown in the top image) connects the poles that support the tarp. Unlike plastic joints that require glue, the metal ones can be tightened with an Allen wrench and fixed at any angle, but in this design, it might lack a bit of holding power. Therefore, I decided to add diagonal bracing poles to increase stability.
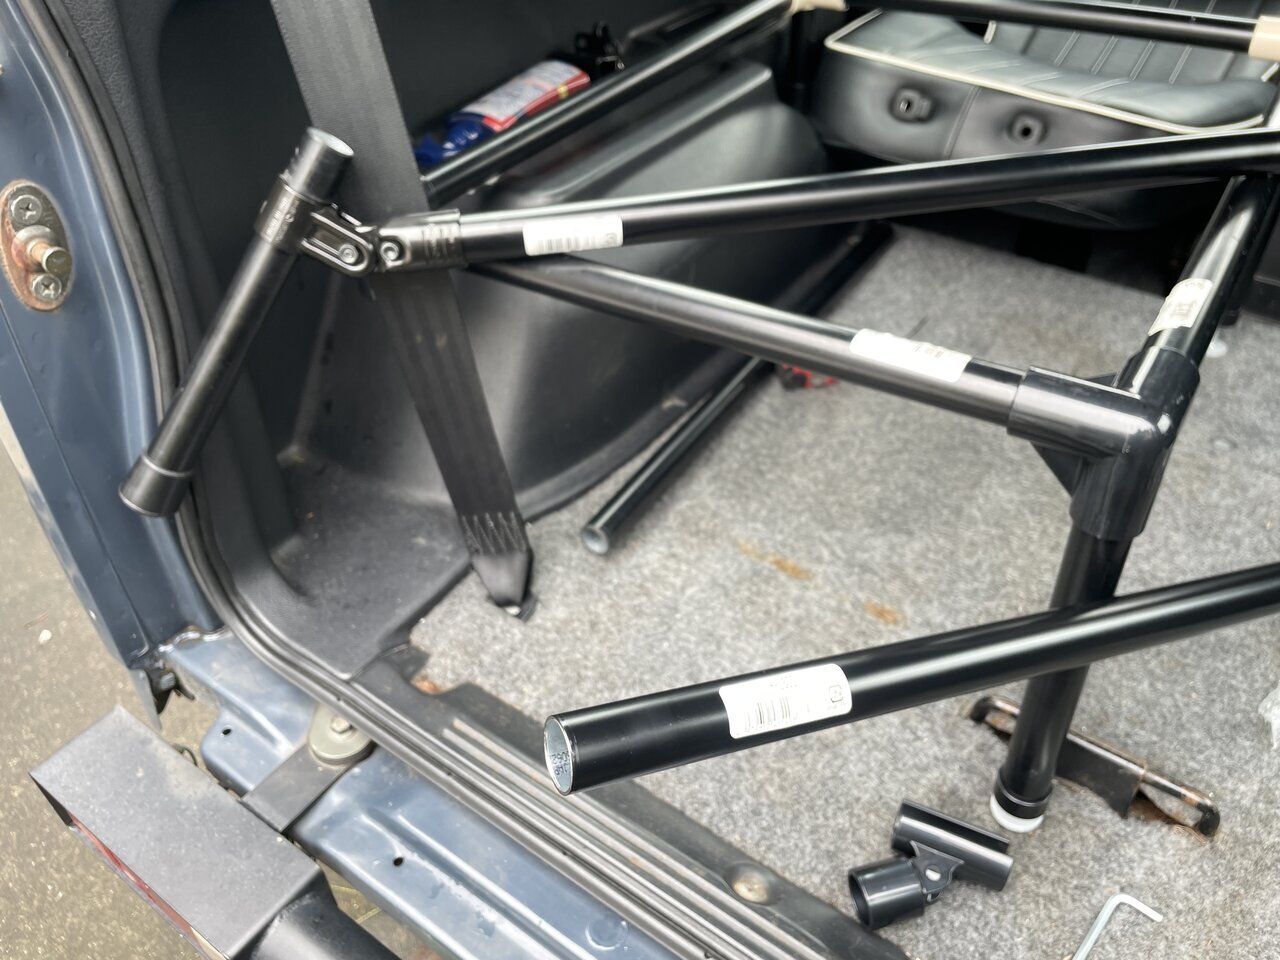
As a result of adding the bracing, it seems like it can be set up quite well. When adjusting to the height of the back door, I decided to change the pole length from 120 cm to 150 cm as it was insufficient. With the longer pole, it seems it will support well enough, so I finalized the design of the pole part and glued it together.
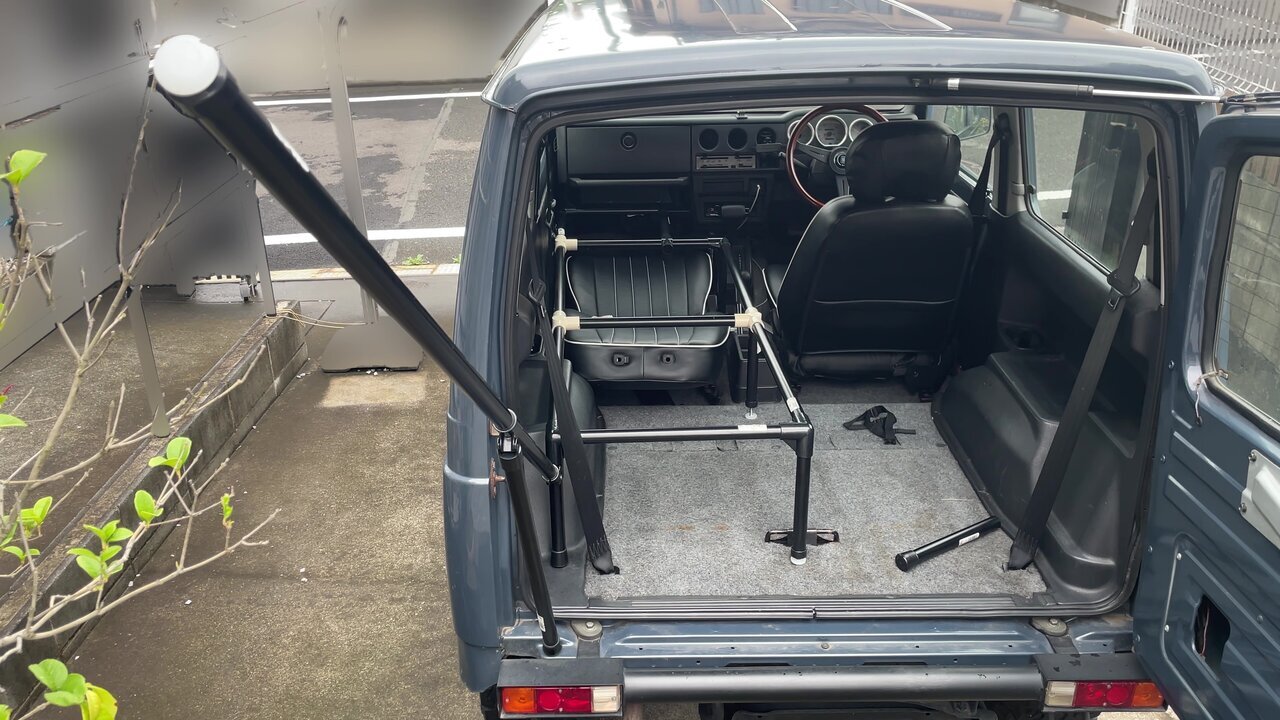
The completed tarp pole looks like this! A rubber cap is attached to the ends of the bracing legs to grip the bumper and support the tarp pole. The design uses an adjuster at the top of the tarp pole to hook the tarp's loop. Since the load will be significantly placed on the back door, it should withstand even a simple structure. By the way, since I used the beds' legs as poles, I made one more to differentiate them.
The materials for the poles used (one of each) are as follows.
・Pipe 150 cm
・Pipe 60 cm
・Metal Joint HJ-7
・Joint J-43SET
・Adjuster
・Rubber Cap
Excluding the glue and Allen wrench previously purchased, as well as the newly made legs, I was able to assemble everything for under 3000 yen.
The materials for the poles used (one of each) are as follows.
・Pipe 150 cm
・Pipe 60 cm
・Metal Joint HJ-7
・Joint J-43SET
・Adjuster
・Rubber Cap
Excluding the glue and Allen wrench previously purchased, as well as the newly made legs, I was able to assemble everything for under 3000 yen.
It is adjustable to accommodate a tarp of about 3×3 m!
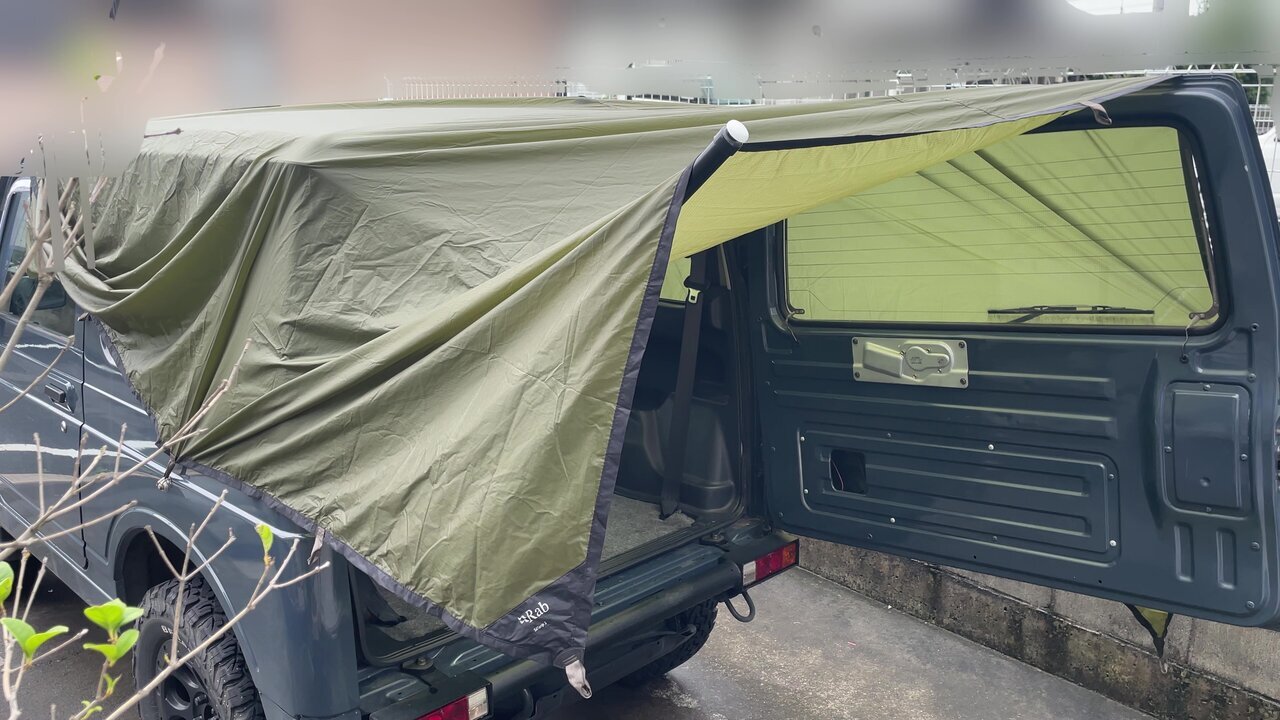
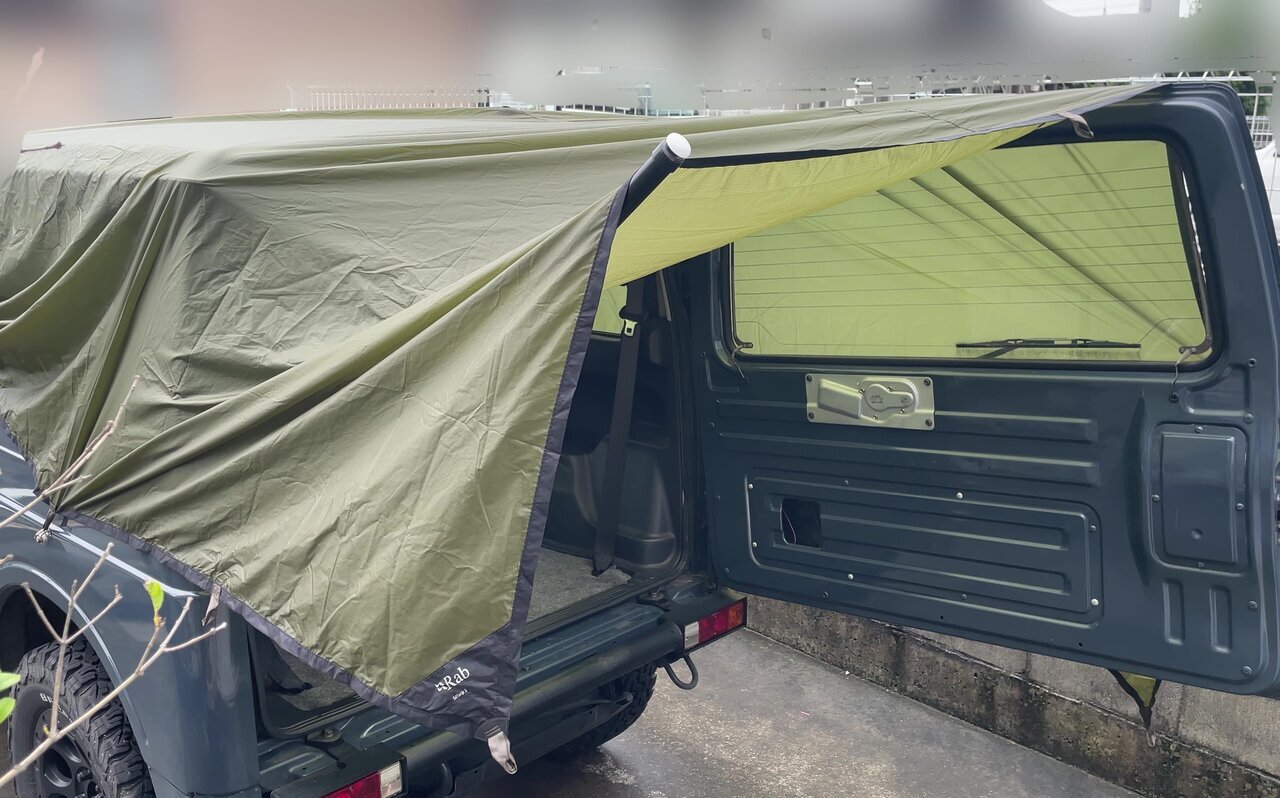
When I tried setting up my lightweight tarp "Rab Siltarp 2," which is 3×2.4 m, it turned out quite well! Perhaps because the force is distributed, the load on the pole was not too much, and I think I was able to set up the tarp tautly. It seems to handle even heavier tarps just fine.
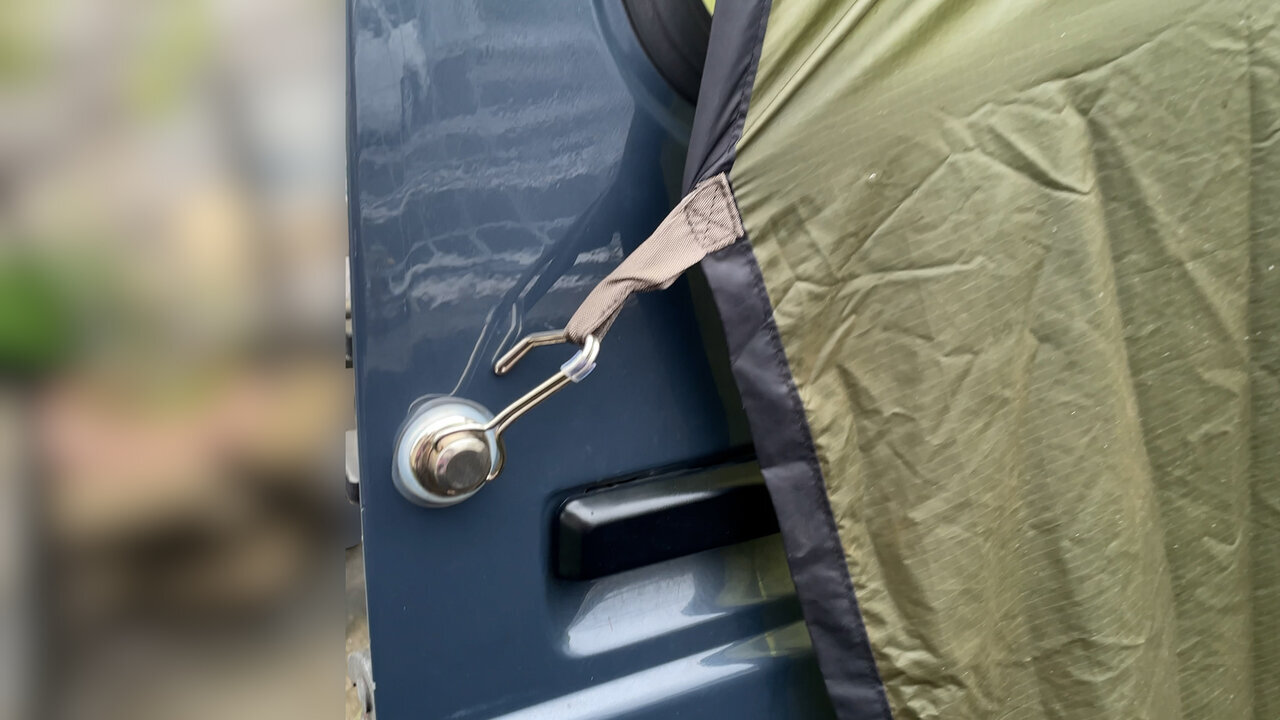
It is simply a matter of securing the body with three neodymium magnet hooks with a load capacity of 5 kg. I secured two at the back door area shown in the image and at the front part where the tarp is spread out, and it feels adequately secured just at the back door section.
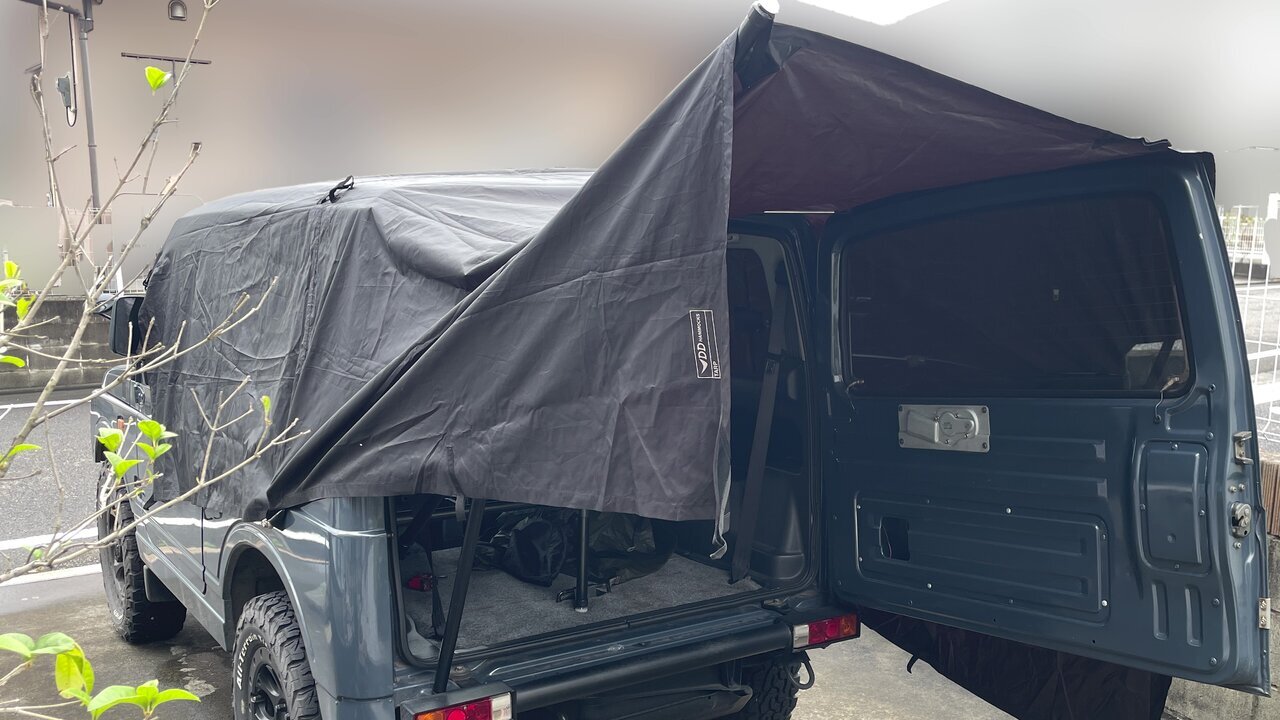
I tried it with the DD tarp, which seems to be popular among users, and there was no problem setting it up at all. It is a system that can accommodate a tarp of about 3×3 m, so I think many different people could give it a try. For actual use, I plan to mainly combine it with the sturdy DD tarp.
Since the vehicle is covered by the tarp, it can be customized for entry and exit from the rear seats
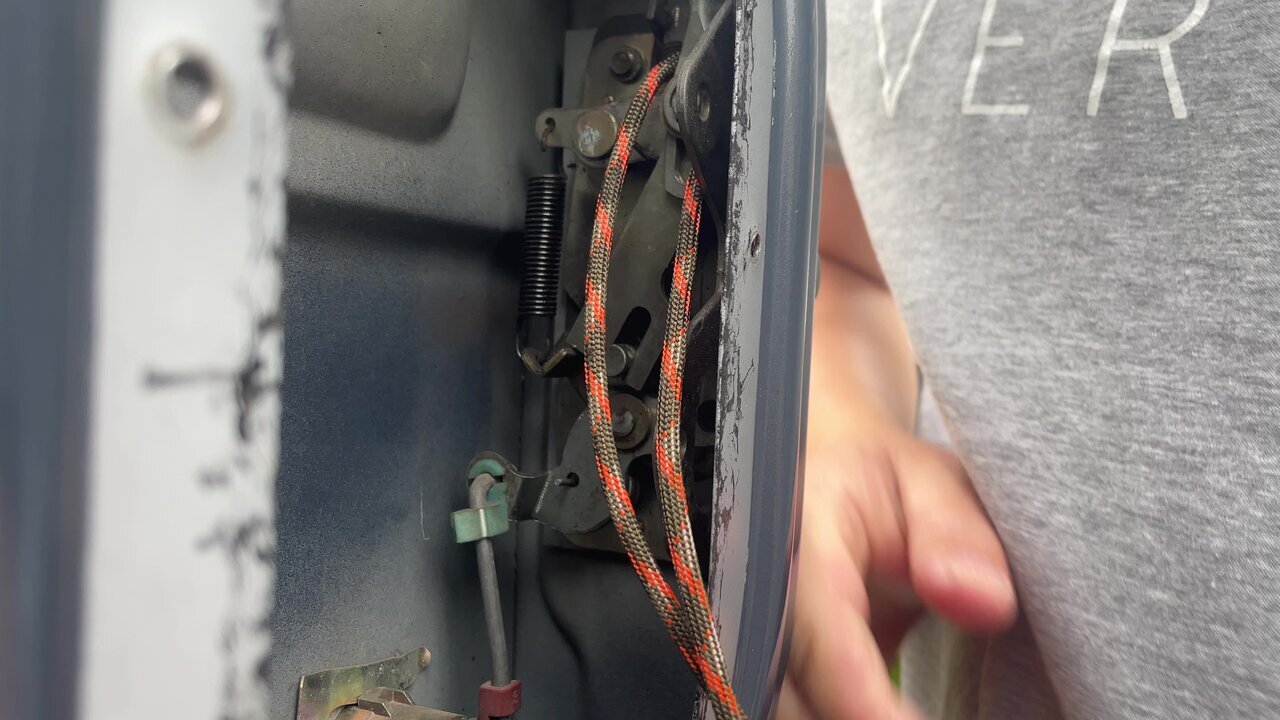
When I covered the vehicle with the DD tarp, it covered half of the body, making me concerned that I might not be able to exit through the doors on either side. Therefore, I decided to make it possible to open the back door from the inside. Since I had previously repaired the handle of the back door, I have a general understanding of the mechanism. When the front arm lowers and the back spring is pulled up, the latch moves and the door opens. So, I made it possible to replicate this motion by attaching a string to the connection point of the arm and pulling it down. The work took about 2 to 3 minutes and was very easy.
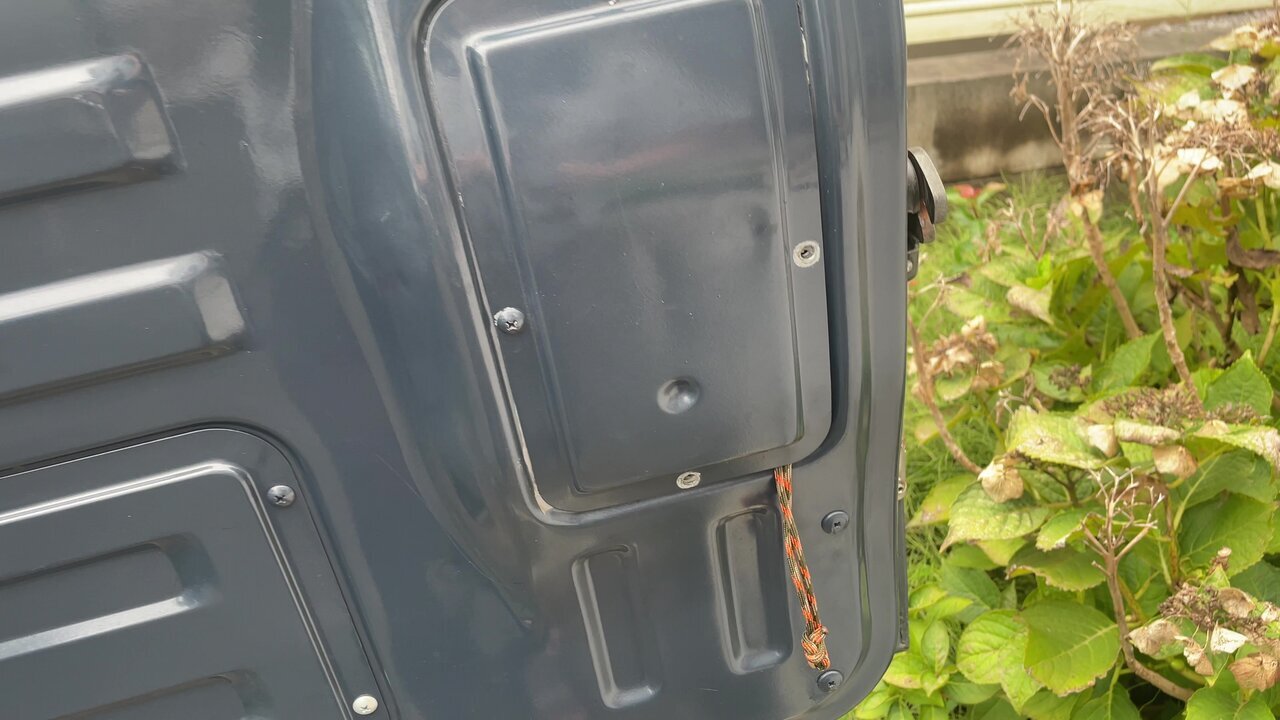
I just closed two screws of the cover and ensured the string's movement was not obstructed, and then all the work was complete! What I had been thinking about on a rainy night has taken shape, and I feel very fulfilled. After all, creating things using electra pipes is very enjoyable. I am eager to test this tarp system during actual car camping.
Interview and text by Kazuma Tanaka
- SHARE





![[Midnight Drive] I wanted to cool off a bit, so I went for an adult night stroll at the retro vending machine corner in Sagamihara.](https://cdn.clipkit.co/tenants/1046/articles/images/000/032/887/large/a1bf17cd-06d0-4ad5-8236-8fd2970728e5.jpg?1787522426)
![[Interview] Bongo Brownie ✕ VAN LIVING What is the concept of living space that can be enjoyed with simple DIY?](https://cdn.clipkit.co/tenants/1046/articles/images/000/029/348/large/1669c7fe-4dba-4cc5-b0a3-7defa56bc0c0.jpg?1774904732)


 FASHION
 OUTDOOR
 WATCH
WATCH CAR & BIKE
 SNAP
SNAP DINING
 LIFE
LIFE GADGET
 GOLF
GOLF