
CAR & BIKE
2025.11.21
【DIY Car Camping】Total cost of just over 13,000 yen! Building a bed to achieve a true flat space in a JA22 Jimny.
Challenging to make a bed kit for camping in the car using electra pipes. The JA22 Jimny has little customization information, so I proceeded to design and manufacture it by feel. It turned out to be surprisingly enjoyable work and became a very good experience.
For a comfortable car camping experience, a flat bed is necessary

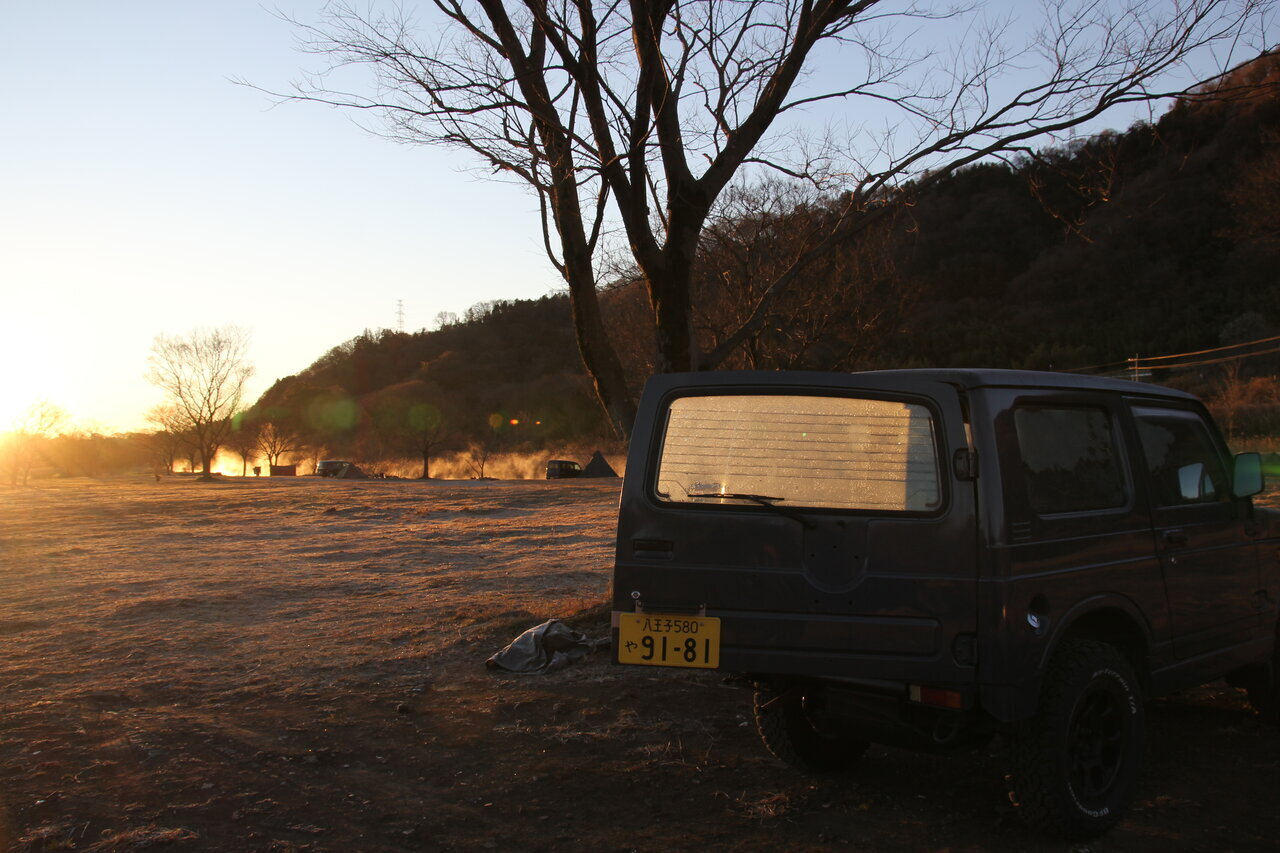
Up until now, I have been exploring various methods to achieve comfortable car camping with my JA22 Jimny. As I welcome a new car camping season, achieving complete flatness is essential to further boost my motivation. Therefore, I decided to create a bed kit using electra pipes.
Challenging myself to build a bed using standard electra pipes

Electra pipes are steel pipes coated with plastic, and they have become a standard material for car camping DIY projects. I had avoided using them because it seemed like it would be a hassle to adjust them to fit the uneven interior of the car, but this time I carefully considered my design and purchased the materials.
The materials I will be using are from Yazaki Kako's Inlektar pipe kit. I will describe the dimensions and costs later.
The materials I will be using are from Yazaki Kako's Inlektar pipe kit. I will describe the dimensions and costs later.

After meticulously measuring the dimensions, I purchased pipes cut to a specific size according to my design. However, at the stage of test fitting the top frame, I discovered that my design was incorrect. Since the joints extend, the combination turned out to be completely different from what I had planned.
However, the top part seems like it will fit fine with the original cut sizes, so I am starting to feel that it might be surprisingly easy to complete.
However, the top part seems like it will fit fine with the original cut sizes, so I am starting to feel that it might be surprisingly easy to complete.

To secure a wide top board space, the challenge was the tire house bulging out on the left edge. Since the design places a leg pipe in the narrow space at the passenger footwell, it seems just possible to fit it above by temporarily placing a 450mm pipe and adjusting the height. It doesn't seem to be a problem to attach legs to all joint parts, so I will proceed with the work based on this height.

What I thought would be a hassle was the cutting work for length adjustment. The cutting method involves sandwiching the pipe in a pipe cutter with rollers and blades, and simply rotating it. It requires some effort, but it's easier than expected. My motivation lifted as I thought, "I can do this!"

The key to flattening is the height of the legs; however, even if it's made precisely, the height can change if the mat inside the car sinks or if the positions of the legs shift, so I cut it rather roughly.
I was relying on an adjuster that provides height adjustments of ±20mm, so as long as it doesn't get too high, I felt that some errors were acceptable and proceeded. The way I determine dimensions is by taking the joint insertion part at 30mm, so I measure height from the bottom of the joint to the floor plus 30mm.
I was relying on an adjuster that provides height adjustments of ±20mm, so as long as it doesn't get too high, I felt that some errors were acceptable and proceeded. The way I determine dimensions is by taking the joint insertion part at 30mm, so I measure height from the bottom of the joint to the floor plus 30mm.
Is this the adult version of block play? It's finally time for finishing touches.

The last concern is the legs in this half-finished and unstable position. I considered shifting the joint back to set it on a flat part, but I thought the main frame in the center of the body would stretch too much and lose strength, so I ended up with this shape (see image above).
Instead of using an adjuster for anti-slip, I tried adding rubber caps, and they seem surprisingly good. It's impressive that there are countless parts tailored to such needs, and I found myself engrossed in the work that I initially thought would be tedious.
I believe Yazaki Kako’s Inrektor pipe is a wonderful product that offers great flexibility and stimulates the imagination, making it justifiable to call it "adult LEGO."

The frame part was made quite beautifully. It doesn't interfere with the handbrake or shift lever even when the frame is installed. Stability is also without problem. I'm very pleased with how well it turned out.

Now that the dimensions are decided, I will start the gluing work. You can secure it just by flowing the joint gaps with the included dropper. This gluing was also very easy. After actually using it, various complaints might arise, and considering storage, I decided not to glue the legs and only glued the top frame in three segments.

I had the top board cut to size at the home center with painted plywood. Since I'm laying an air mat, I won't be processing it for a surface finish like applying synthetic leather. However, when I brought it home, I noticed wood shavings fell off, so it seems like processing the cut edges is necessary.

After I applied some waterproof tape that was lying around the house to the sides, it looks good. It seems like it will also prevent damage to the interior seats and air mat from sharp corners.
Finally completed! What are its dimensions and costs?

Finally completed! The level is just right, and the size feels perfect. The total cost, including tools and adhesives, is 13,702 yen. It ended up being more expensive than I thought, but since I can still use the tools and I've gained the confidence to create anything, it doesn’t feel expensive.

The image above is a rough dimension drawing. The length of the frame's legs will require adjustments as necessary, so it's not accurate and should just be taken as a guideline.
The legs on the passenger side seem to be fine without cutting, but the side with the shift lever is slightly higher. For the tabletop frame, it can be made into the above shape without cutting, so regarding the frame creation work, it's possible to achieve this shape by just cutting the six legs excluding the passenger side leg.
The legs on the passenger side seem to be fine without cutting, but the side with the shift lever is slightly higher. For the tabletop frame, it can be made into the above shape without cutting, so regarding the frame creation work, it's possible to achieve this shape by just cutting the six legs excluding the passenger side leg.

Once I placed the Thermarest mat, it looked like this. There are various points for improvement, but I'm looking forward to actually using it. Next time, I will take it for a test in the car, so please look forward to it.
Coverage and text by Kazuma Tanaka
- SHARE


![[Interview] Bongo Brownie ✕ VAN LIVING What is the concept of living space that can be enjoyed with simple DIY?](https://cdn.clipkit.co/tenants/1046/articles/images/000/029/348/large/1669c7fe-4dba-4cc5-b0a3-7defa56bc0c0.jpg?1774904732)


 FASHION
 OUTDOOR
 WATCH
WATCH CAR & BIKE
 SNAP
SNAP DINING
 LIFE
LIFE GADGET
 GOLF
GOLF