
OUTDOOR
2026.07.17
【Camp Cooking】A Challenge to Make Authentic Naan from Flour Using Charcoal and a Pizza Oven
Using Maruka's "Easy Pizza Oven," I challenged myself to make naan from flour. With this device that can cook over a campfire or charcoal, I also tried out naan baking that can be enjoyed during camping, along with variations of toppings.
I thought I would try baking naan with a pizza oven for campfires
It might be useful for making naan while camping. The thought came from Maruka's "Easy Pizza Oven" (1320 yen). As the name suggests, it's originally designed for baking pizza and is made to be easy to use with campfires or charcoal fires.
The package mentions that it can also be used for steamed clams in sake, suggesting it could be used for a wide range of dishes, not just pizza. I want to try making naan with this!
The package mentions that it can also be used for steamed clams in sake, suggesting it could be used for a wide range of dishes, not just pizza. I want to try making naan with this!
How to make naan dough
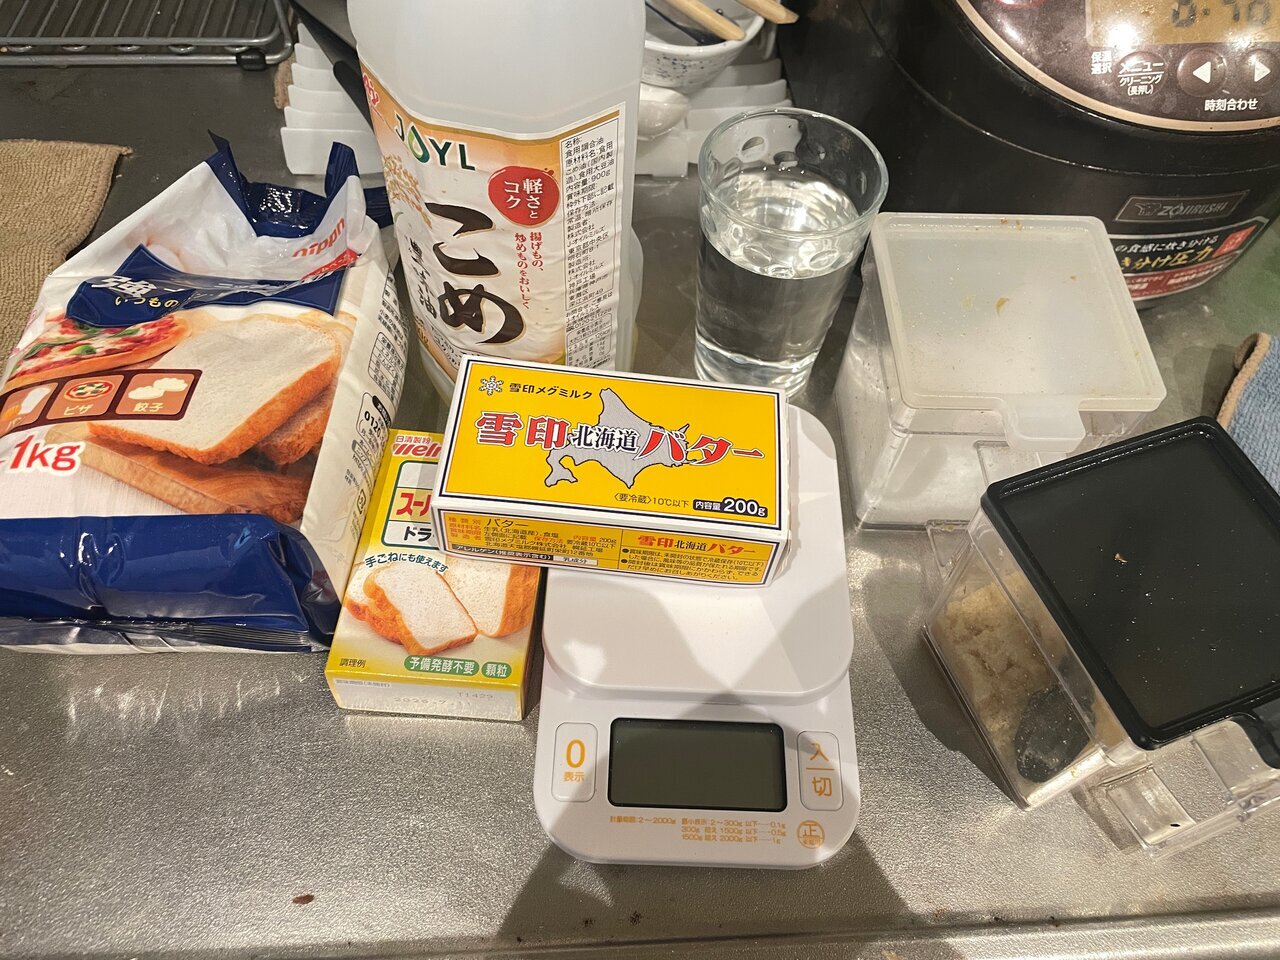
I had never made naan before, but it seems surprisingly simple. The ingredients I gathered from my search are as follows.
Ingredients for naan (4 pieces)
Bread flour: 300g
Melted butter: 20g
Dry yeast: 3g
Water: 150ml
Salt: 5g
Sugar: 5g
Oil: 15g
Basically, you just mix everything and knead.
Ingredients for naan (4 pieces)
Bread flour: 300g
Melted butter: 20g
Dry yeast: 3g
Water: 150ml
Salt: 5g
Sugar: 5g
Oil: 15g
Basically, you just mix everything and knead.
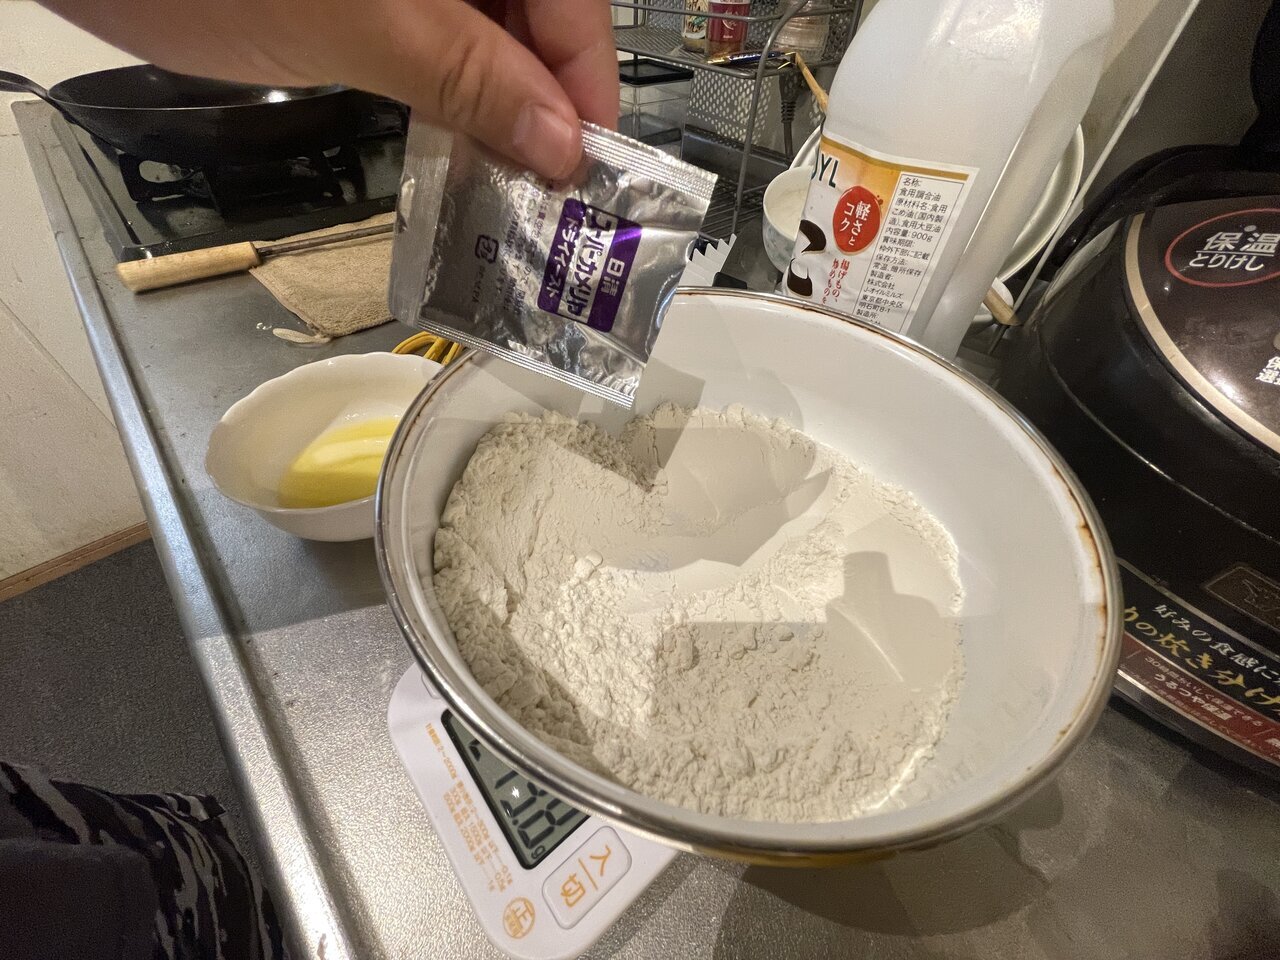
Combine everything except the water in a bowl, and gradually add water while kneading. It gradually comes together, so I kneaded for about 20 minutes until it didn't stick to my hands.
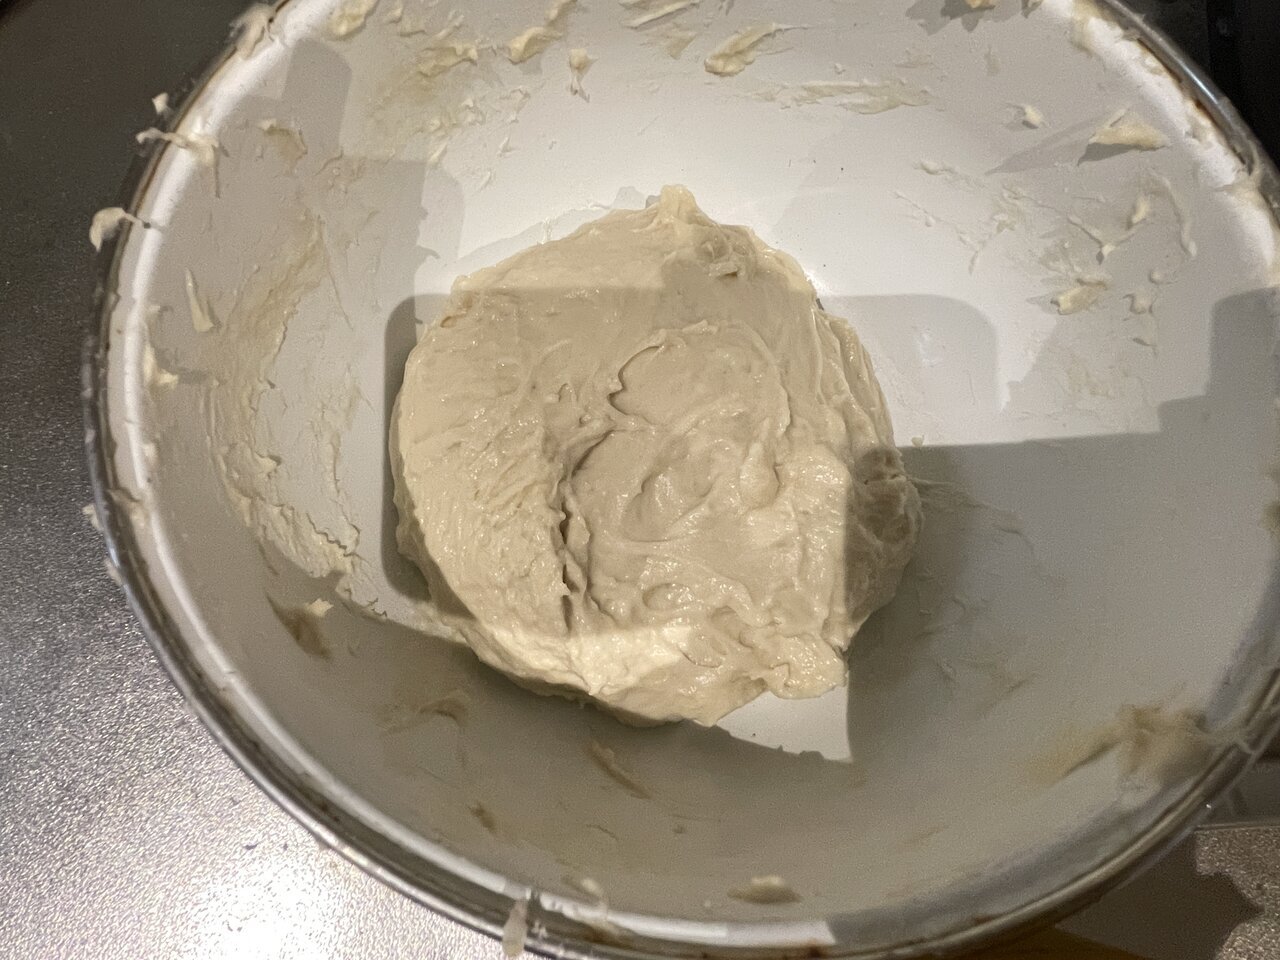
It feels a bit sticky, but for now, the kneading is complete. After this, cover it with a wet cloth (this time using kitchen paper as a substitute) and let it ferment for more than an hour. The wet cloth helps maintain humidity and is useful for promoting fermentation.
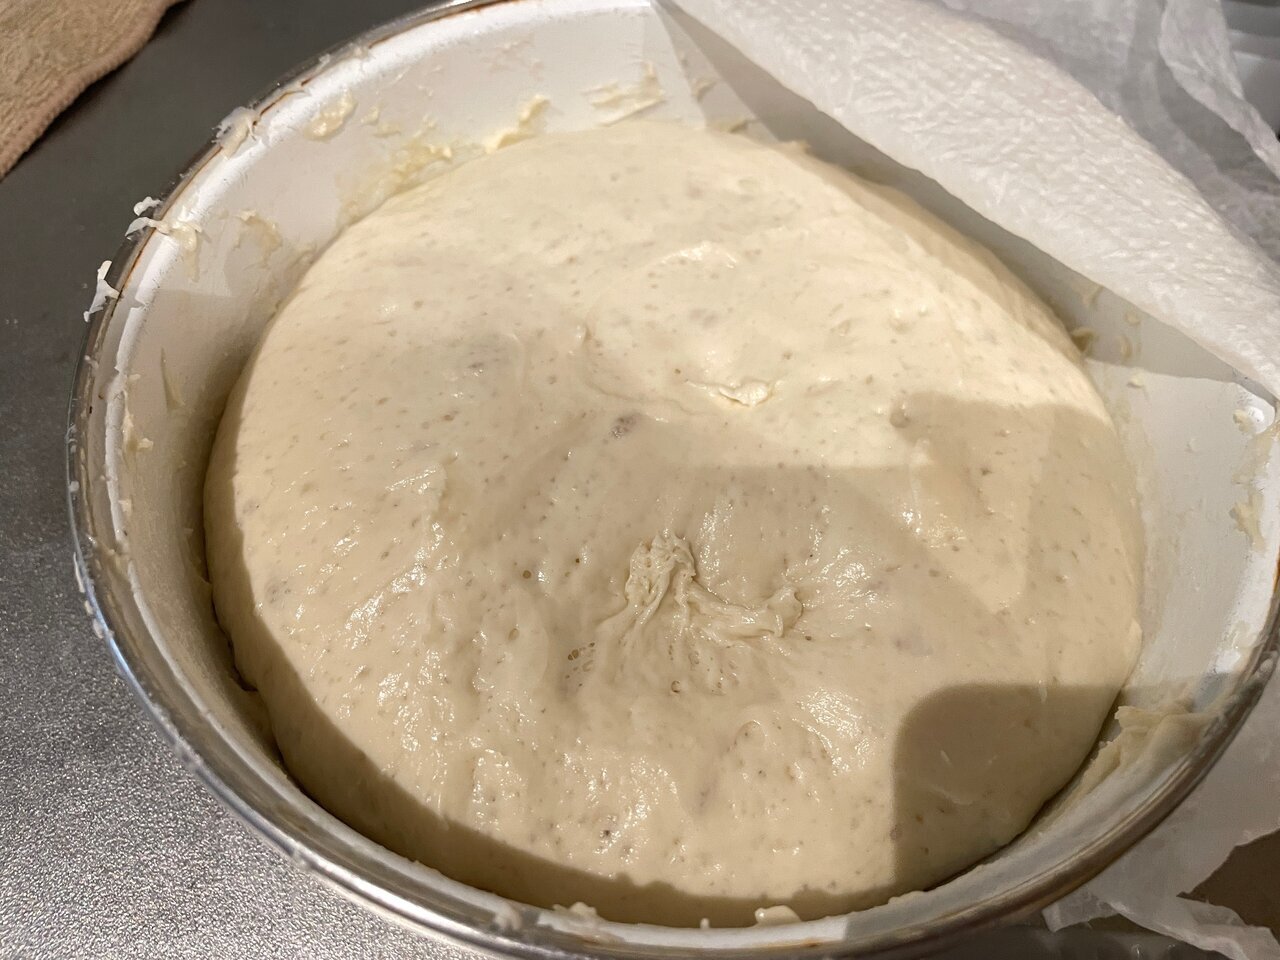
When I returned from the gym, over two hours had passed, and the fermentation had progressed, increasing nearly fourfold. It was sticky, possibly due to high moisture, so I decided to shape it while dusting it with the leftover bread flour.
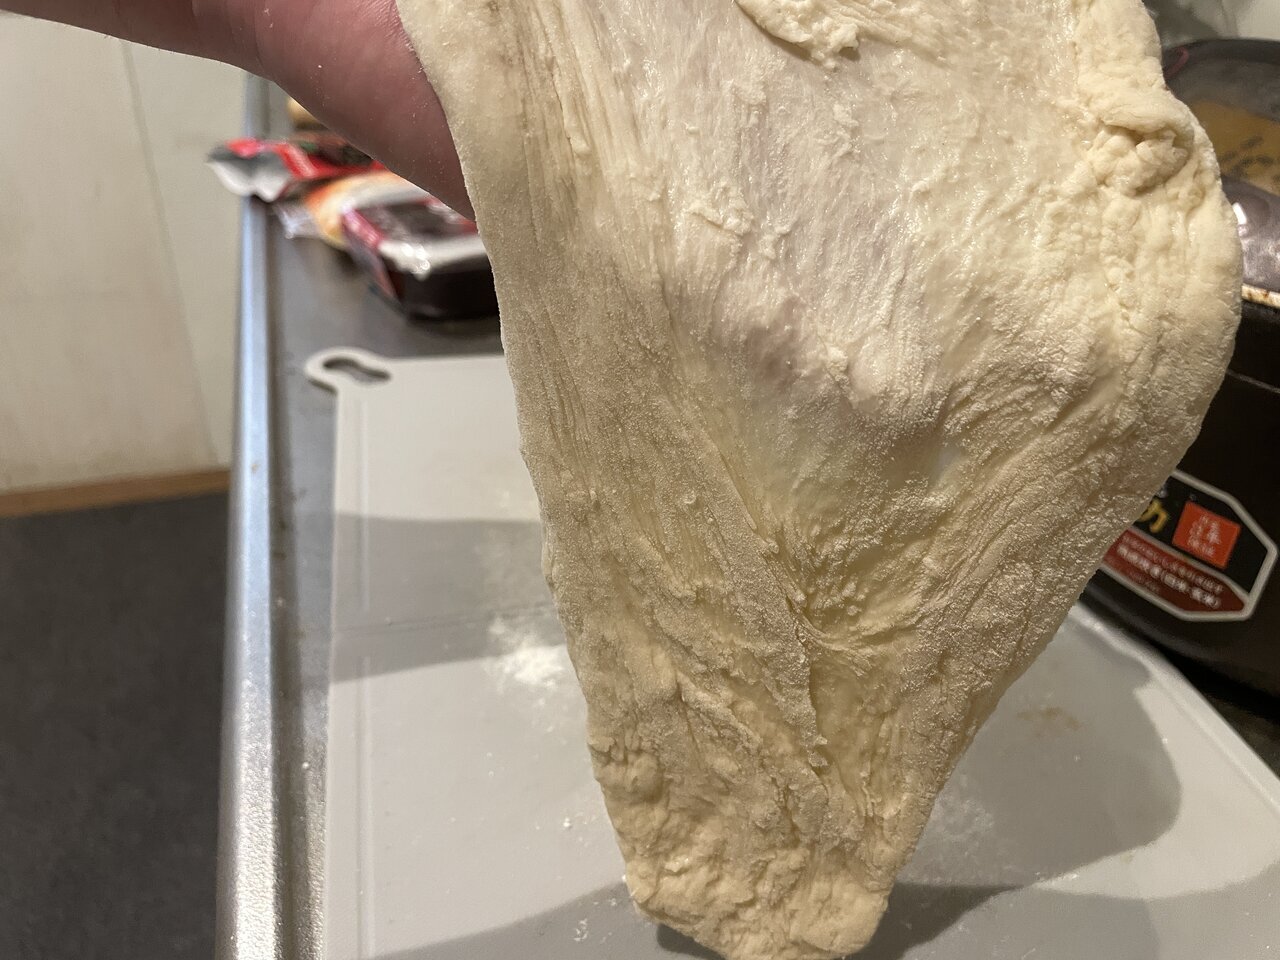
The fermented naan dough was connected in a fibrous manner and was in a stretchy state. While stretching, it was easier to lift it as shown in the image and stretch it by cutting through the fibers with gravity. I took care not to create any holes.
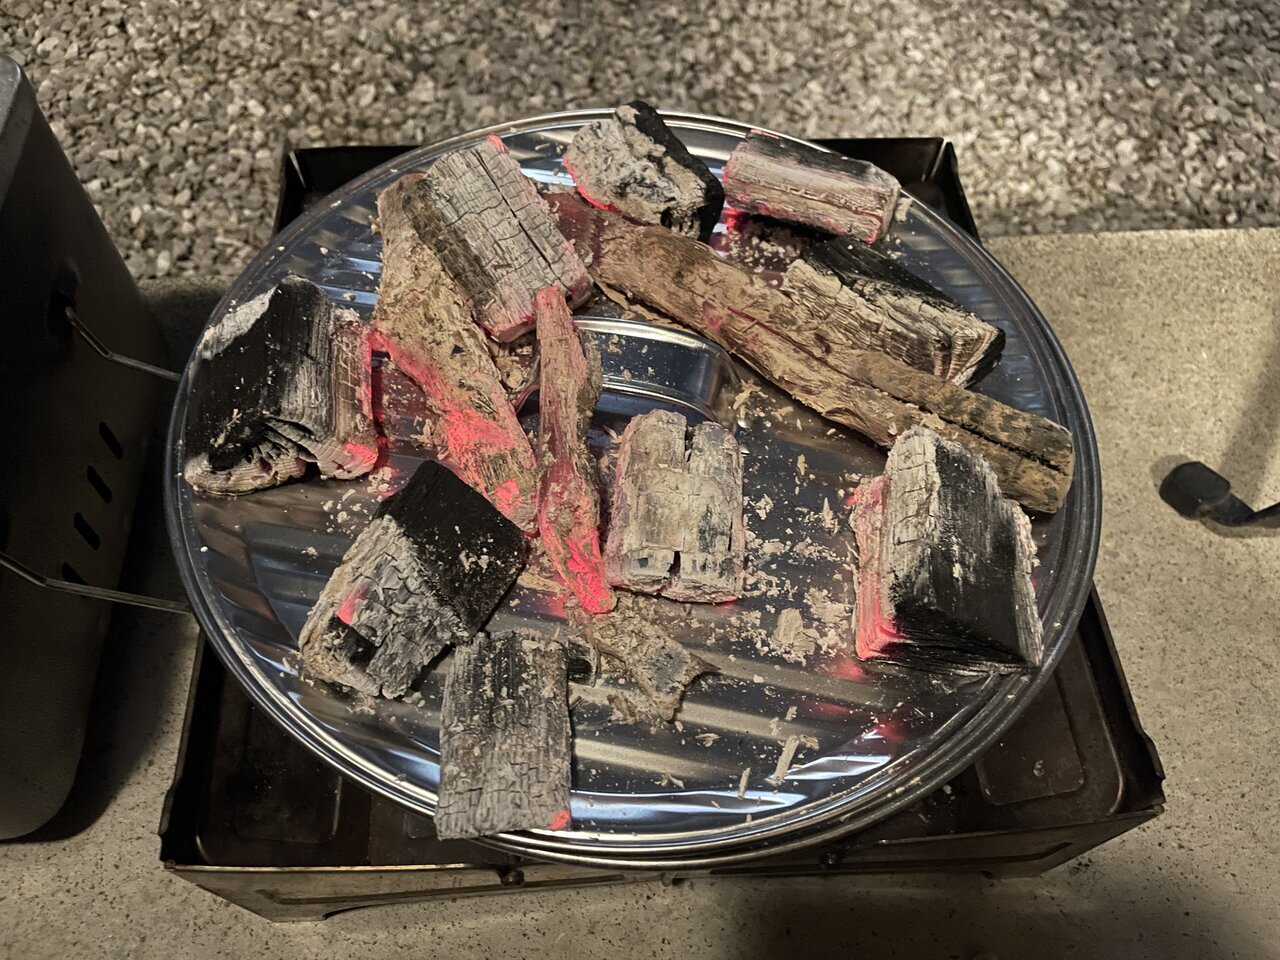
Preparation is complete with just the charcoal ignited and the pizza oven set up.
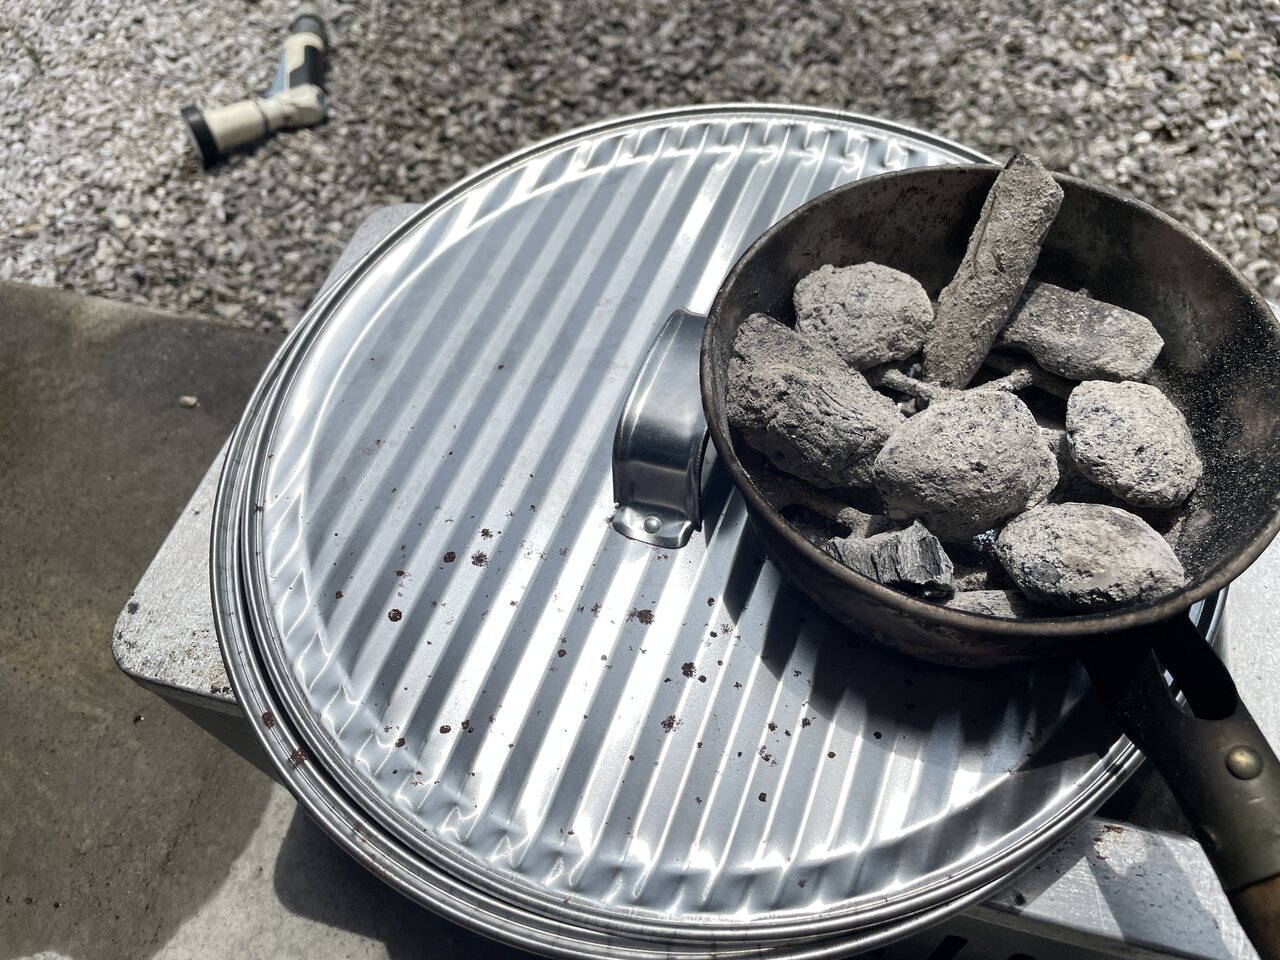
Once the charcoal is ignited in the shichirin, simply place the dough into the pizza oven and set it on top of the shichirin. The pizza oven is convenient because you can place charcoal on top of the lid to heat it like an oven. However, when I actually tried it, it seemed that a considerable amount of charcoal was needed for heating from above, so this time I focused on heating from below. If you have an environment where you can ignite a lot of charcoal, it might be good to try placing it on top of the lid as well.
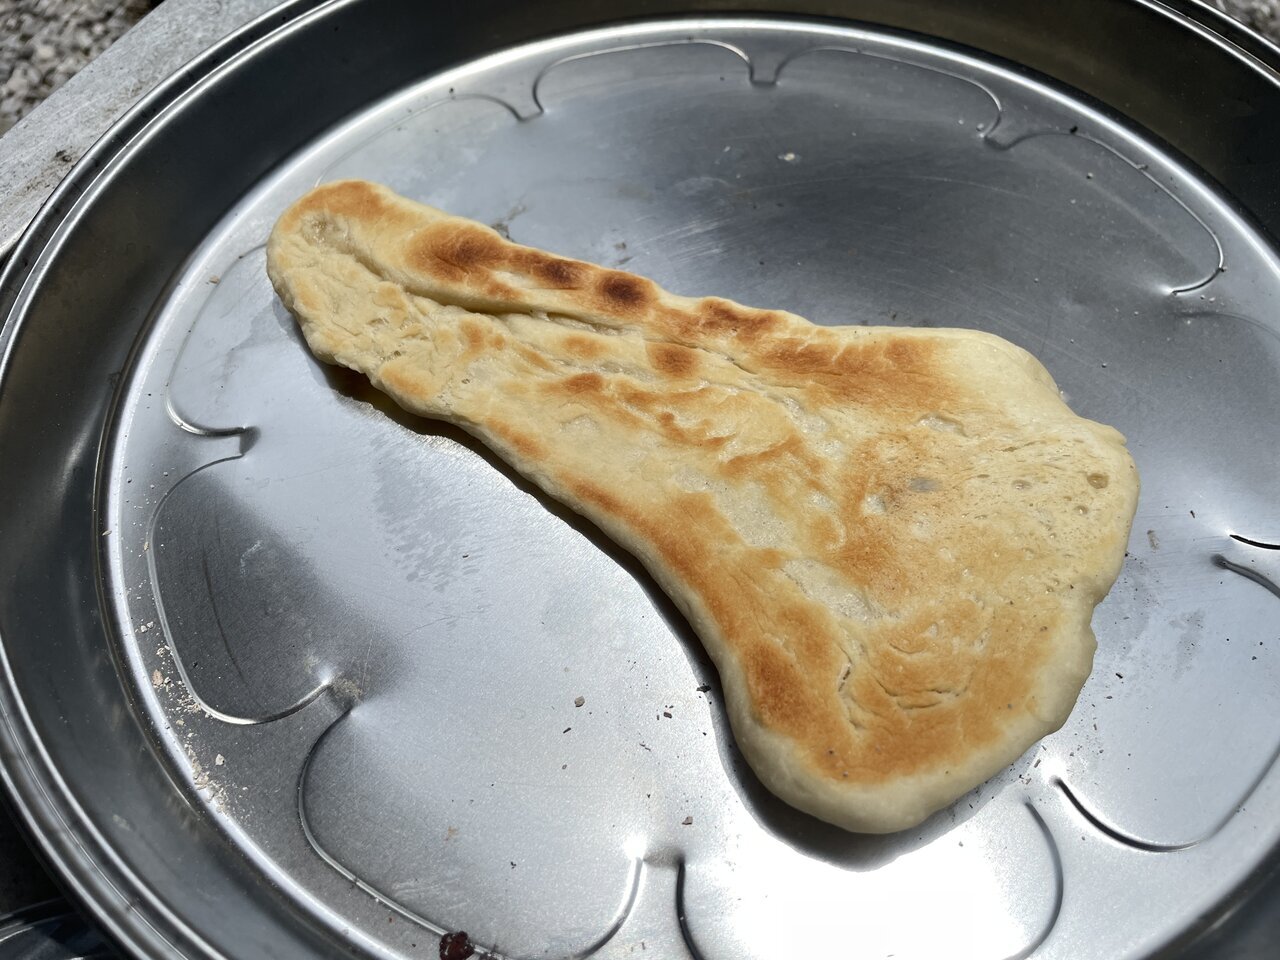
A fragrant smell started to waft, so I checked the browning and it looked very good! When I flipped it over to cook the other side, a plain naan was completed. By the way, the side that was flipped is dry, so it tends to burn easily.
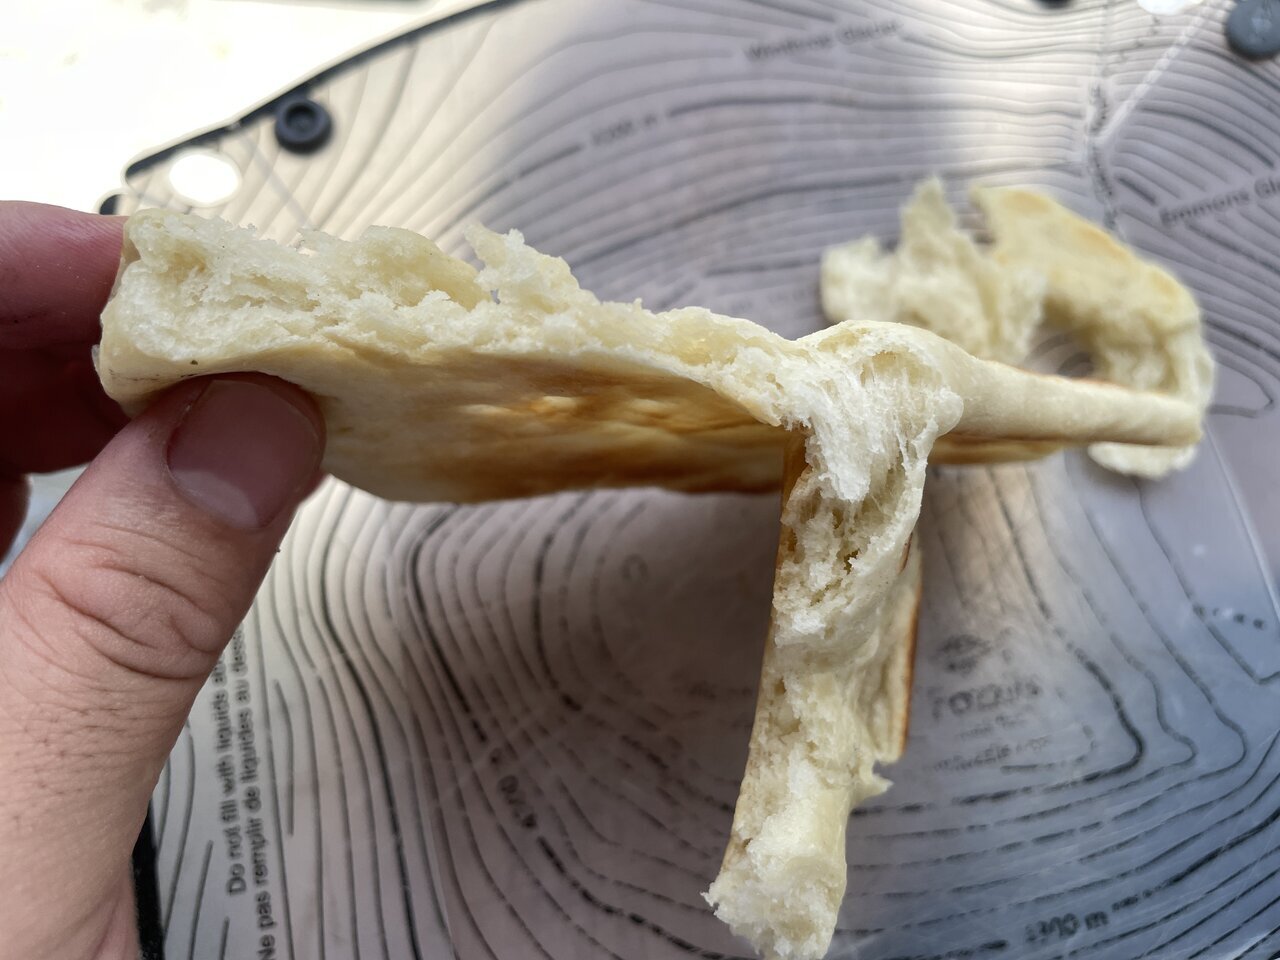
The thick part was a bit dry, but it had a chewy naan-like texture and was very delicious. The dryness was due to the charcoal being slightly low in temperature, and I realized that the key is to heat the charcoal until it's very hot before baking. It’s likely that removing moisture quickly over a short period helps create a naan-like texture.
It was superb when I did some topping arrangements with the naan dough.
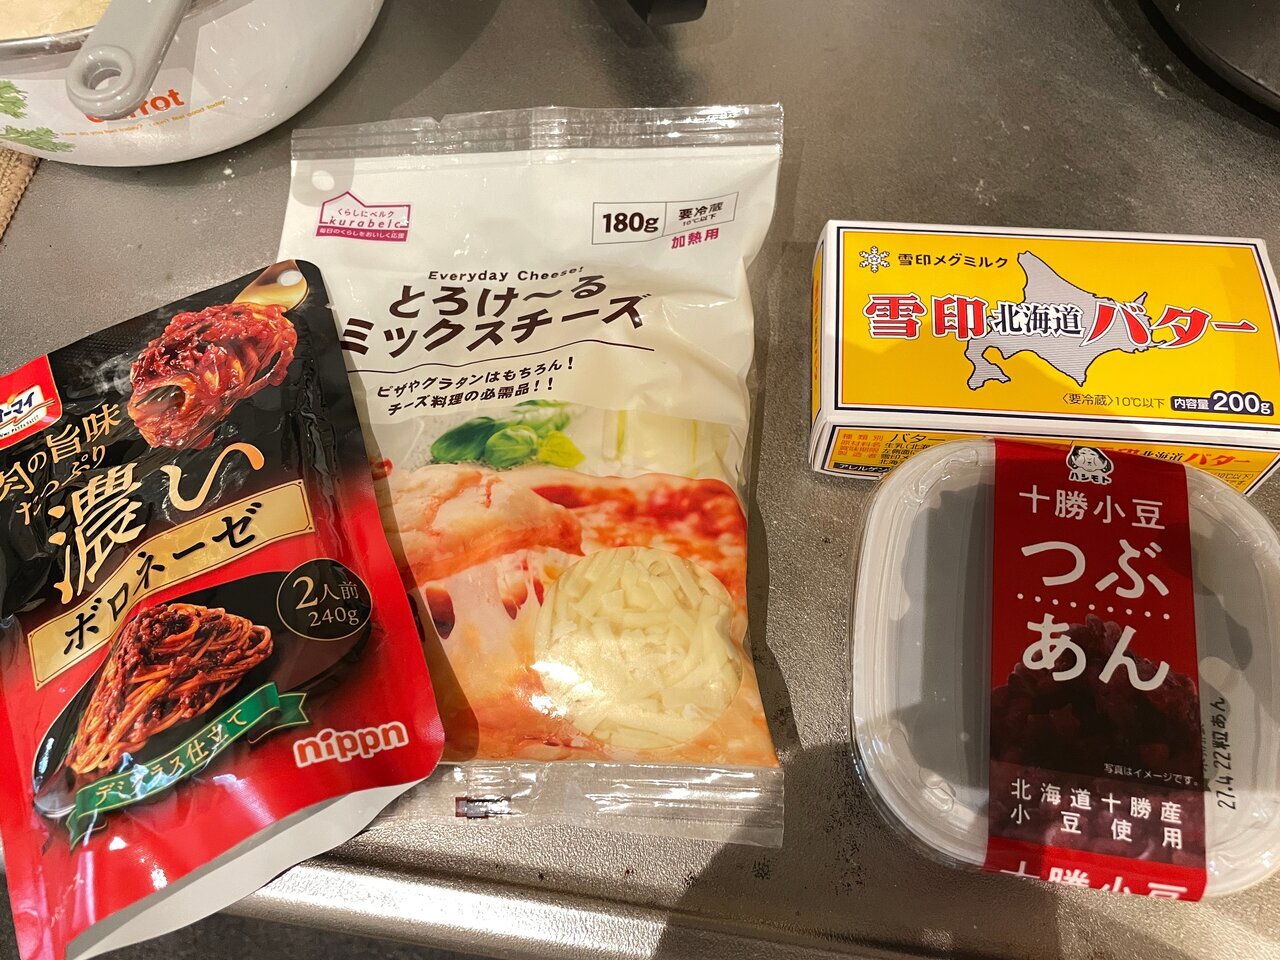
Since the plain naan was a success, I want to try some topping arrangements. I’m going to attempt two variations: "Cheese & Meat" with meat sauce and cheese, and "An Butter" with sweet red bean paste and butter.
Naan + Cheese & Meat will surely have an Italian flavor that appeals to everyone.
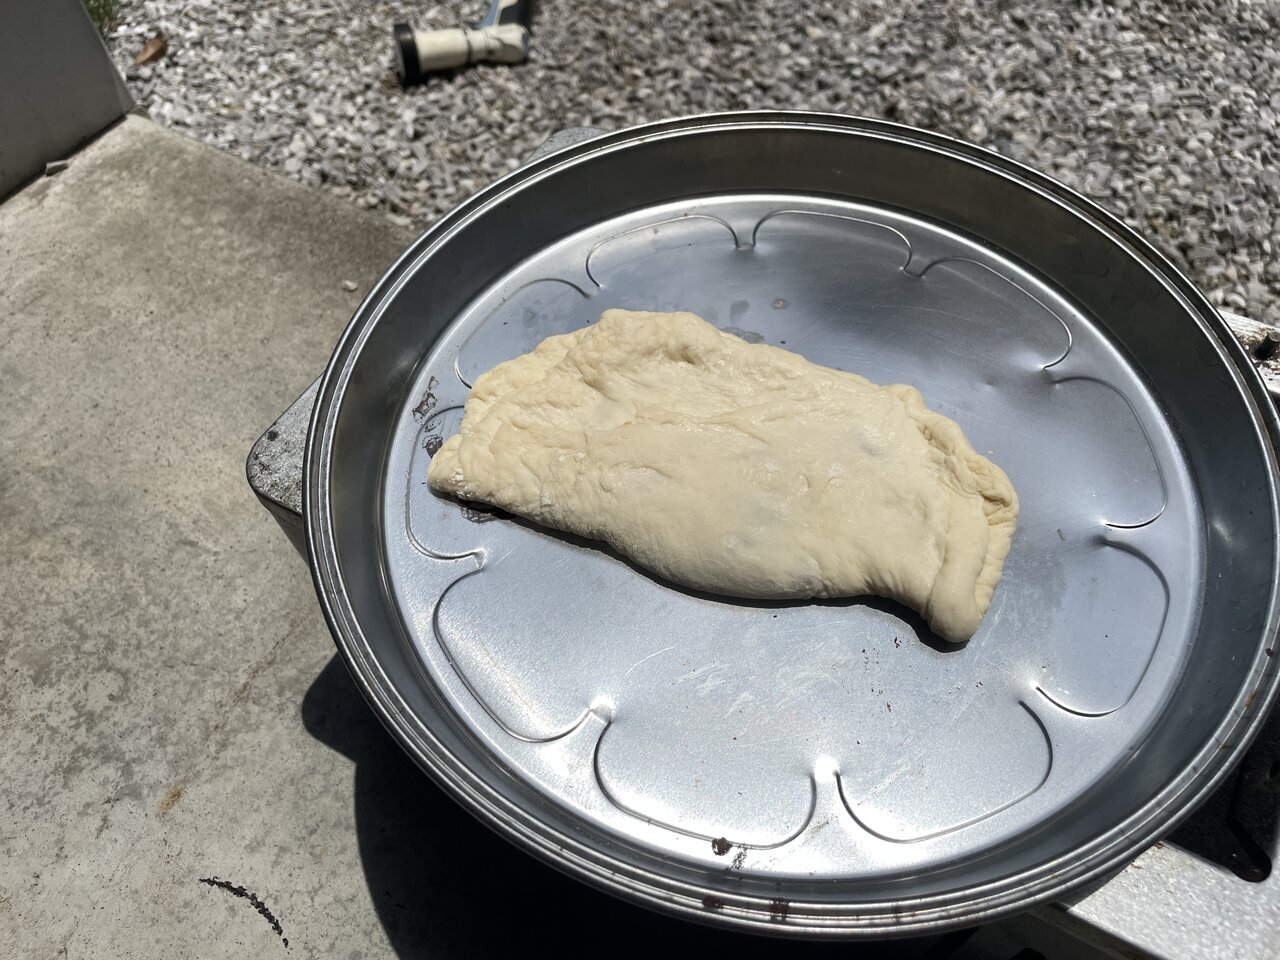
First, I will grill the cheese & meat. I spread the dough thin, placed the meat sauce and cheese on top, and then shaped it by folding it over. I was worried about the dough tearing, but it turned out fine and I successfully flipped it without any issues. Even with adding ingredients, it seems to grill nicely.
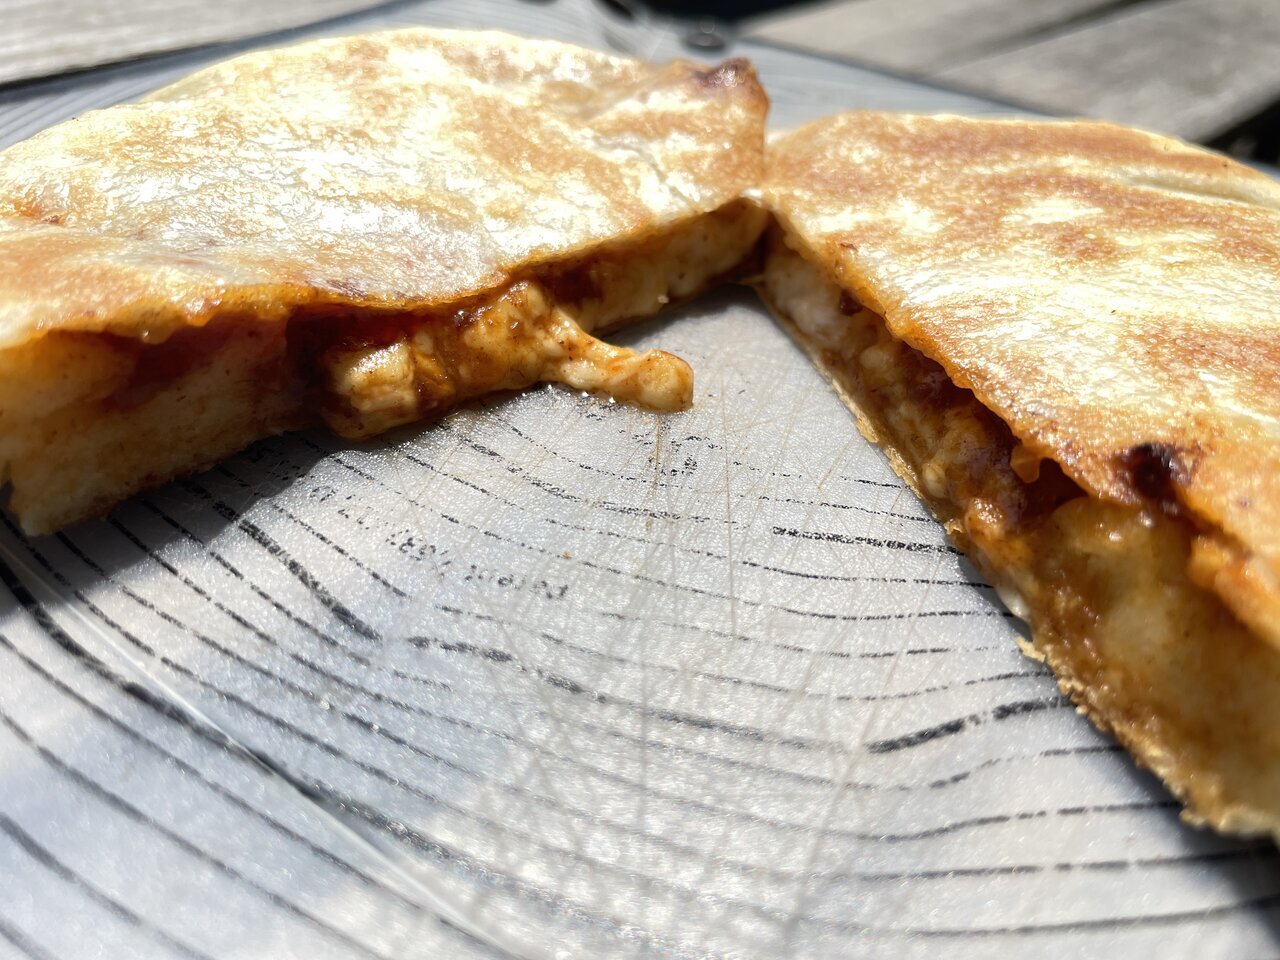
When I cut it in half, it was well-cooked. I had expected the cheese to stretch more, but I might have not used enough. After tasting it, the flavor is the best finish! It turned out with a taste leaning more towards Italian than traditional Indian naan. The kids loved it too, and it seems to be a crowd-pleaser. I think it would be fun for the whole family to grill it while adding toppings.
By the way, if you put in too many ingredients, it can become watery and undercooked, so it’s better to keep the balance of toppings modest.
By the way, if you put in too many ingredients, it can become watery and undercooked, so it’s better to keep the balance of toppings modest.
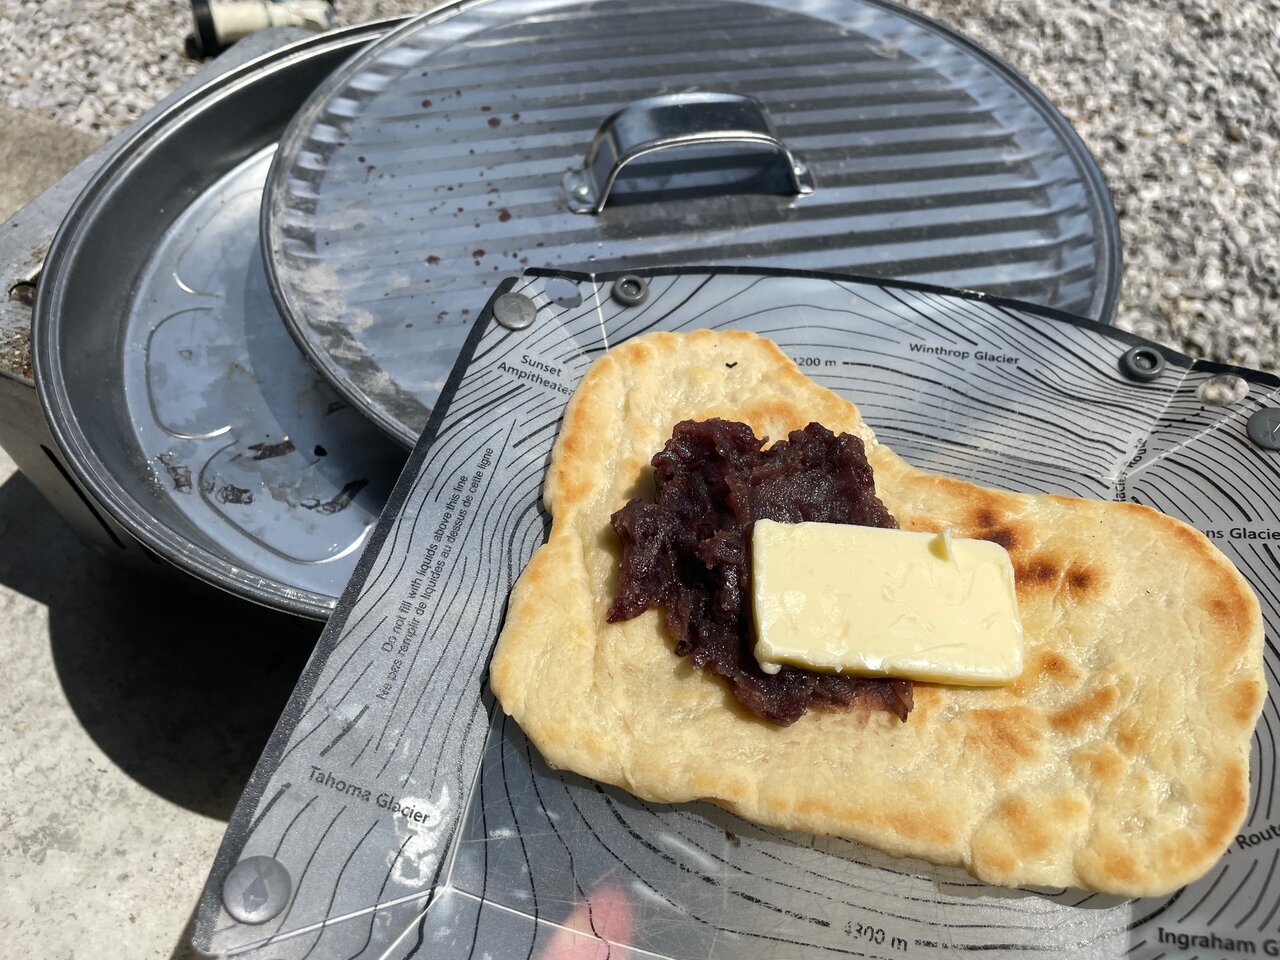
The naan + red bean butter has a high level of completion and is recommended.
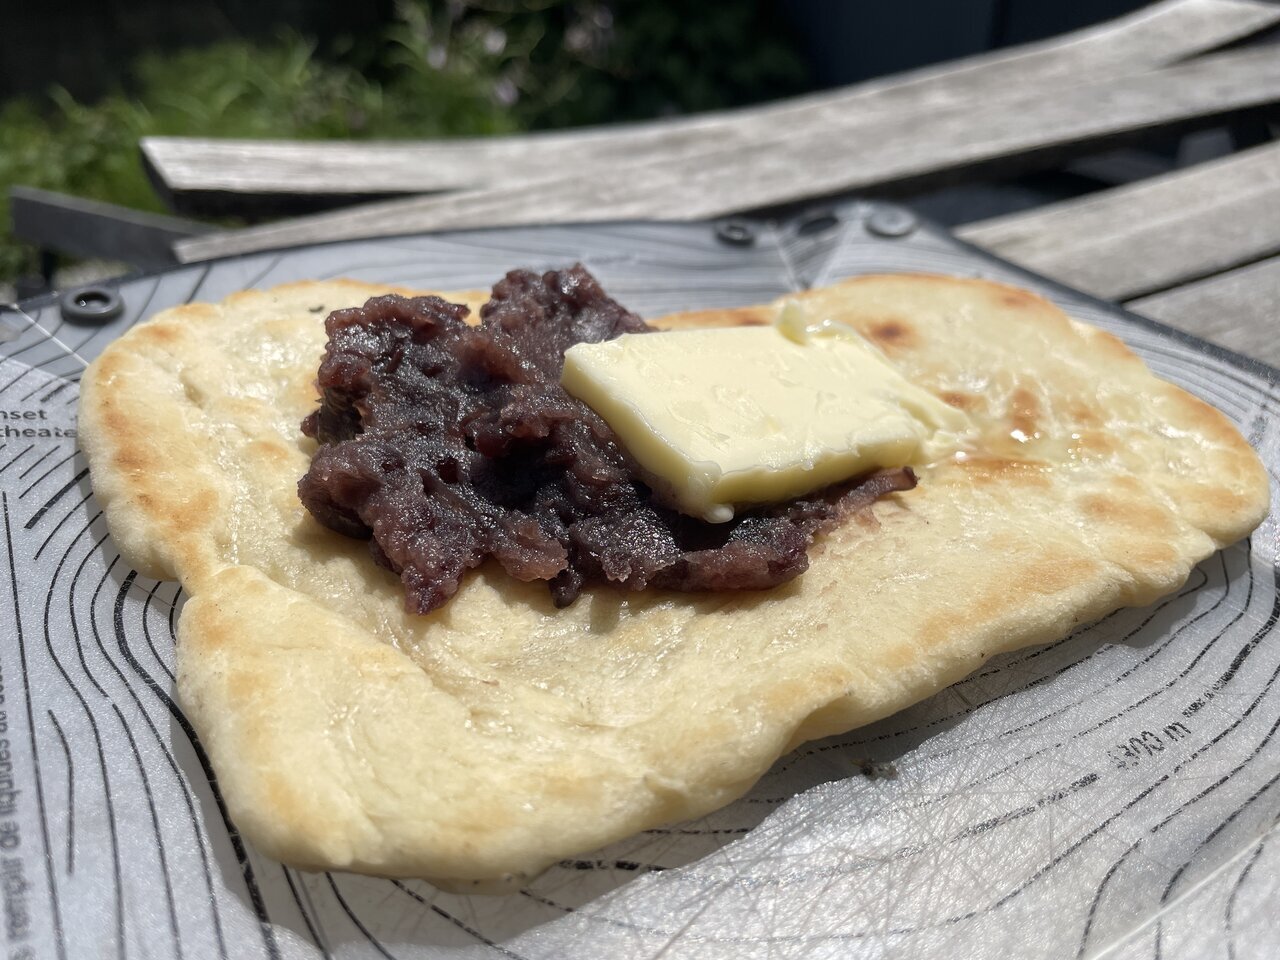
The red bean butter is simply placed on top of the plain naan to ensure the butter doesn't melt away. The flavor of the butter matches the naan dough perfectly! Surprisingly, the red bean butter seemed to have a higher level of completion. It might be better to put a lot of butter on it for better taste. Starting to make naan on a whim has been incredibly fun.
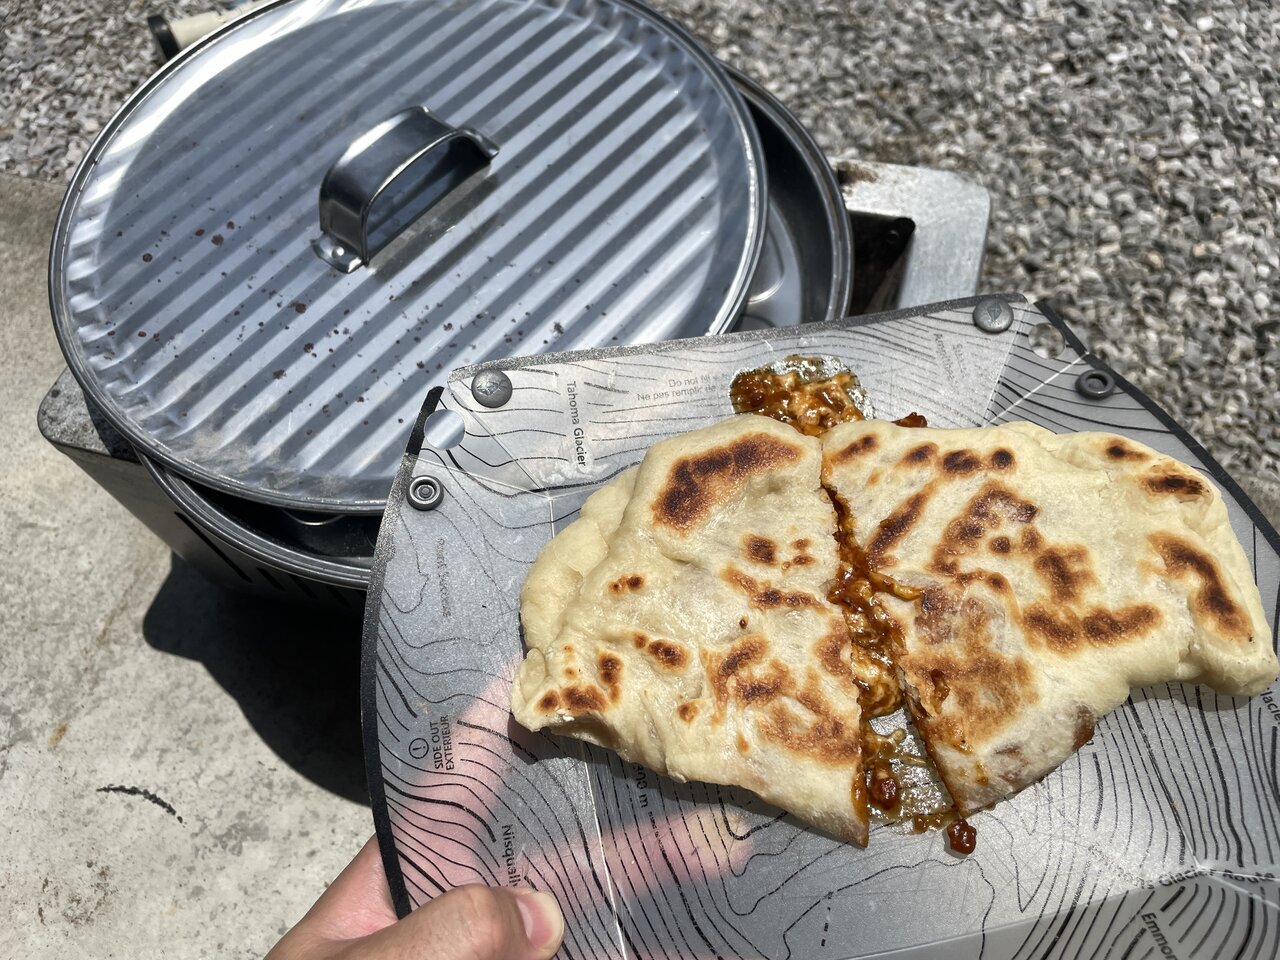
The “Easy Pizza Griller” has a good heat transfer rate and, with its lid, allows for oven-style cooking outdoors. It's made of stainless steel, lightweight, and easy to take anywhere, making it convenient for camping.
It's great for enjoying pizza and naan-making with family and friends.
It's great for enjoying pizza and naan-making with family and friends.
Article/Text by Kazuma Tanaka
- SHARE











 FASHION
 OUTDOOR
 WATCH
WATCH CAR & BIKE
 SNAP
SNAP DINING
 LIFE
LIFE GADGET
 GOLF
GOLF