OUTDOOR
2025.10.29
【Charcoal Cooking】Making Authentic Pizza from Scratch! A charcoal-specific pizza oven is surprisingly deep, fun, and challenging!?
Having obtained binchotan charcoal, I thought about what charcoal dishes would delight everyone, and came up with the idea of making pizza. Of course, I don’t have a pizza oven, so I researched to find an easy method, and discovered a charcoal-specific pizza oven. This time, I’m challenging myself starting from the dough-making process.
Cooking Authentic Pizza for the First Time with Direct Flame and “Easy Pizza Baking”

After searching for equipment to bake pizza, I chose Maruka's “Easy Pizza Baking.” The reason I selected this one is that it is reasonably priced at 1320 yen and appears to be made of stainless steel, so it seems unlikely to warp from heat.
By the way, Maruka's main product is a hot water bottle heated over direct flame, and the fact that they seem knowledgeable about products like this that are used over direct heat is another reason for my choice.
By the way, Maruka's main product is a hot water bottle heated over direct flame, and the fact that they seem knowledgeable about products like this that are used over direct heat is another reason for my choice.
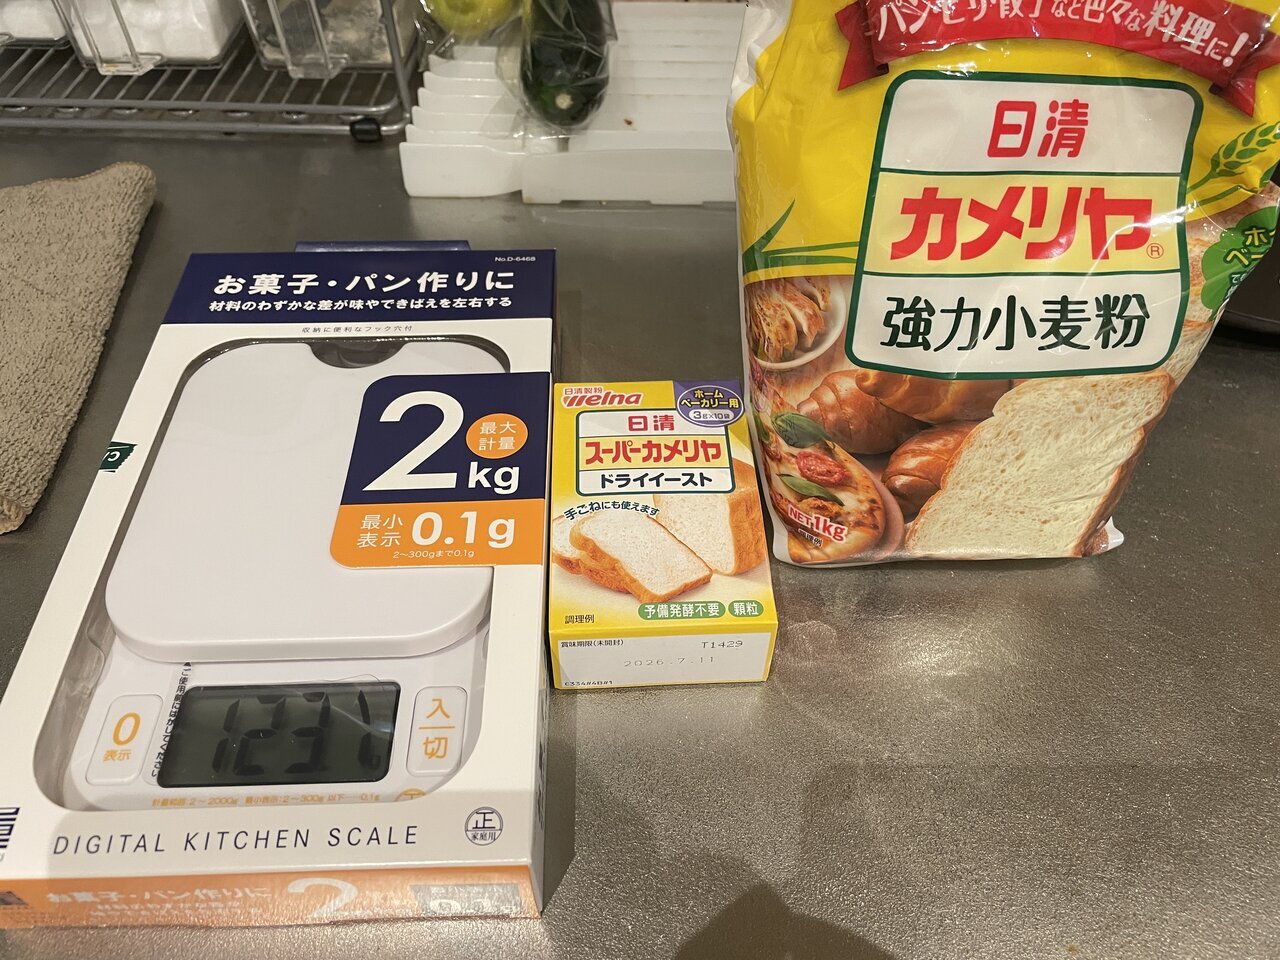
Since I am baking with charcoal, I want to make pizza dough from scratch and aim for a flavorful, charred taste like a specialty shop. I heard that measuring the flour accurately is crucial to avoid ruining the taste, so I also prepared a kitchen scale.
Making Pizza Dough for the First Time
I will try making the dough for two people using a recipe from a video site. The ingredients for the dough are as follows.
【Ingredients for the Dough】
Strong Flour 200g
Dry Yeast 4g
Salt 2g
Warm Water 64cc
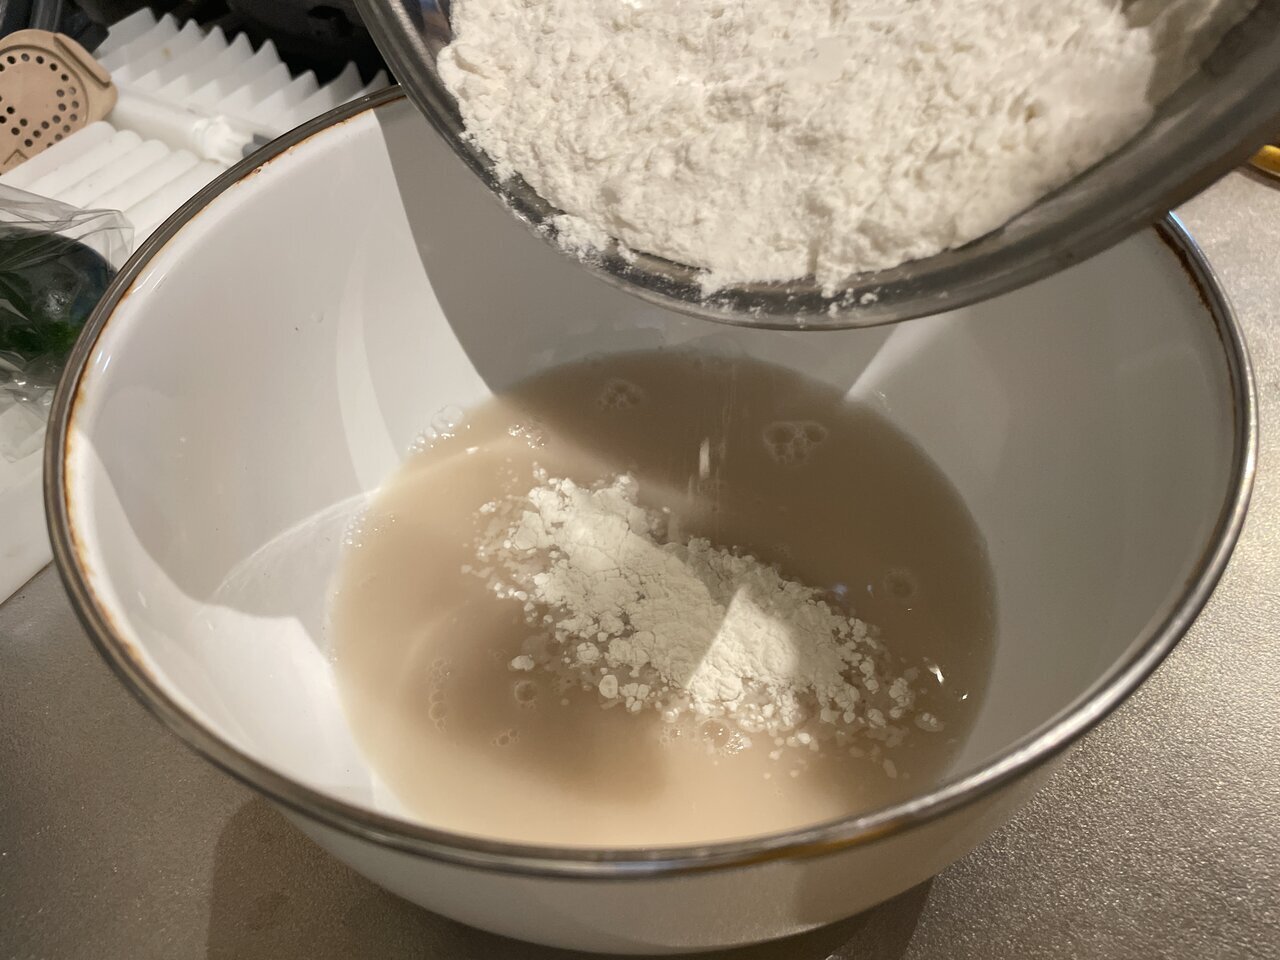
The procedure is to mix salt and strong flour in a bowl, then in another bowl combine warm water and yeast, and finally, mix the yeast-infused warm water with the flour. This step seems to be to prevent the yeast from dying upon contact with the salt; from other methods I saw, even when using one bowl, yeast and salt were kept separate during mixing.
【Ingredients for the Dough】
Strong Flour 200g
Dry Yeast 4g
Salt 2g
Warm Water 64cc
The procedure is to mix salt and strong flour in a bowl, then in another bowl combine warm water and yeast, and finally, mix the yeast-infused warm water with the flour. This step seems to be to prevent the yeast from dying upon contact with the salt; from other methods I saw, even when using one bowl, yeast and salt were kept separate during mixing.
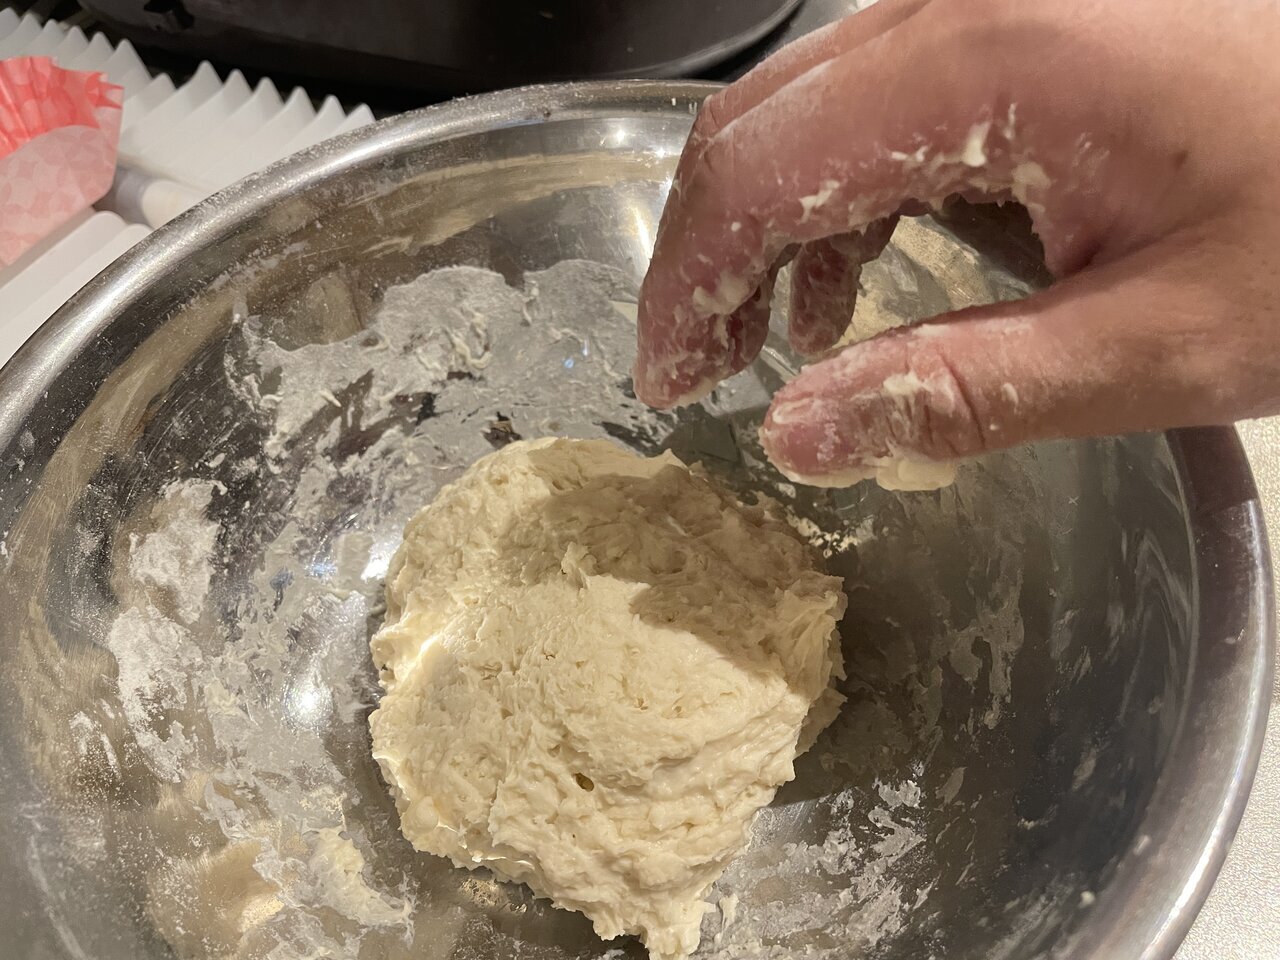
It sticks to your hands quite a bit, but knead it for about 10 minutes until it comes together. Gradually, the dough's surface becomes smooth, and it starts to hold together, so we move on to the fermentation stage.
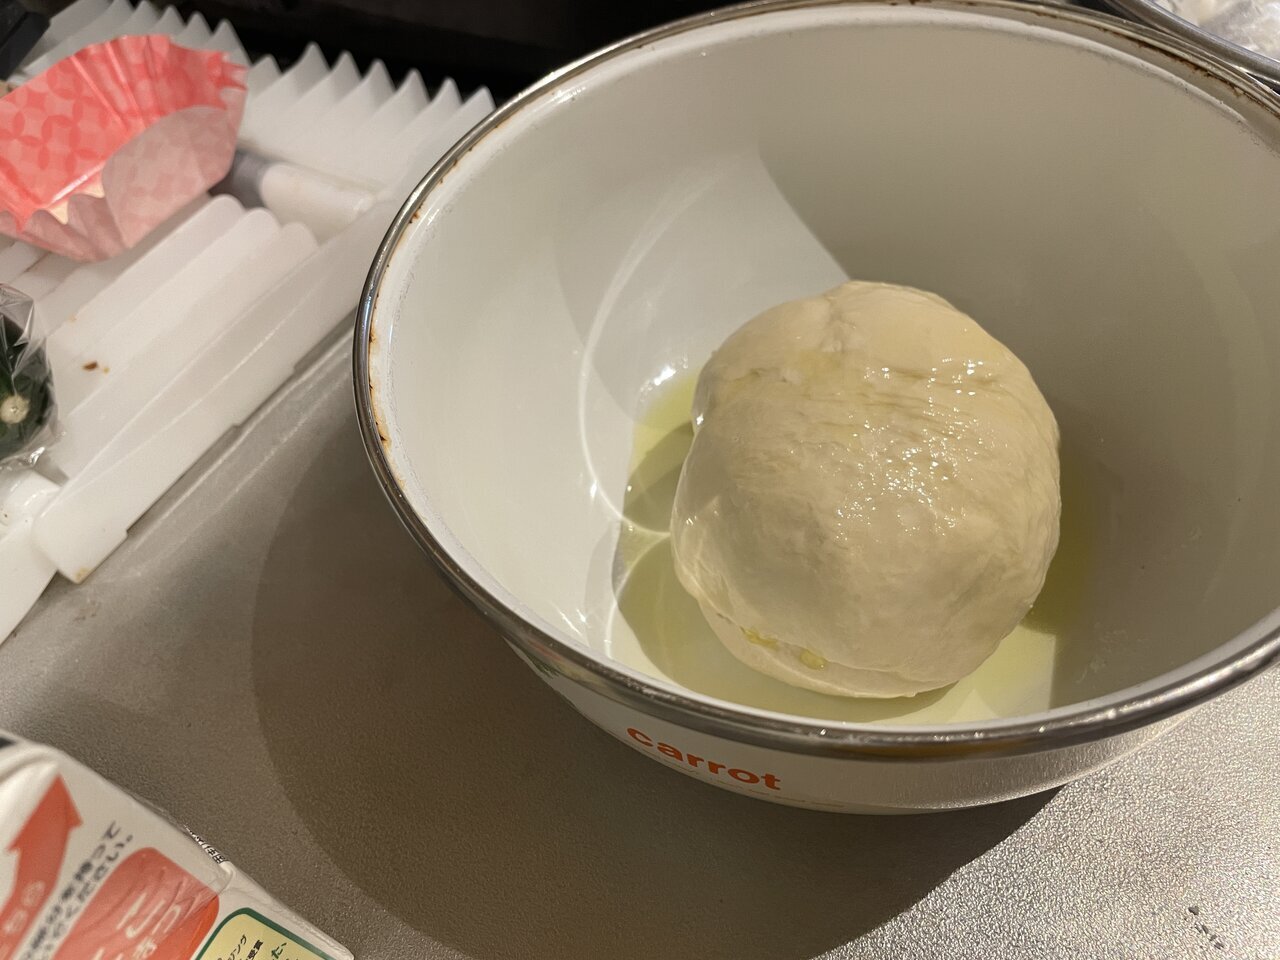
Fermentation seems to be completed through first and second fermentation stages, starting with a first fermentation at room temperature for about an hour. Before leaving it, oil the bowl and the dough with olive oil to prevent sticking, and cover it with a cloth to prevent drying out.
Once the first fermentation is done, divide it in half to make one serving, cover it with wrap, and proceed to the second fermentation.
Once the first fermentation is done, divide it in half to make one serving, cover it with wrap, and proceed to the second fermentation.
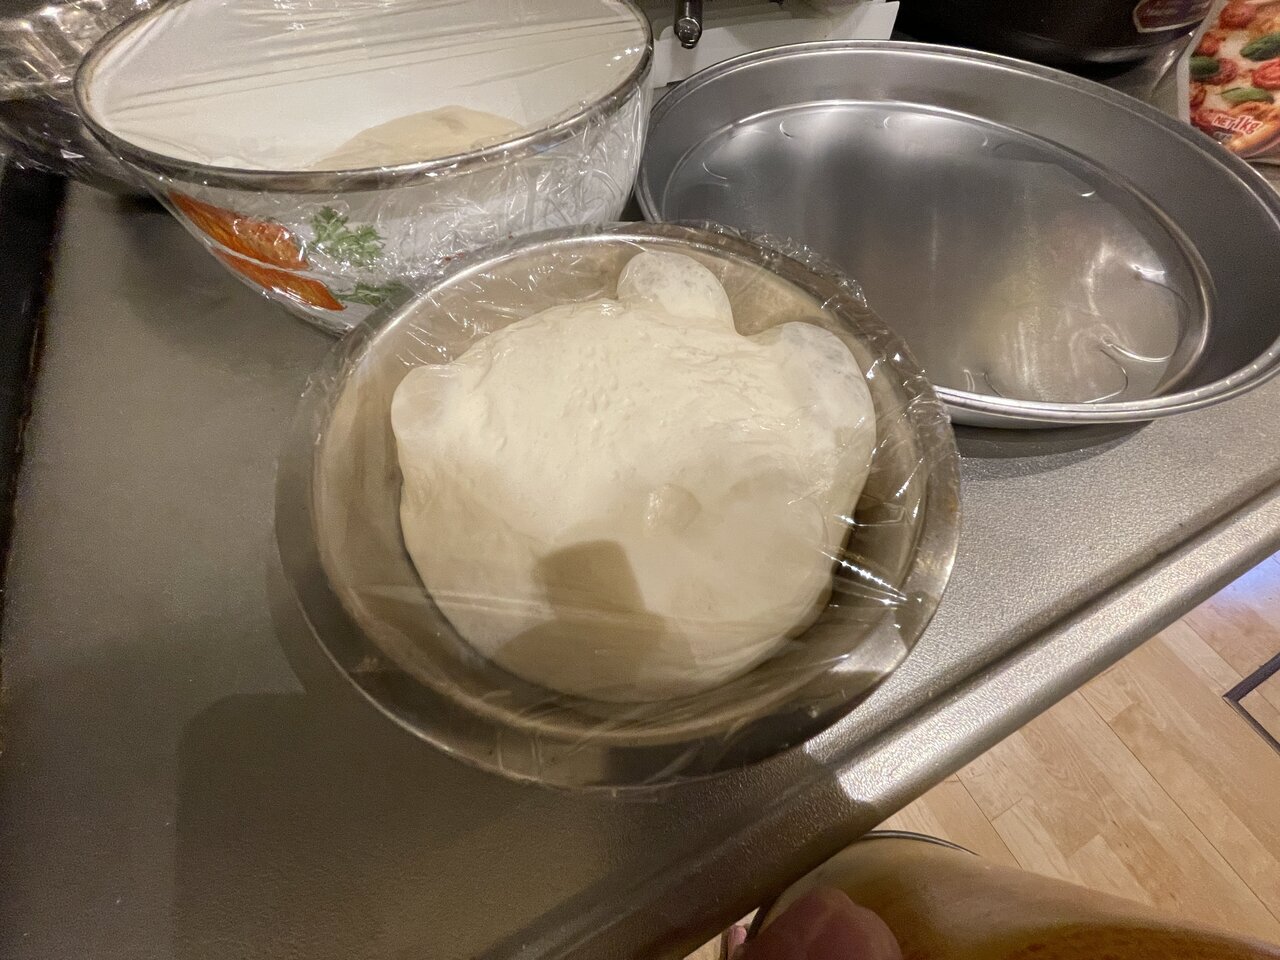
The video had a resting time of about 40 minutes, but due to work, I left it for about 3 hours. It fermented quite a bit, puffing up, and it smells bread-like. If you have time, it's recommended to do the second fermentation in the refrigerator for 1 to 2 days, and then raise the temperature to room temperature for about 3 hours before baking. It's said that fermenting at low temperatures improves the flavor.
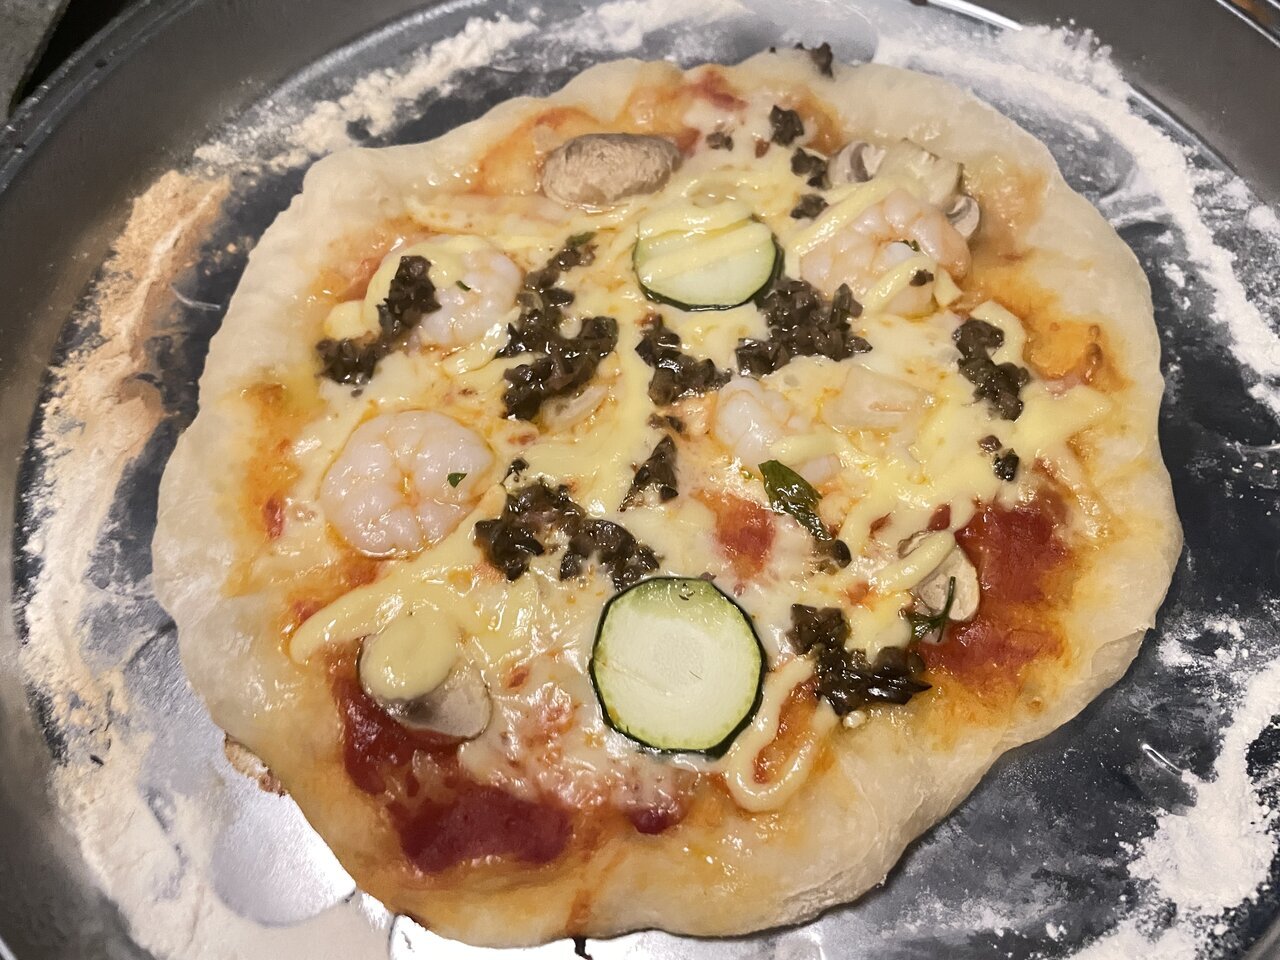
Topping with your favorite ingredients
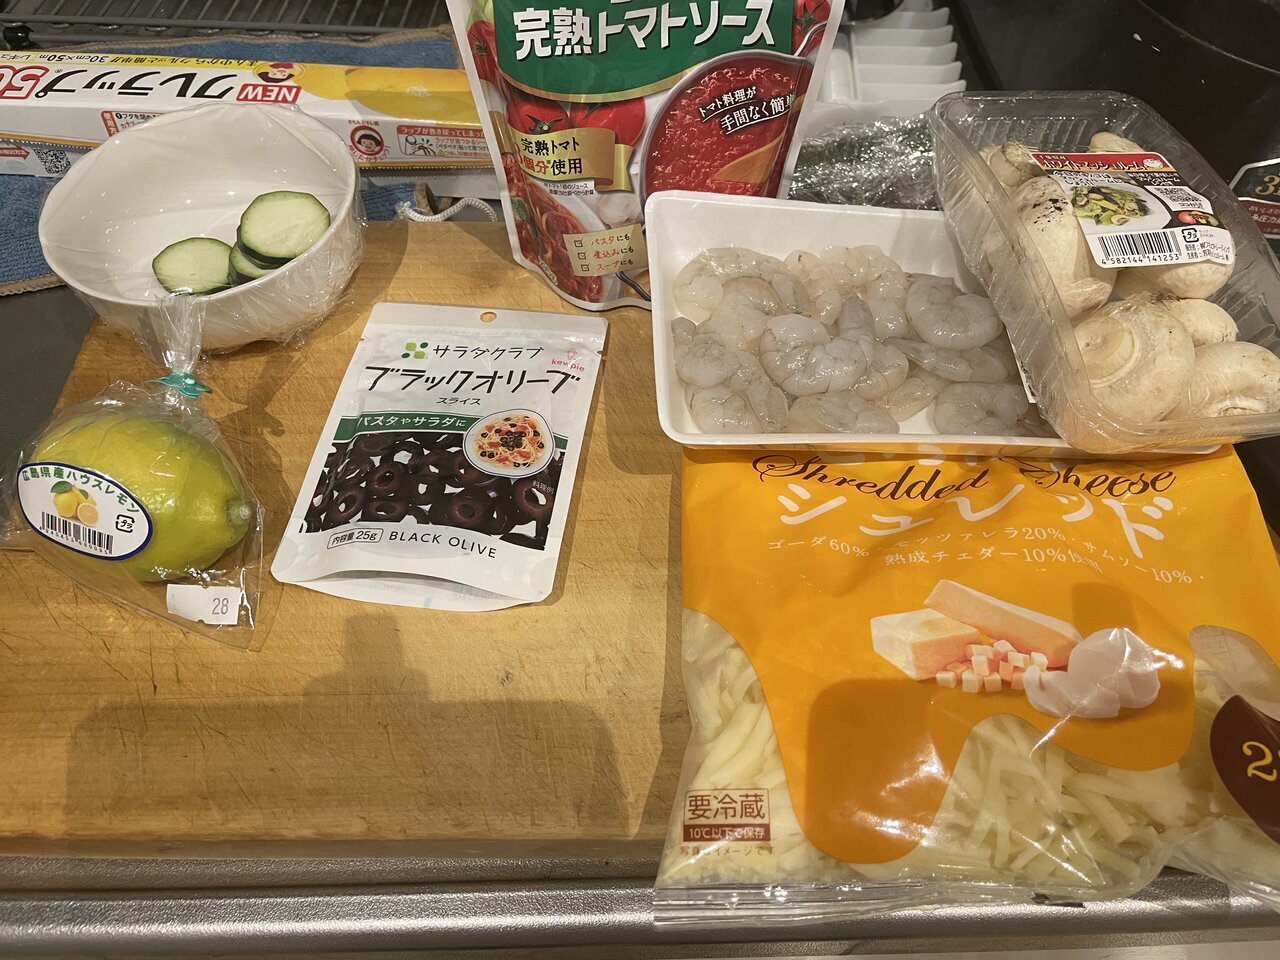
I chose the ingredients based on my favorite Garlic Shrimp Pizza from Pizzala. The freedom to put on whatever you like is one of the good things about pizza.
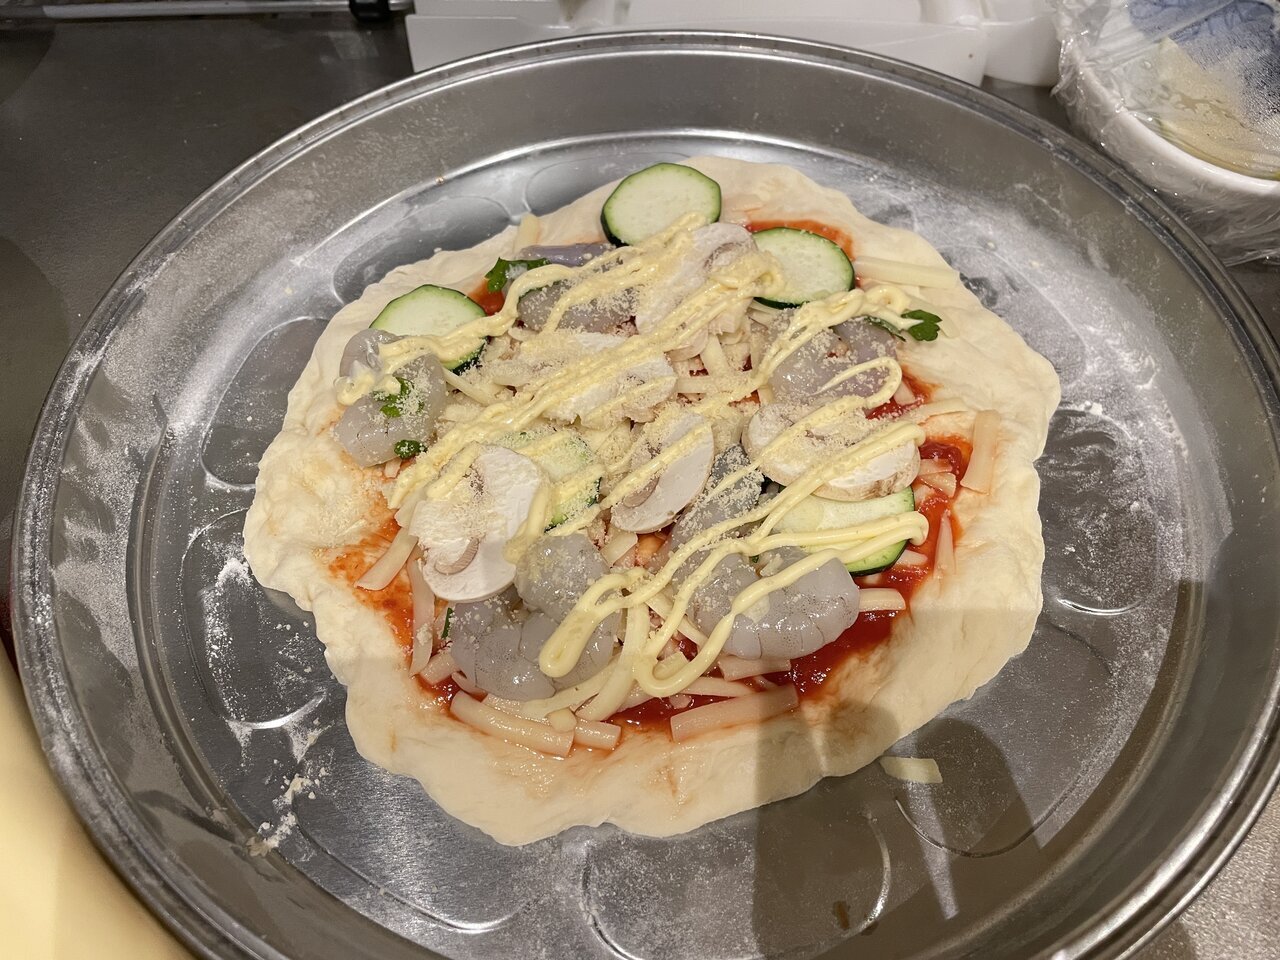
To make it possible even at the campsite, I sprinkled flour on the pizza oven and proceeded with stretching the dough and adding toppings. Since it took shape without any issues, it's finally time to bake it.
The baking process is quite challenging.
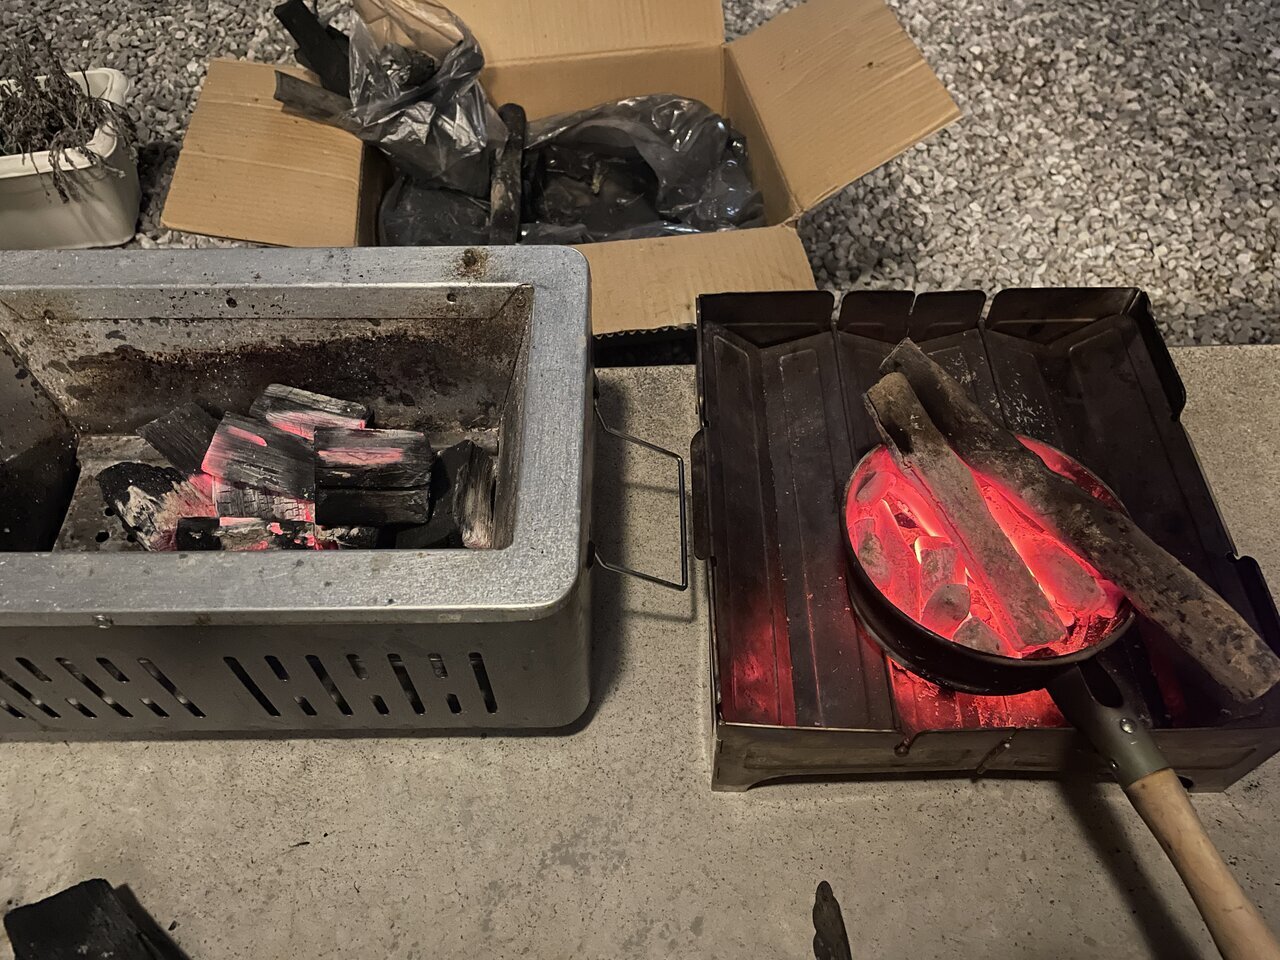
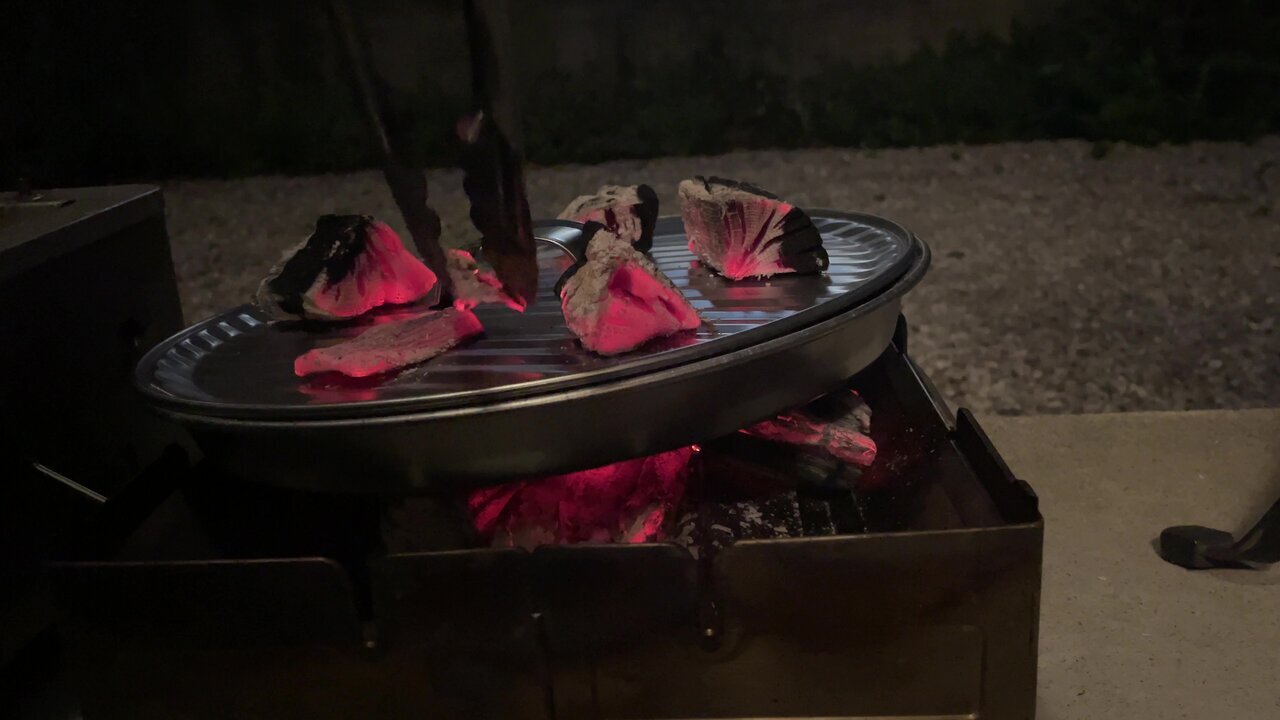
I was planning to use cheap charcoal this time, but since the fire was unstable, I decided to add binchotan charcoal as well. When compared like this, the strength and stability of the heat from binchotan charcoal are different.
The pizza oven uses charcoal placed above and below, just like a Dutch oven. Judging the distribution of the charcoal and the baking condition is difficult, so I baked it while checking multiple times.

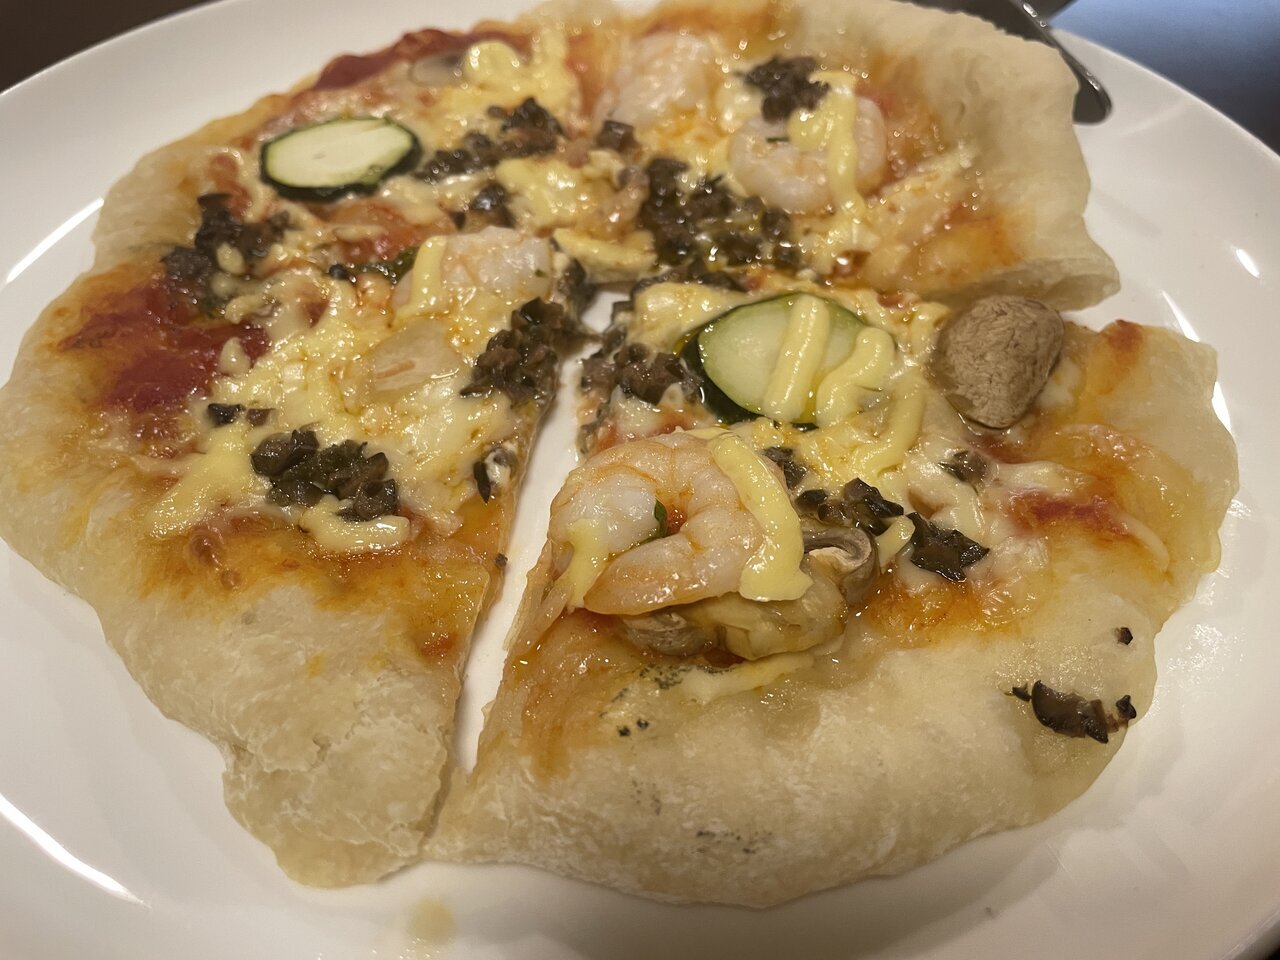
As a result of moving it too much, the ingredients stuck to the lid and the shape collapsed... However, the baking condition seems good, so I'll try a taste test.
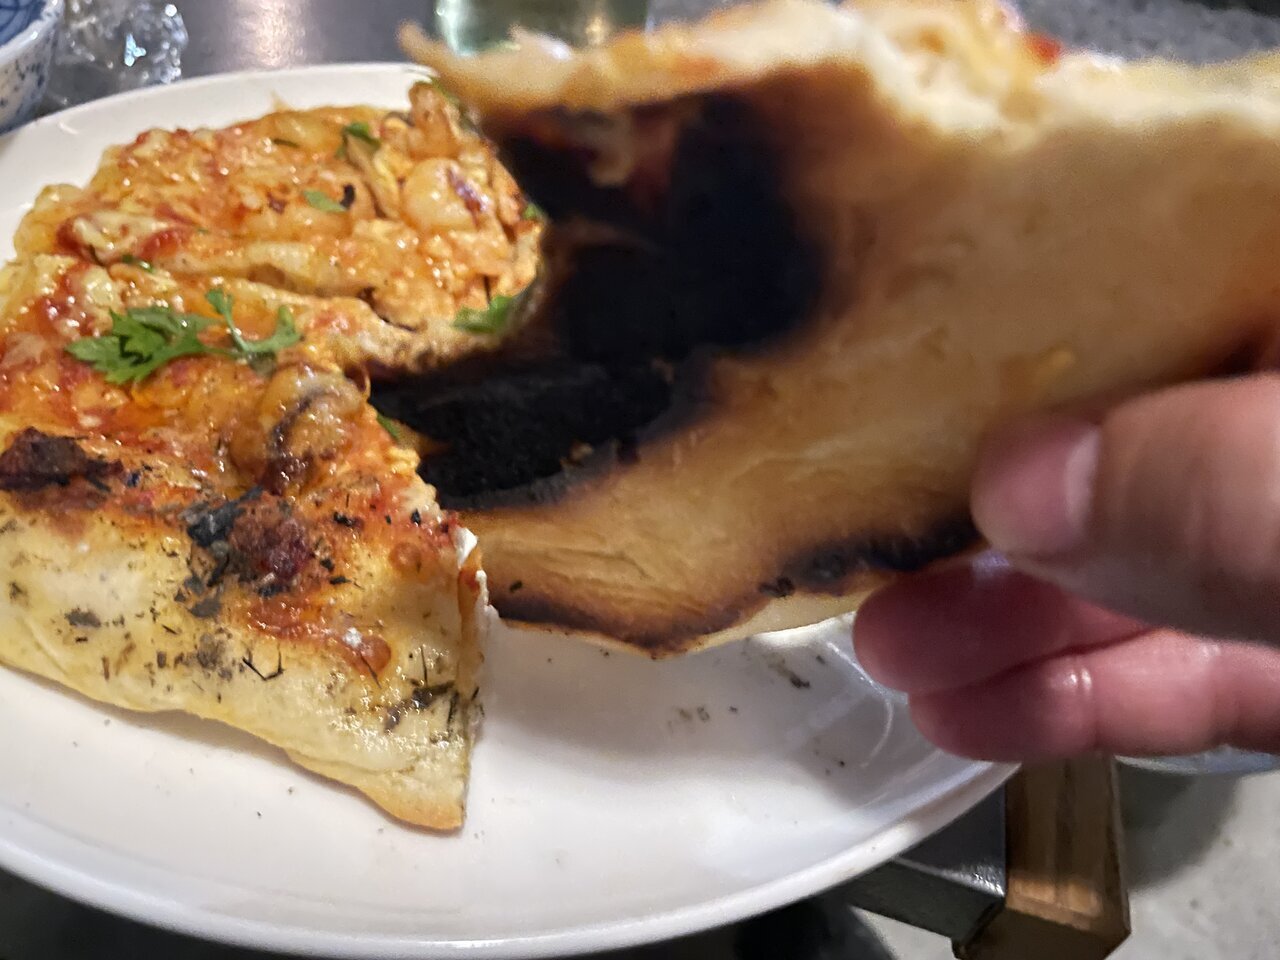
The toppings and dough were cooked thoroughly, and the taste was quite good! The flavor of the tomato sauce matched the dough, giving it an authentic taste! Unfortunately, the heat from below was too strong, causing the dough to burn and resulting in a texture similar to a snack food, which was disappointing. So far, I feel that there are almost no problems aside from the heat control.
The next day, I tried again… Making pizza is deep and fun.
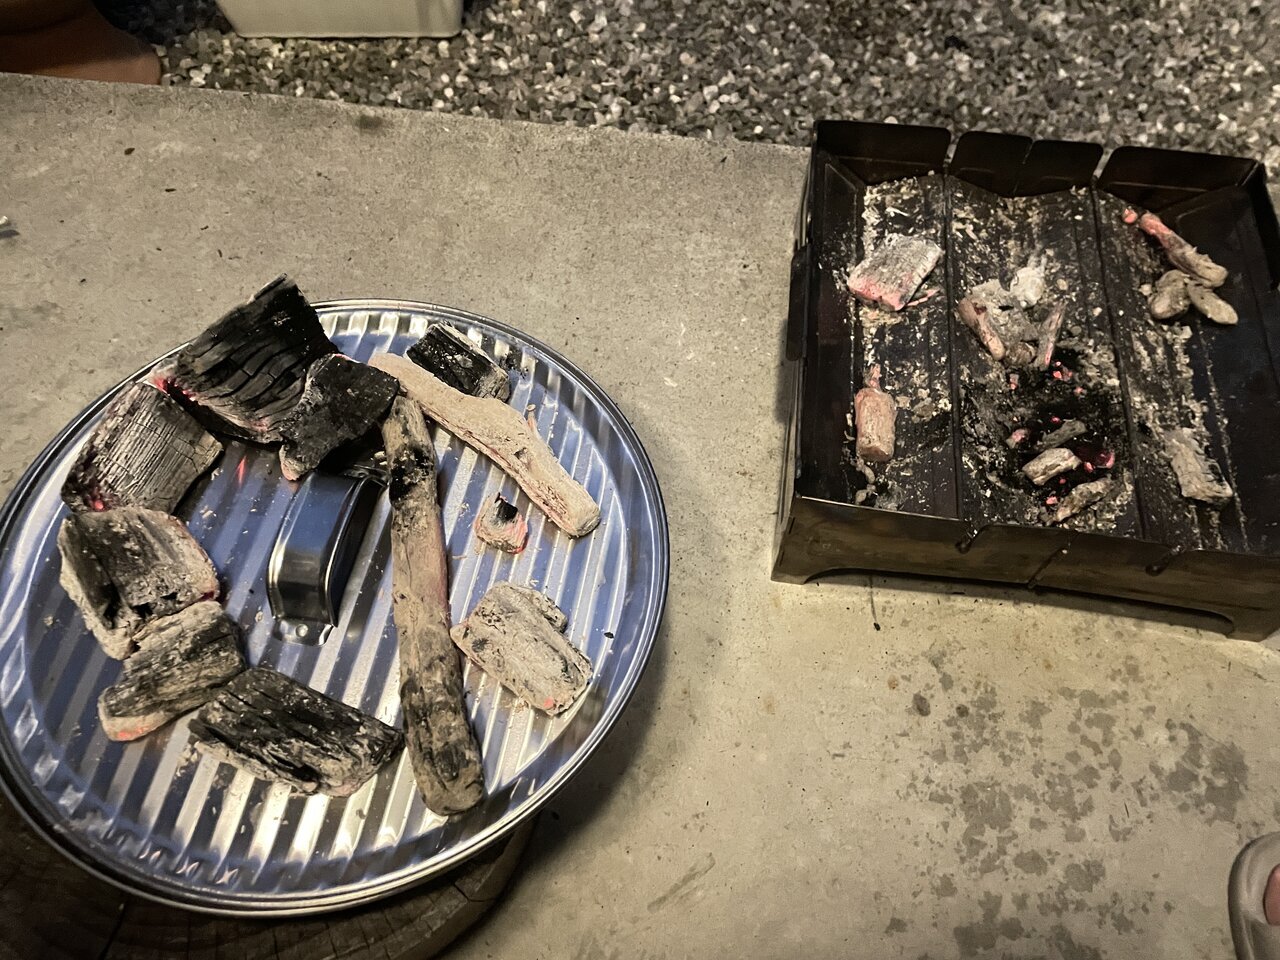
I wasn't satisfied with the result, so I tried again the next day. I reduced the amount of charcoal underneath and increased the amount on top of the lid.
I baked it to prevent it from sticking to the lid, so it looked good. However, the dough was heavy, and it seemed the heat was insufficient, so the taste might have been better the first time. I believe the reason for the failure was that I baked the dough right after taking it out of the fridge, and that the overall amount of charcoal was too little, resulting in inadequate heat.
As a result of my challenges, I found that making pizza is surprisingly difficult, but it is deep and very enjoyable. Autumn, which is a season with a lot of rain, could be a great time to try making authentic pizza at home.
As a result of my challenges, I found that making pizza is surprisingly difficult, but it is deep and very enjoyable. Autumn, which is a season with a lot of rain, could be a great time to try making authentic pizza at home.
Interview and text by Kazuma Tanaka
- *Maruka Easy Pizza Baking
- Camp Meals
- Charcoal
- Charcoal Cooking
- Easy Pizza Baking
- Pizza
- Tanaka Kazuma
- SHARE


![[Charcoal Cooking] It was the best when I grilled a charcoal mackerel sandwich using the BBQ grill from Cainz on a hot summer day.](https://cdn.clipkit.co/tenants/1046/articles/images/000/031/867/large/5d96b23a-fc0d-4372-8782-877163b87252.jpg?1784754154)


![[Time Slip] 3 nostalgic landscapes reminiscent of Japanese folktales that you can encounter in Machida, Tokyo](https://cdn.clipkit.co/tenants/1046/articles/images/000/031/731/large/eb5d7323-ff7f-4fda-8e74-22303034edb5.jpg?1784408435)

![[Interview] Bongo Brownie ✕ VAN LIVING What is the concept of living space that can be enjoyed with simple DIY?](https://cdn.clipkit.co/tenants/1046/articles/images/000/029/348/large/1669c7fe-4dba-4cc5-b0a3-7defa56bc0c0.jpg?1774904732)


 FASHION
 OUTDOOR
 WATCH
WATCH CAR & BIKE
 SNAP
SNAP DINING
 LIFE
LIFE GADGET
 GOLF
GOLF